Author:
Joan Hall
Date Of Creation:
26 July 2021
Update Date:
1 July 2024

Content
A patchwork rug is a great idea to use old T-shirts, socks, sheets, and anything you can cut into strips. There are many ways to make such a rug, but this article will focus solely on weaving. This means you don't need any tools, just your own fingers and our instructions.
Steps
 1 Cut the fabric into strips 2.5-7.5 cm wide and remove the seams. The length only matters for how often you have to weave new stripes.
 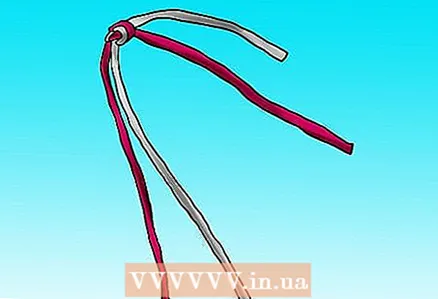 2 Tie two strips with a simple, weak knot. Then you will have to thread the fabric through it, so don't make it too tight - it will be quite annoying. Also note that the stripes in the picture are of different lengths. At the end of each you will need to attach the next one, so it is better if the joints alternate.
 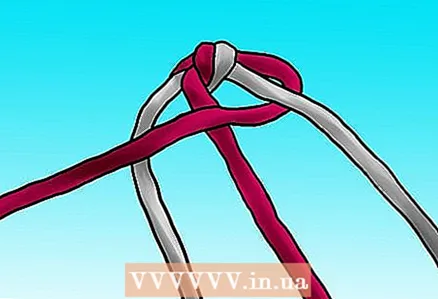 3 If you want to make a striped rug, arrange the strips of fabric so that they alternate (A, B, A, B) when you lay them out in front of you. Take the outermost strip on the right and intertwine it with the rest according to the pattern: underneath, over, underneath.
 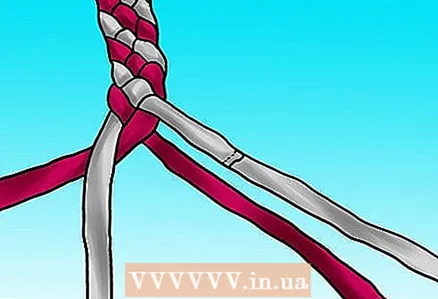 4 Proceed in the same way: take the strip on the right and weave underneath, over, underneath. Note that you don't need a tight braid. Tighten the strips just enough so that the weave lies flat and retains its shape.
 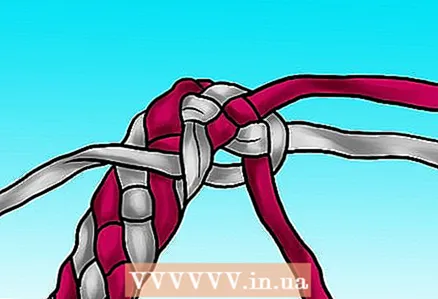 5 When you braid about half the length of the rug you want, it's time for you to turn. All the same, weave the right strip (gray in the picture) with others - under the bottom, over, under the bottom, then bend the entire braid to the right and thread the strip into the edge of the braid itself.
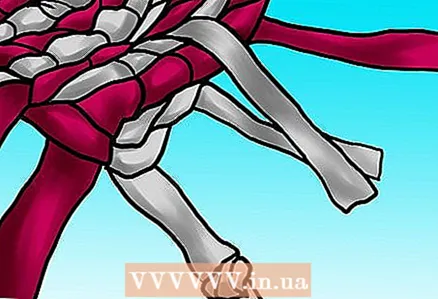
Depending on the material, the mat may not come out flat if you turn it too sharply, so you may not have to thread through every strip into the original pigtail. Sometimes you need to skip a couple to make the turn smoother. 6 Weave back to the starting knot exactly in the same way as you weaved the pigtail initially, only now after "under, over, under the bottom" thread each strip into the edge of your pigtail. (If you want to make a striped rug, thread the strip through a buttonhole of the appropriate color.)
 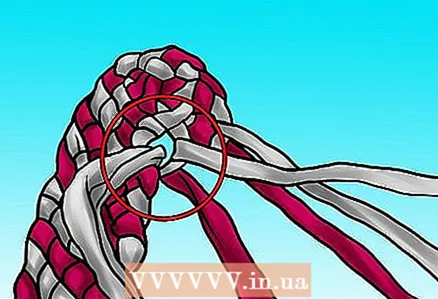 7 When you get to the knot and make a bend, threading or skipping the strips to keep the rug flat, it's time to add a strip! To preserve the striped pattern, fold one strip of each color together and tuck them into the starting knot. Then continue to weave in the same way, but now the sequence of actions will be as follows: under, over, under, over - and tuck into the main weave!
 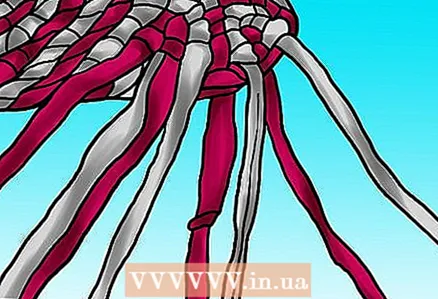 8 Braid until the end and then back to the starting knot. Add another strip by inserting it wherever it is convenient. There will be only eight stripes. ...
 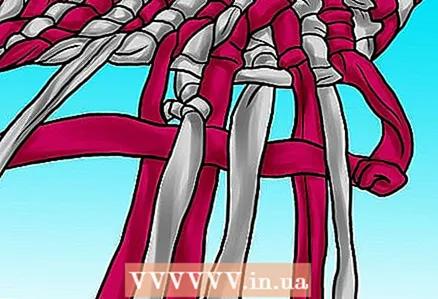 9 Take the gray strip on the right and intertwine with the rest: under the bottom, over, under the bottom, over, under, over, under, over - and fill!
 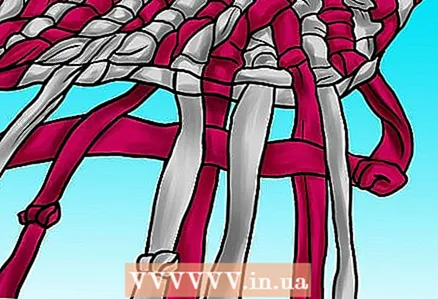 10 Each time you return to the starting knot, add new stripes until the rug is the size you want.
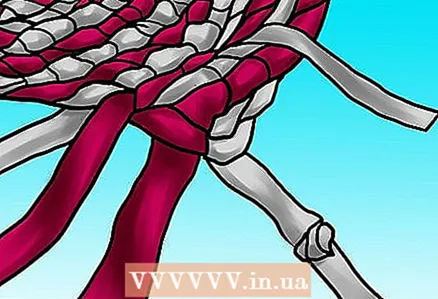 11 When the rug reaches the center width you want, you need to proceed in reverse order - first 8 strips, then 6, 4, 2 and finally none. Make sure that the shape of the product as a whole is not disturbed. As shown in the picture, weave underneath, over, underneath, over, underneath - tuck in - tuck in again under two strips of the same color horizontally - cut off the excess. Continue until the strips of fabric run out.
Method 1 of 1: Joining the strips
 1 Cut holes at the ends of both strips you want to join.
 2 Thread the new strip into the old one.
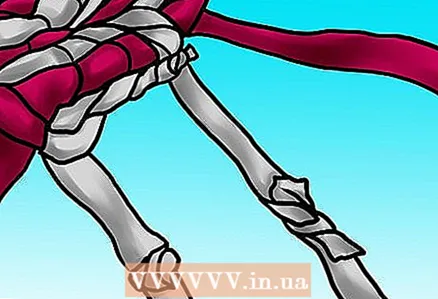 3 Then thread the tip of the new strip through the hole in the strip itself and tighten gently.
Tips
- You can use any fabric. Old T-shirts are a popular option. However, the less the material stretches, the easier it will be to weave so that it does not curl. Old sheets are fine.
- The rug in this example was made from three T-shirts. If you weave from thicker strips than shown in the illustrations, the work will most likely take several evenings.


