Author:
Ellen Moore
Date Of Creation:
20 January 2021
Update Date:
1 July 2024

Content
- Steps
- Part 1 of 3: Creating Your Own World
- Part 2 of 3: Setting up the server and sending invitations to players
- Part 3 of 3: How to Connect to a Friend's Server
Minecraft is a popular blocking game. To play it with friends, you need to create a server and configure ports. Minecraft Realms has simplified the server creation process so that you can play with your friends, even if you are a complete noob in server building and in general, hearing this word for the first time.
Steps
Part 1 of 3: Creating Your Own World
 1 Update Minecraft. Minecraft Realms will not work with the old version of the game, so you will have to update it to be able to create servers.
 - The game update button appears only if you have an official version (the latest version of the game at the time of this writing is 1.7.5).
- You must have a licensed copy of the game in order to buy Minecraft Realms.
- Remove all mods and texture packs, otherwise Minecraft Realms will not work.
- Minecraft Realms is currently only available on PC. Minecraft Realms for Pocket edition is coming soon.
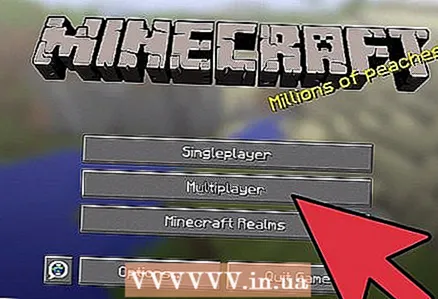
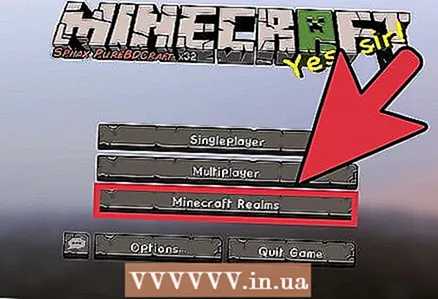
 2 Click on the Minecraft Realms button. Once you do this, a new window will open similar to the multiplayer game mode.
 - Click on the "Details" button at the bottom of the screen. The Minecraft site will open.
- The "Settings" button is used to change the game settings.
- The "Play" button starts the game.
 3 Sign up for Mojang. To create your own server, you will first have to subscribe to this service. There are various server rental plans on the site.
 - An existing subscription can be renewed by clicking on the link in the Minecraft Realms menu - "More".
- If you want to buy Minecraft Realms, you have a Mojang profile.
- You can buy a subscription for 1, 3 or 6 months. You will have to pay $ 13 per month, but this price decreases with a longer subscription.
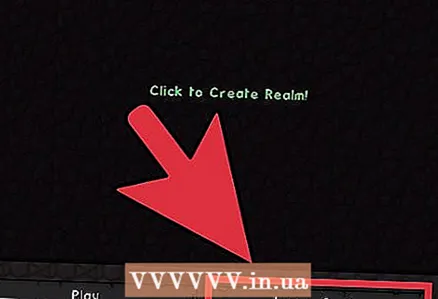
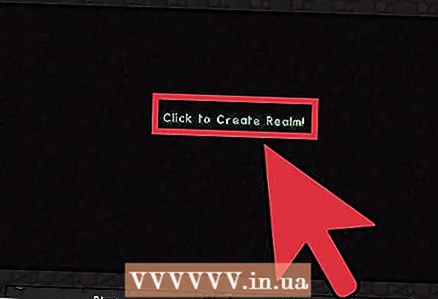 4 Create a server. After you have subscribed to the service, the "Create a world" option will become available to you. Click on it, give your new world a name, set the difficulty, play!
 - When you see your new world appear on the list, double-click on it to start the game.
- Compared to Hamachi or port forwarding, Realms works 24/7 regardless of whether there are players on the server.
- Only the people you invite have access to your world. You can invite no more than 20 people to play on one server, but only 10 can play at the same time.
Part 2 of 3: Setting up the server and sending invitations to players
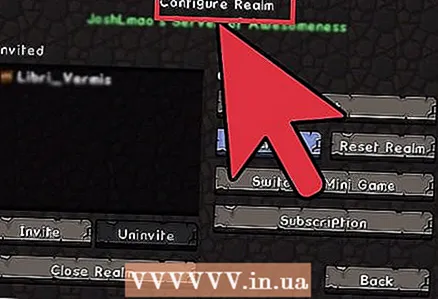 1 Click on the "Customize the world" button. If you want to change your settings, back up your world, reload it, invite new players, then open the World Settings page. Change the settings to your liking.
 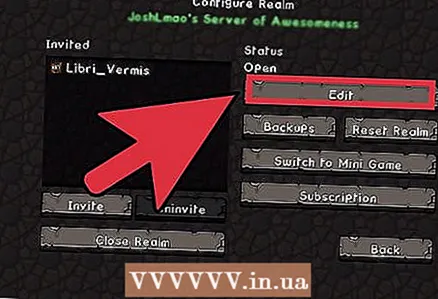 2 Click Change Settings. Here you can edit the title, description, difficulty and game mode.
 - When done, click the "Finish" button, your changes will be saved.
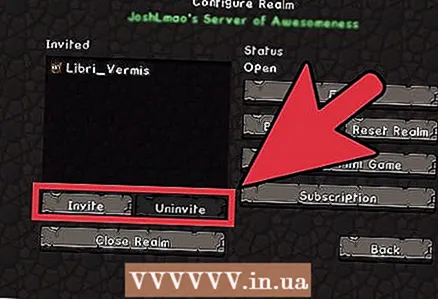 3 To invite or kick out a player, click on the appropriate buttons. You can create a list of players who will have access to the server.
 - Select a player's name and click the "Cancel invite" button in order to block them from accessing your world.
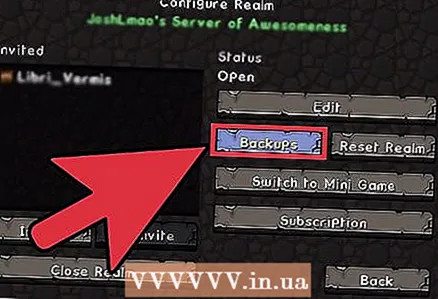 4 Using the "Backups" button, you can view and restore worlds from backups.
- You can restore the world from a backup, or download the latest version of the world to your computer.
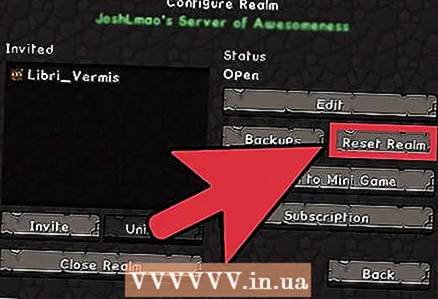 5 Click on the "Reset" button in order to remove all changes in the world and return it to its original state. You can now start the game over, but remember that these changes are irreversible.
 - With this button you can set the "grain" of the world or select a ready-made map on which you want to play.
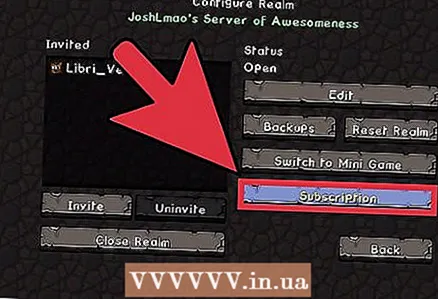 6 To manage your subscription, click on the "Subscription" button. This button will allow you to view all current subscriptions as well as renew them.
 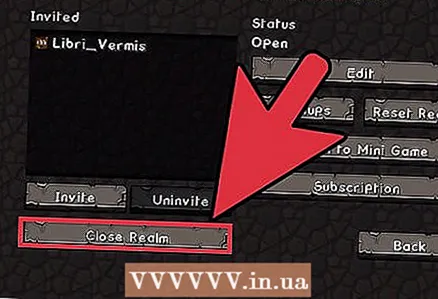 7 Close your world. Click on the button to close the world, the world will become inaccessible to everyone except you. It is not yet known if this change is reversible, so it is best not to.
 - Better not to do this if you still need peace.
Part 3 of 3: How to Connect to a Friend's Server
 1 Update the game version. You must have the latest official version of the game installed for Minecraft Realms to work.
 - Also, remove all mods and texture packs.
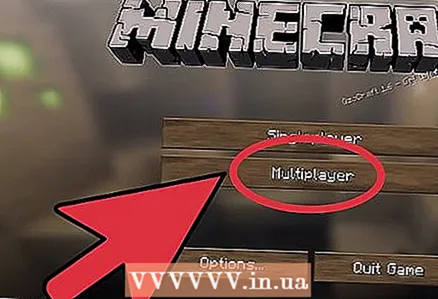
 2 Click on the "Minecraft Realms" button. After updating the game, open Minecraft Realms. Ask a friend to add you to the server's guest list. When he does, you will see an invitation icon at the top of the window. Next to the name Minecraft Realms.
 - Open a prompt, select a server name and click Accept.
- A new world will appear on your list, click on it to start the game.
- If you choose the "Decline" option, your name will disappear from the server's guest list and you will no longer have access to this world.
 3 Click Play or Leave World. When the name of the world appears in the game window, double-click on it to join the game.
 - Select the name of the world and click "Leave World" to make it disappear from your list. You will no longer have access to this world.


