Author:
Sara Rhodes
Date Of Creation:
14 February 2021
Update Date:
1 July 2024

Content
Adobe InDesign is a program that allows you to quickly and easily create publishing projects. You can create brochures and other documents using the templates provided and editing them as you see fit. Here's how to create brochures in InDesign.
Steps
 1 Double-click the InDesign icon on the desktop.
- This icon can also be found in the list of installed programs on the Start menu (Windows operating system) or the Dock (Mac operating system)
 2 Click "From Template" under the "Create New" command.
- A separate window will appear with several types of document templates.
 3 Double-click the Brochures folder.
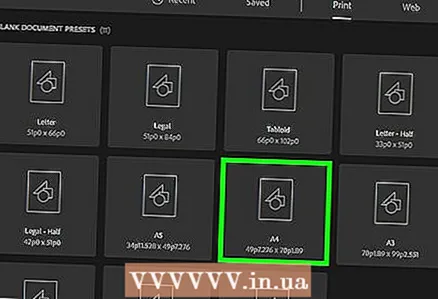
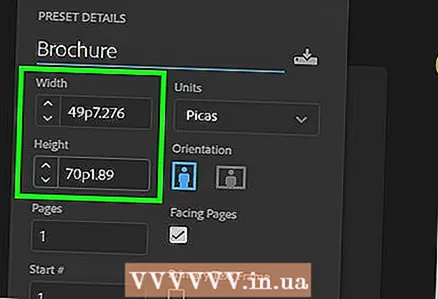 4 Select the size and shape of the intended brochure.
- At this point, you don't need to think about the theme's layout and color just yet. You will be able to change them in the next steps of the process.
- By clicking on each brochure sample, on the right side of the window you will see detailed information about the specific layout.
- Select the layout that provides the number of pages you want for the brochure.
- For example, select the first two-page brochure layout by double-clicking on the icon.
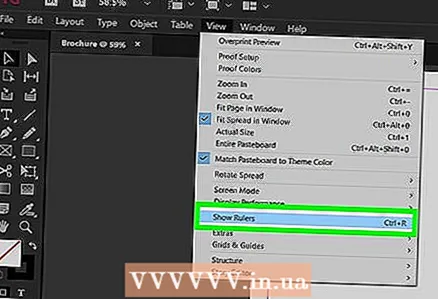 5 Add rulers to the top and side of the brochure by clicking on the View Options button in the very top bar.
- You can also use the View Options menu to add landmarks and wireframe edges for ease of layout manipulation.
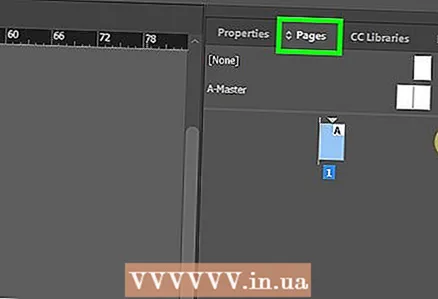 6 Pay attention to the layout of the brochure.
- The first 20.32 x 27.94 centimeter sheet is divided in the middle into two brochure pages. This will be the fourth and first pages of the brochure, respectively.
- Scroll down to see the next sheet, which will be split from left to right into pages 2 and 3.
- Return to the first sheet.
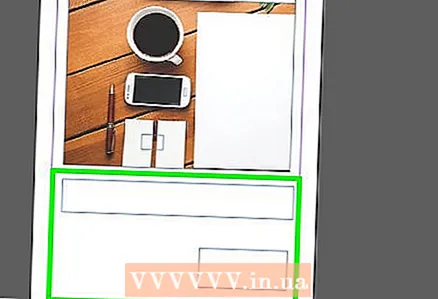
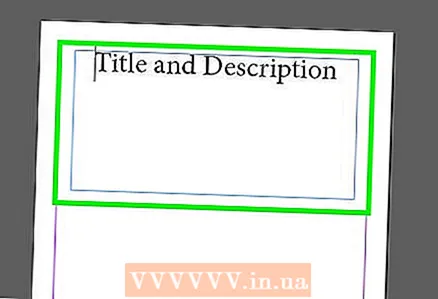 7 Double-click the green-edged text box to change the title and description of the brochure.
 8 Change the text font and font size by clicking on the "Paragraph Styles" option in the right pane or by selecting your changes from the pane at the top of the window.
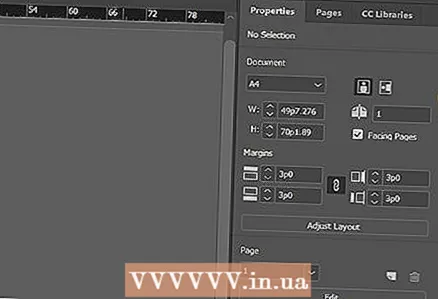 9 Click anywhere outside the text box for the changes to take effect.
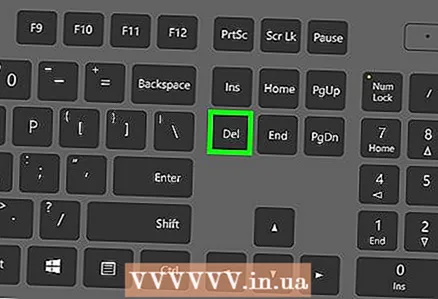 10 Click on the photo on the first page of the booklet and then “Delete” to remove it.
- You may need to press the "V" key first. Thus, you select the Select tool.
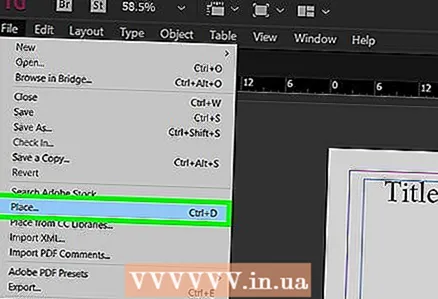 11 Place your photo or image file on the front page of the brochure.
- Click on "File" and then select the "Place" option from the drop-down list. This will open a window.
- Find and select the image file you want to include in the brochure.
- Use your mouse to draw a rectangle where you will place your image.
- After that, you can resize the image by clicking on the corner and dragging the picture.
 12 Change other text boxes and images on the first sheet of the brochure.
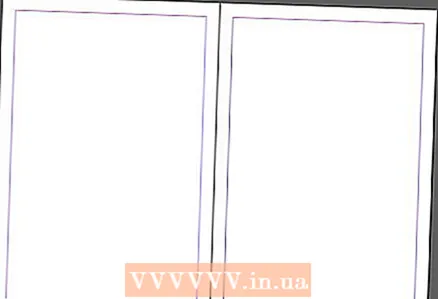 13 Repeat the process on the second sheet below, keeping in mind that the inside of these pages will be looking at each other.
 14 Make the necessary changes to the color, font, and size of the text.
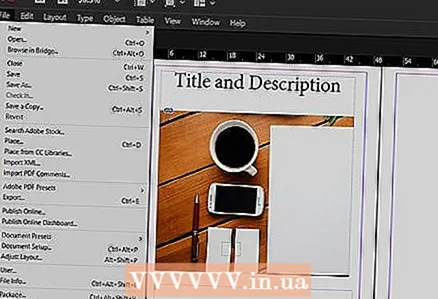 15 Print the first sheet of the brochure.
- Click on the "File" button and then select "Print" from the drop-down menu.
- Change the page number to “1” and click “Print”.
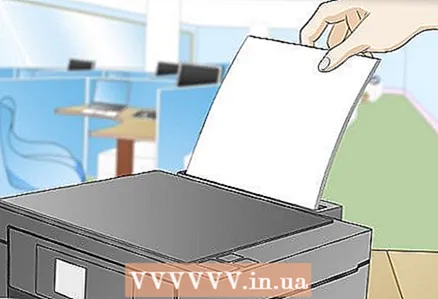 16 Remove the printed sheet, turn it over and insert it into the printer.
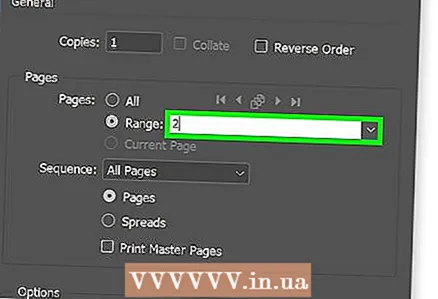 17 Print the second page of the file.
 18 Fold the brochure in half lengthwise.
- The right side of the first sheet will be the first page.
- Pages 2 and 3 will be inside the brochure.
- Page 4 will be to the left of the first page.
Tips
- You can print a brochure on two sheets and then fold them. The paper should be thin and the print should go through the sheet.
- In InDesign, the keyboard shortcut for undo in Windows is Ctrl-Z. On a Mac, hold down the Command key and then press the Z key. If you make a change that you don't like, you can easily undo it using the undo command.


