Author:
Helen Garcia
Date Of Creation:
21 April 2021
Update Date:
1 July 2024
Content
- Steps
- Before starting work
- Method 1 of 5: Installing the Scanner
- Method 2 of 5: Opening Faxes and Scans
- Method 3 of 5: Scanning an Image
- Method 4 of 5: Save the scanned image
- Method 5 of 5: Email the Image
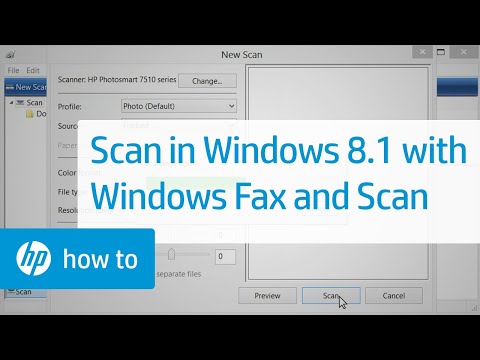
Dedicated scanning software has been added to Windows 7 and Windows 8. This gives you even more options when scanning images, including choosing the folder in which the finished image file will be saved.
Steps
Before starting work
 1 Make sure the scanner is connected to your computer and turned on. Typically scanners have two cables:
 - USB cable for connecting the scanner to a computer via a USB port.
- Power cable to connect the scanner to a power outlet.
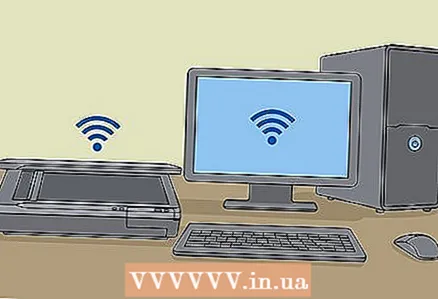
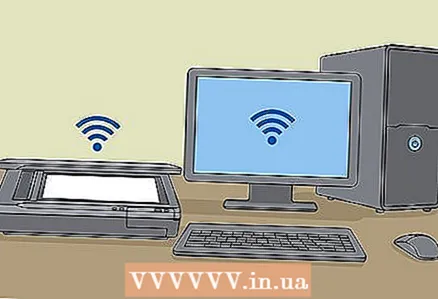
- notethat some newer scanners can connect via Bluetooth and do not need a cable - just one Wi-Fi network to which both the scanner and the computer will be connected.
 2 Place the document you want to scan. You will probably see several marks on the glass plate of the scanner - they will indicate the position of the scanned document. The document should be face down.
 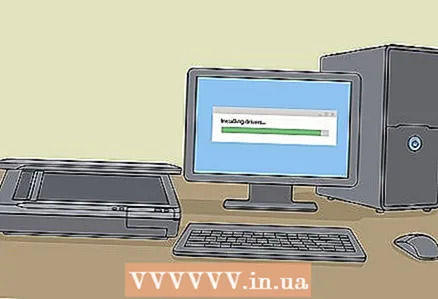 3 If you have never used this scanner on the computer you are using, you will need to install the scanner first. Click here to learn how to install your scanner.
 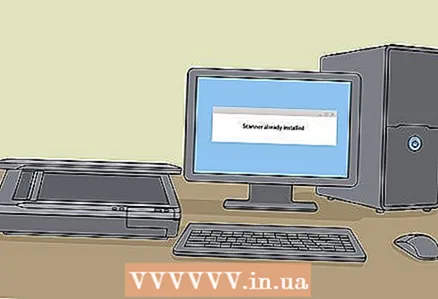 4 If this scanner has already been used on this computer, then Click hereto skip describing how to install the scanner.
Method 1 of 5: Installing the Scanner
 1 Make sure your scanner is compatible with Windows 8. Click here to go to the Windows Compatibility Center. Enter the product name listed on your scanner, then click Search.
 - If your scanner is not compatible with Windows 8, then you will not be able to use it.
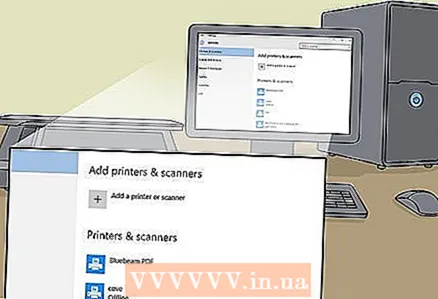 2 Make sure your scanner is installed. Move your mouse to the right corner of the screen and then click Settings. Click Change Computer Settings, click Computer and Devices. If your scanner is installed, you will see it under Printers.
 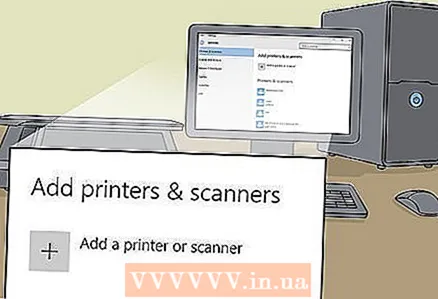 3 If your scanner does not appear in the list, click + Add Device.
- The process for installing a scanner is the same as installing a printer.
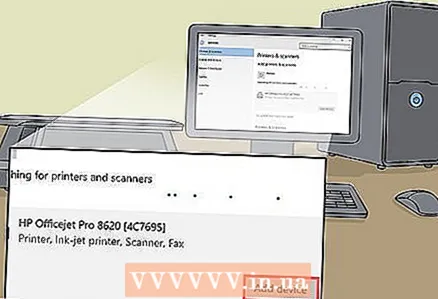 4 Find your scanner in the list and then click on it to install.
Method 2 of 5: Opening Faxes and Scans
 1 Click on the "Start" button.
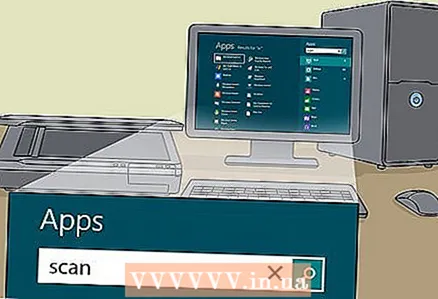 2 Write Scan.
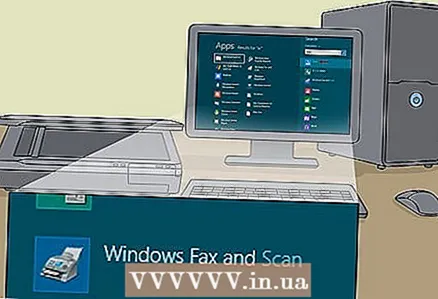 3 Select Windows Fax and Scanners.
Method 3 of 5: Scanning an Image
 1 Start a new scan. Make sure your scanner is connected to your computer and the document or image you want to scan is inside the scanner.
 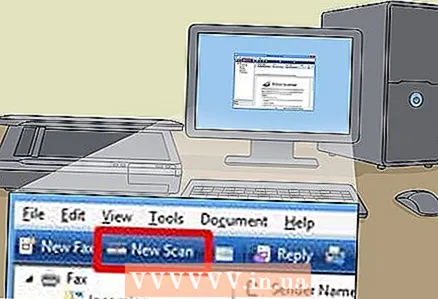 2 Click New Scan.
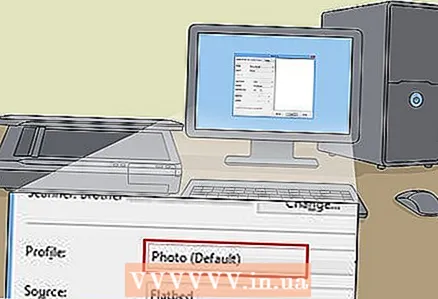 3 Specify the type of document you are scanning. In the New Scan window, from the drop-down menu, click Profile and then click Photo if you are scanning a photo. If you are scanning a document, then select "Documents".
 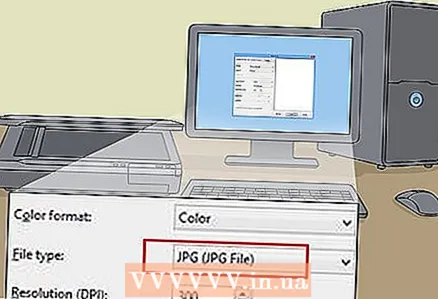 4 Select the file type for the image. Click the File Type dropdown menu, and then click which format the image should be saved in.
 - If you are unsure of which file type to choose, use PNG and TIF - these are usually good choices for higher quality images.
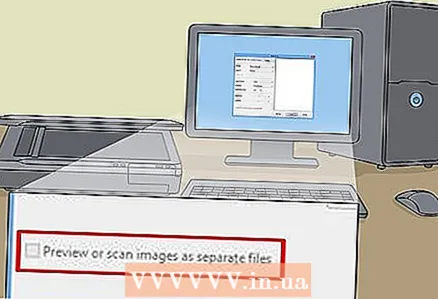 5 Click Preview. After that, you will see the image or document that you want to scan.
 - If you want to crop the image, click and drag the border corners of the scanned image.
- If the preview image looks blurry, go to the Resolution (DPI) field and increase its value.
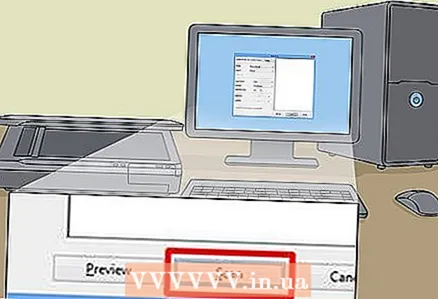 6 Click Scan.
Method 4 of 5: Save the scanned image
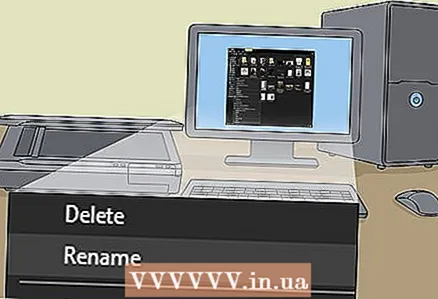 1 Rename the file. Right-click on the scanned image and then click Rename. In the Rename File dialog box, in the New Scan box, enter a name for the scanned image, and then click OK.
 - The default file name is Image.
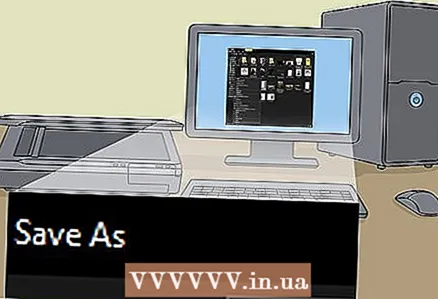 2 Save the file to a new location. Right-click on the scanned image and then click "Save As ...". In the Save File dialog box, select the folder where you want to save the file and the file name, and then click Save.
 - By default, all scanned images are saved to the Scanned Images folder in the Pictures folder.
Method 5 of 5: Email the Image
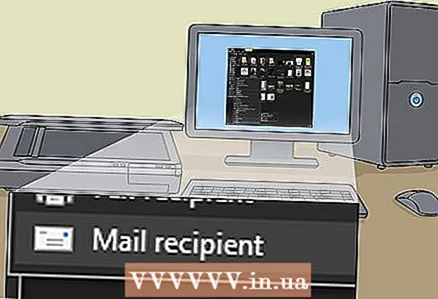 1 Send the scanned image to your email program. Right click on the scanned image, click "Send" and then "Email".
 - This will open your email program and automatically create a new message with the scanned image as an attachment.


