Author:
Ellen Moore
Date Of Creation:
13 January 2021
Update Date:
1 July 2024

Content
- Steps
- Method 1 of 4: On Windows
- Method 2 of 4: On Mac OS X
- Method 3 of 4: On iPhone
- Method 4 of 4: On an Android device
- Tips
- Warnings
This article will show you how to scan documents on your computer, smartphone, or tablet. To do this on your computer, use a connected scanner (or a printer with a built-in scanner). On iPhone, you can use the built-in Notes app, and on Android, you can use the Google Drive app scan.
Steps
Method 1 of 4: On Windows
 1 Place the document face down in the scanner. Make sure the scanner is turned on and connected to your computer.
  2 Open the start menu
  . Click on the Windows logo in the lower left corner of the screen.
  3 In the start menu search bar, type fax and scan. This will search for Fax and Scan.
  4 Click on Fax and Scan. You will find this program at the top of the Start menu.
  5 Click on New. It's in the upper-left side of the Fax and Scan window. A new window will open.
  6 Select your scanner. If there is no name for your scanner at the top of the window, or if you have selected a different scanner, click Change (at the top right of the window) and then select the scanner you want.
  7 Select the type of document. Open the drop-down menu "Profile" and select the type of document (for example, "Photo").
  8 Specify the color of the document. Click the Color Format drop-down menu, and then select Color or Black & White. The scanner can also have color settings.
  9 Select the file type. From the File Type drop-down menu, select the file format (for example, PDF or JPG) in which the final file will be saved.
 - We recommend choosing PDF if you are scanning a document, not an image.
 10 Change other options on the page. Depending on the scanner, the page may display other options (for example, Resolution) that you can change.
  11 Click on Preview. This button is at the bottom of the window. A preview window will open and you can see what the scanned document will look like.
 - If you don't like the way the document looks in the preview window, correct the document in the scanner, and then click Preview again.
 12 Click on Scan. This button is at the bottom of the window. The document will be scanned with the specified parameters and saved in the specified format.
  13 Find your scanned document. For this:
 - open the start menu
 ;
; - open File Explorer
 ;
; - click "Documents" in the left part of the window;
- double-click the Scanned Documents folder.
- open the start menu
Method 2 of 4: On Mac OS X
 1 Place the document face down in the scanner. Make sure the scanner is turned on and connected to your computer.
  2 Open the Apple menu
  . Click on the Apple logo in the upper left corner of the screen. A dropdown menu will open.
 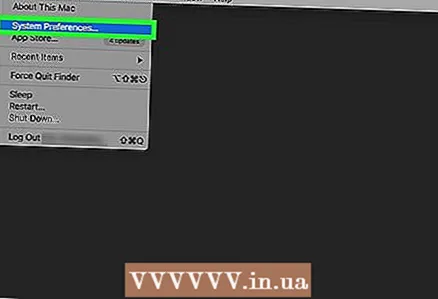 3 Click on System settings. It's near the top of the drop-down menu.
  4 Click on Printers and scanners. This printer-shaped icon is on the right side of the System Preferences window.
  5 Select your scanner. Click on the name of your scanner (or printer) in the left pane.
  6 Click on the tab Scan. It's at the top of the window.
  7 Click on Open Scanner. You will find this option at the top of the Scan tab.
  8 Click on Settings. It's in the lower-right side of the window.
 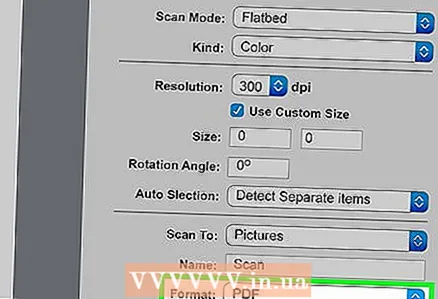 9 Select the file type. From the Format drop-down menu, select the file format (for example, PDF or JPEG) in which the final file will be saved.
 - We recommend choosing PDF if you are scanning a document, not an image.
 10 Specify the color of the document. Click the View drop-down menu (at the top of the page), and then choose a color option (for example, Black & White).
  11 Select the folder where the scanned document will be placed. From the Save to drop-down menu, select the appropriate folder (for example, Desktop).
  12 Change other options on the page. Resolution or Orientation may appear depending on the type of document you are scanning.
  13 Click on Scan. It's in the lower-right corner of the window. The document will be scanned and sent to the specified folder.
Method 3 of 4: On iPhone
 1 Open the Notes app
  . To do this, click on its icon.
  2 Click on the icon for creating a new note
  . It is located in the lower right corner of the screen.
 - If a note appears on the screen, tap Notes in the upper left corner of the screen.
- If a list of folders appears on the screen, click on the desired folder.
 3 Click on
  . This icon is at the bottom of the screen. A pop-up menu will open.
 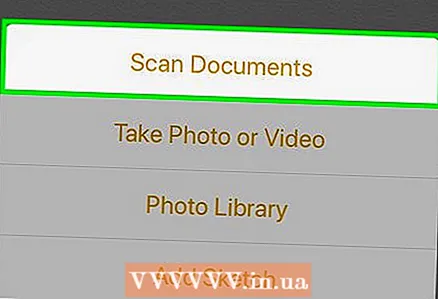 4 Click on Scan documents. It's near the top of the pop-up menu.
  5 Point the smartphone camera at the document. Make the entire document appear on the device screen.
 - The better the document is visible on the screen, the better it will appear in the final file.
 6 Click the scan button. It looks like a white circle and is located at the bottom of the screen. The document will be scanned.
  7 Click on Continue scanning. It's in the lower-right corner of your screen.
 - Drag one of the marks located in the corners of the scanned document to crop it.
- To scan the document again, click on “Rescan” in the lower left corner of the screen.
 8 Click on Save. It's in the lower-right corner of the screen.
  9 Click the icon
  . It's in the upper right corner of the screen.
  10 Scroll right and tap Create PDF. Scroll through the bottom, not the top row of options.
  11 Click on Ready. It's in the upper-left corner of the screen.
  12 Save the scanned document. Click Save To when prompted, then follow these steps:
 - click on "iCloud Drive" or another cloud storage;
- click "Add" in the upper right corner of the screen.
Method 4 of 4: On an Android device
 1 Open the Google Drive app. Click the blue-green-yellow triangle icon.
  2 Select a folder. Click on the folder where the final file will be sent.
  3 Click on +. This icon is in the lower right corner of the screen. A pop-up menu will open.
  4 Click on Scan. This camera-shaped icon is in the pop-up menu. The smartphone (or tablet) camera will turn on.
  5 Point the smartphone camera at the document. Make the document appear in the center of the screen.
 - Make sure you see a complete and undistorted document on the screen.
 6 Click the scan button. It looks like a blue and white circle at the bottom of the screen. The document will be scanned.
  7 Click on ✓. This icon is in the lower-right corner of the screen. The scanned document will be saved.
 - To crop the scanned document, drag one of the marks around the scanned document.
- To change additional options (for example, color), click "⋮" in the upper right corner of the screen.
- To add additional pages to a PDF document, click + and scan another document.
 8 Save the scanned document to your smartphone. Click ⋮ in the lower-right corner of the scanned document thumbnail, and then click Download from the menu.
Tips
- Use Google's PhotoScan app to scan photos on your smartphone or tablet.
Warnings
- If you scan a document that is wrinkled, dirty, or otherwise damaged, the quality of the final file will be below average.


