Author:
Alice Brown
Date Of Creation:
26 May 2021
Update Date:
1 July 2024

Content
- Ingredients
- For pancakes
- For additional items
- Steps
- Part 1 of 2: Prepare the Pancakes
- Part 2 of 2: Decorate the treat with additional elements
- Tips
Are your family fed up with ordinary pancakes? Are you looking for a simple and fun recipe that kids can help with? Then try the pancakes in the shape of everyone's favorite cartoon mouse! This recipe is simple, unpretentious and takes just a few minutes to complete, perfect for a breakfast after a kid's sleepover.
Ingredients
For pancakes
- Batter for pancakes - any standard dough is suitable for this: from whipped at home to a semi-finished product;
- Butter;
- The filling of your choice (syrup, jam, honey, peanut butter, etc.).
For additional items
- Chocolate flakes
- Blueberry
- Strawberries cut in half
- Chocolate sauce
- Kitchen syringe
Steps
Part 1 of 2: Prepare the Pancakes
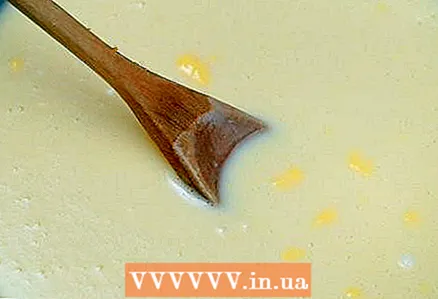 1 Beat the batter. Mickey Mouse pancakes can be made from almost any type of pancake batter. It doesn't matter if you whipped it up at home, or bought a mixture of a semi-finished product in a store (trademarks "Bisquick", "Krusteaz" and others).
 - Follow our guide to make great dough. One of our articles contains a gluten-free dough recipe.
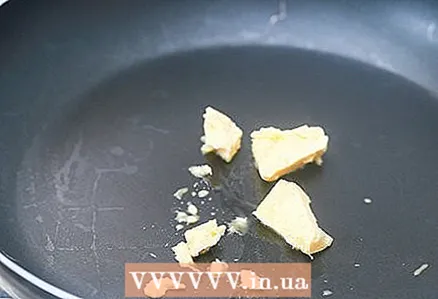 2 Heat oil in a wide skillet or saucepan. Take a large enough serving of butter (one to two tablespoons is sufficient) and place it in the skillet. Heat over medium heat. It should melt quickly. Grease the entire surface of the pan to evenly coat the bottom.
 - For frying pancakes, very wide saucepans are better suited - remember that there should be enough space at the bottom for the mouse's huge ears.
- If you intend to do without butter, then use margarine or unflavored edible oil (such as vegetable oil or canola oil).
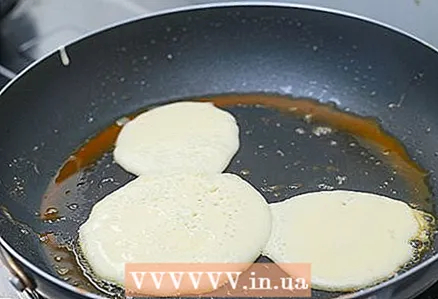
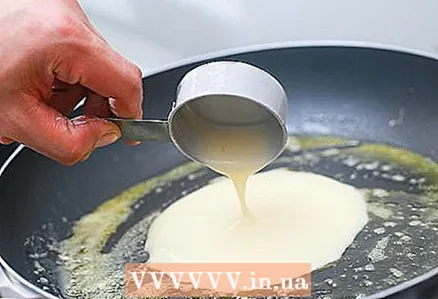 3 Pour the pancake into the pan. It's time to start frying as soon as the pan is heated to such a state that a drop of water that gets on it begins to hiss and "dance". Place some dough in a cup or spoon and pour it over the skillet. For a medium-sized saucepan, ¼ cup is sufficient. Pour the dough in one pile so that it spreads evenly into a flat circle.
 - Leave some room for Mickey's ears on one side of the pancake.
 4 Pour two more pancakes into the pan (connecting to the first large circle). Place two tablespoons of dough 2.5 cm from your head so that it spreads smoothly and comes into contact with the main pancake. These are the famous Mickey Mouse ears! Try to keep them on one side of your head about 1 inch apart, connecting to the main pancake, but not to each other.
 - The ears should be slightly smaller than the first circle. Mickey Mouse has huge ears, but they are no bigger than his head.
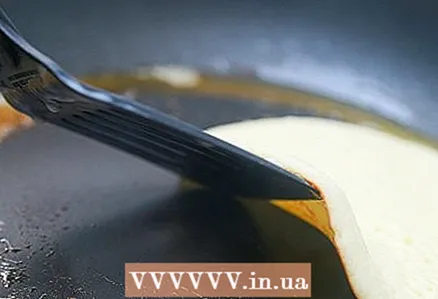
 5 Check if the bottom side is ready. Fry the pancakes until bubbles begin to appear and then burst, leaving "open" areas on the surface of the dough. Pry the edge of the pancake with a wooden or metal spatula and look underneath. It's time to turn the pancake over if its underside has acquired a golden brown hue. If it is still light in color, let it grill for an additional minute or two.
 - The thicker the pancake, the longer it will take for it to reach the "flip" point.
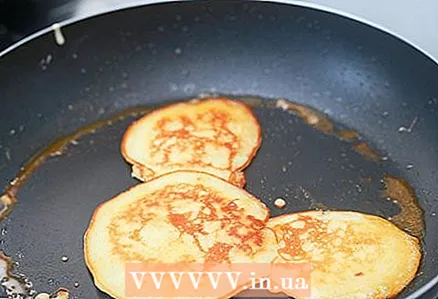 6 Turn over carefully. Pry the center of the head with a spatula. If the scapula is wide enough, use it to support the ears at the same time. With one nimble movement of your hand, lift the pancake, turn it over, and toss it face down into the skillet.
 - This is the only tricky part about making Mickey Mouse pancakes. Because of the ears, it is difficult to turn the pancake over, because during this they can accidentally fall off. If you have any problems, read the WikiHow additional article on this topic.
- Allow the ear to fry separately if one of them comes off during the flip. Just at the very end of cooking, place it near your head. Add a small amount of raw dough between two pancakes and cook for a minute. The added dough will serve as a kind of "glue" that reattaches the ear to the head.
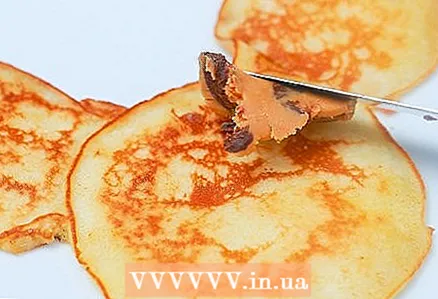 7 Serve the pancakes with your favorite toppings. After a few minutes, take the same spatula to check the shade of the underside. The pancakes are ready when they are golden brown. Remove them carefully and transfer to a plate, carefully watching the ears. Garnish them with syrup or another filling of your choice!
 - If you are worried that the pancakes will turn out to be damp, make a small cut in the tightest and most uncooked part of the dough. Serve such pancakes with the notched side down so that the child is not embarrassed by the notch on the mouse's face.
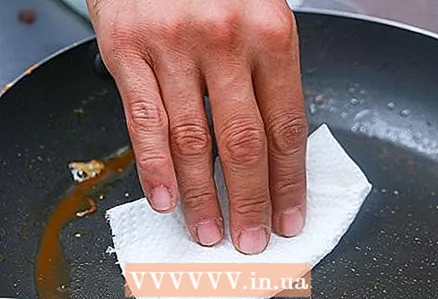 8 For each additional pancake, add more fat as needed. Each pancake you put in the pan absorbs some of the butter (or vegetable) oil you use to grease the pan.If the pan looks too dry, then quickly wipe it off with a paper towel and then add some more fat.
 - Do not try to neglect this step, otherwise the pancakes will stick to its surface without proper lubrication. This will make it difficult to turn the pancakes (which can also burn).
Part 2 of 2: Decorate the treat with additional elements
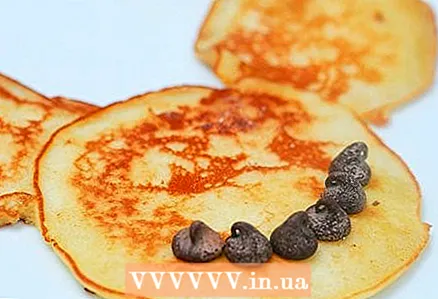 1 Lay out your smile with chocolate flakes or berries. Do you want to surprise your guests or your child? Then add a delicious taste to the dough by making a Mickey Mouse face. For proper results, you will need dark colored sweet ingredients (such as chocolate or blueberries) so that you can easily see (and taste) the smile!
 - Place the dough in a skillet and add a mouth and eyes on top. This will give the food time to imprint on the pancake, so it will not fall off in the future.
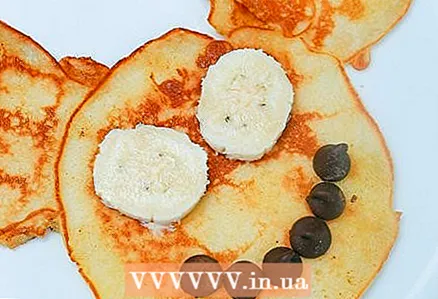 2 Slice the banana to make the eyes. To recreate Mickey's cartoon eyes, you will need a banana and some berries or chocolate balls. Wait until the pancakes are completely browned on both sides. As you prepare them for serving, cut two thin oval banana slices (cut diagonally to do this). Place these two pieces in the center of the head to recreate the whites of the eyes. In the bottom corner of each banana slice, place a chocolate ball or berry to simulate the pupils.
 - If you want to portray a mouth, then before turning the pancake over for the first time, lay out a smile with the help of chocolate flakes or berries.
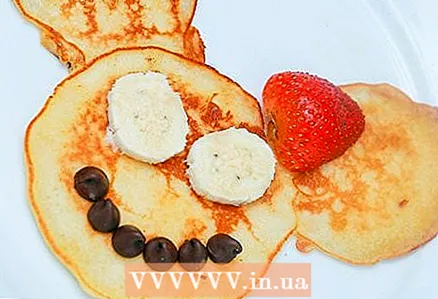 3 Take the strawberry halves to create a Minnie Mouse bow. Minnie Mouse's face is very similar to Mickey, but she almost always wears a red or pink bow. To make a mouse friend, cut the strawberries in half. And then, while serving the pancakes, place the two halves at the top of Minnie's head, joining them together with tapering ends to create a bow.
 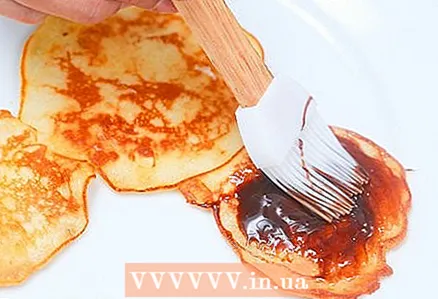 4 Use chocolate sauce to paint on the darker parts of Mickey's face. The mouse has black ears and "hair". And to depict this, take chocolate sauce (or another dark gravy) and paint over the pancakes in the right places. When the treat is ready, dab some of the sauce on the ears and, to paint over, smear it with the back of a spoon. Then move to the edges of the top of the head, filling it with sauce to create a "hairline".
 - If you want to achieve the most accurate result, draw a cape on the mouse's forehead. In other words, pull his hair together by tapering the tip at the top of his forehead. Use any image of Mickey or Minnie Mouse to recreate the cartoon look.
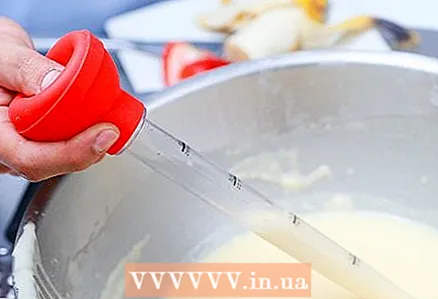 5 Layer the dough to create shaded areas. Despite the problematic nature of this process, this is a great trick for making amazing pancakes. You will need a kitchen syringe or piping bag to distribute the dough in small, precise portions. The basic idea is to lay down the dough first for the darkest features of the face, and then spread the next part for the lighter areas. The first dough will take longer to cook, so it will be darker in relation to the rest of the pancakes. Read the step-by-step guide below:
 - Pour some dough into a kitchen syringe or piping bag.
- Draw on Mickey Mouse's frying pan the mouth, nose, hairline, and eyes. Don't fill in the "whites", but instead just draw the outline of the eyes and pupils. Add two tablespoons of dough where you want your ears to be. Be sure to make sure that they are in contact with the hairline.
- Allow to cook for a minute or two, until the product is light golden brown.
- Place a spoonful of dough right in the middle of your face. Fill in the mouse's face and the whites of its eyes. The dough should cover everything that was put before.Use a spoon or spatula to round your face.
- When the second batch of batter is golden brown, gently turn the pancakes over and cook the second batch as usual. The darker areas of the pancakes should show brightly defined facial features.
Tips
- The second side of the pancakes cooks faster than the previous one because there is less raw dough left in it to absorb heat. So try not to burn them!
- Place the pancakes on a wide, flat sheet for cooking. Otherwise, if you cover or stack the pancakes on top of each other, they will become damp and lose their delicious crunchy texture.


