Author:
Gregory Harris
Date Of Creation:
7 August 2021
Update Date:
1 July 2024

Content
Remixing is incredibly fun. You've heard examples - it's that ballad from the 70s, but now it's got a modern beat that brings the old song back to life. A remix can change the style, feeling, even emotional coloring of the track, changing the context of the sections, the harmony of the melodies, adding new elements and much more. It seems like this can only be done in the studio, but you can quite cope with it yourself and at home, just first you need to get comfortable with sound editing programs like Audacity.
Steps
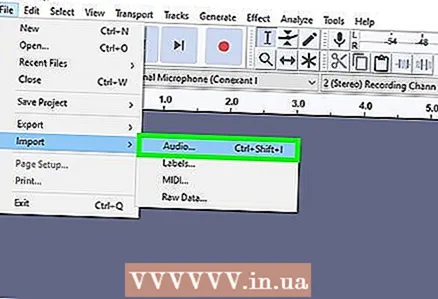
 1 Start by choosing a good sound editor. It is in the editor that most of the work is done. With a digital audio workstation (DAW), you can import audio tracks there, which can be beats, instrumental tracks, tracks with vocals, sound effects, etc. Some editors can do more complex tasks, such as adjusting the tempo or pitch. Almost all programs can perform operations with "slicing" tracks, their transposition, reverse and time stretching.
 - If you're on a budget, Audacity (http://audacity.sourceforge.net/) is the best editor. It is free and works with most operating systems.
- Ableton is also a good choice, but only if money isn't an issue. With a price tag of around $ 500, Ableton is more geared towards live performances. You can do remixes at home, but you can also perform them live.
 2 Pick a track to remix. Remixes are derivative works, that is, they are created on the basis of at least one already existing work. Selecting a track for remixing is a very important part of the whole process. Here are some things to think about:
 - Choose something that contains elements that you like: hooks, melodies, choruses, or something else. In remixes, usually one of the sections of the song is repeated over and over again several times in a row, so choose those sections that do not get boring too quickly and continue to hold interest.
- Usually you will need to work with the final mix of a track taken from a CD. If you can get unmixed tracks directly from the musician, especially vocals, it will make your remix sound cleaner and easier to work with.
- While there is nothing better than having the original tracks handy, both Audacity and Ableton can remove vocals from the mix (as do carque effects), or remove everything but vocals. It's not easy to do, and usually can't be 100% done, but you can soften the backing tracks so that the end result will sound like the vocals are separated.
 3 Add your own sounds. From now on, you add your own handwriting to the track. This can include just changing the mood of the track, or by adding a new rhythm to lead to its complete destruction.
  4 Be sure to pay attention to the copyright laws in your area if you plan to sell or perform music. Unauthorized use of tracks can cause you problems with the law
 - Think about the moments that you like the most, what would you like to leave, what to change? If necessary, listen to the track several times to get a better understanding of what you would like to see in the final result.
 5 Parse the track. To simplify your work, you need to separate not only melodic fragments, but also rhythmic ones.
 - You can use a sound editor like Ableton or Audacity. In these programs, it is quite easy to "cut" the loops.
- "Cutting" the loops is a fairly straightforward process. First, listen to your file and determine which pieces you want to cut. Then select the fragment you like in the sound editor. A good way to evaluate the sound of a segment is to loop it back. If it sounds uneven at the junction, then you should lengthen or, conversely, shorten the fragment.
- If your program can loop and at the same time allows you to change the moments of the cut, then first adjust the start moment, make sure it starts exactly where you want it. Then change the length of the loop so that the result sounds seamless, natural, and most importantly, tempo.
- Be careful with loops that contain reverb or crash cymbal sounds, as they can extend far beyond the section. On the other hand, a sharp cut in the reverb can create an interesting effect.
- Make sure your loops are cut as accurately as possible, this will allow you to adjust the tempo in your editor more accurately. In programs like Sonar or Acid, which use almost the same correction methods, this is especially important.
- Time correction is achieved either by defining the BPM (beats per minute) of the loop (often automatically determined), or by setting markers to mark each beat in the loop edit window. This will all have the same effect as cropping and looping, but it will preserve the original file.
- You can also take the time to do some extra work on your buttonholes. If you only have the final mix, you can use the EQ to emphasize vocals or individual instruments to a certain extent.
- Remember that this will not completely separate the instrument or vocals from the rest of the track.For example, you can make the lower case (kick, toms) and bass line easier by attenuating the low frequencies. If you place a vocal loop on top of a new bass line or new drums, you can soften the bass for a clearer sounding result.
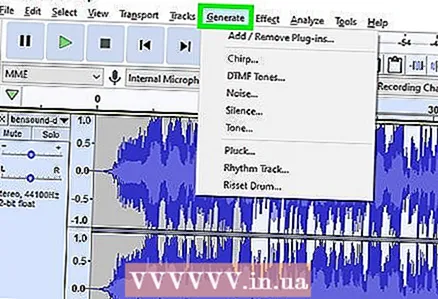
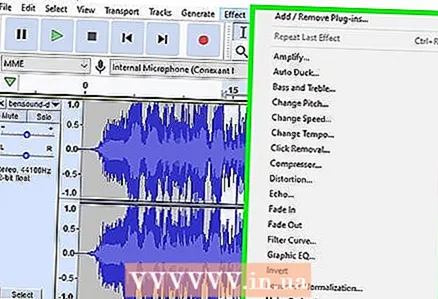 6 Experiment! Try all the possible effects in your sound editor to see what effect they have at each stage. There is a lot to choose from, including delay, phaser, chorus, flanger, filters and other EQ effects, reverb, amplitude modulation, ring modulation, frequency modulation, time stretch, pitch shifter or tone correction, vocoder, and more. Experimenting with all of these possibilities will allow you to figure out what you like and also train your hearing a little.
 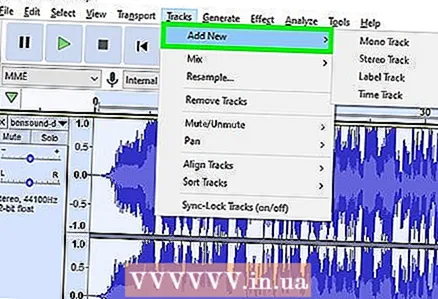 7 Transform the track. First, set the BPM and time signature (in pop music it is usually 4/4, but sometimes 3/4). Then import the loops. After importing them and adjusting the time, you can select the desired tempo without significant loss in quality. Then you can start working on the track.
 - It's safe and easy to remix - follow the original form (intro, chorus, verse, breakout and chorus), but you can change it and do it however you want. You can put vocals from a verse on a chorus part. You can use the verse as it is, or you can cut it into individual phrases and overdub them with a reverse effect. You can change the harmony of a vocal or melody by adding completely new elements. Have fun and experiment!
 8 Export your creation (mastering). When your remix has both a beginning and an end, and you are satisfied with the result, then you can start exporting. When exporting, select WAV or AIFF formats (do not encode to MP3 yet). Load the result into a sound editor and normalize it to 99%. In this way, you will equalize the volume level almost to the maximum level. You can make the remix even louder by adding a compressor effect to it.
 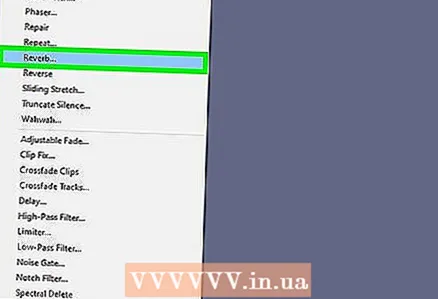 9 Optionally, it is recommended to return to the "master" of your track. This means applying effects to bring out certain parts of your mix if you want to have harder bass or brighter highs. Recording in a professional studio gives a good result.
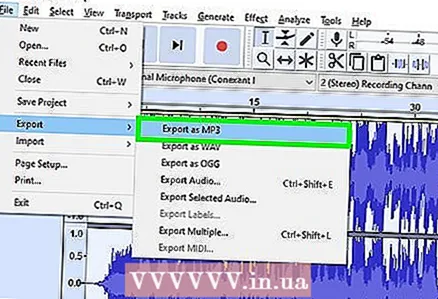
  10 Distribute the remix. Convert the file to MP3 using your favorite converting program.
Tips
- If you're using it with Ableton Live, you can work with regular samples as well. Ableton is without a doubt one of the most flexible looping software on the market. It allows you to perform operations to correct tone and time based on granular synthesis, change the start and end points of the loop, and has an easy-to-understand interface for correcting the time.
- Remixes can be performed in almost any genre. In the world of pop music, the reasons for the emergence of remixes are more practical than creative - the transformation of pop or rock songs into club songs. The most important thing to remember is that it doesn't matter what genre the remix belongs to: dub reggae, hip-hop, house-style pop remixes or whatever, as long as the author of the remix adds his own handwriting to the result. leaving important elements of the original.
- If you are using Ableton Live, make sure to use the time correction method that suits your sample type. The "Beat" mode works well for drums, but doesn't go well with vocals. The "Texture" mode is suitable for most types of samples, but often, albeit slightly, affects the tone of the sample. The "Tone" mode works well in most cases.
- Pay attention to quality settings when converting files. 128 is the default bitrate, but it has some noticeable drawbacks. At a minimum, the file should be encoded at 192, but uncompressed formats like FLAC are the best choice.
Warnings
- If you are remixing a copyrighted song, do not start distributing it without first getting permission from the copyright holder. Musicians can take serious measures against you, but they are more likely to do so only if your remix becomes very popular.
What do you need
- Required editors
- Computer
- Suitable tracks
- CD for recording (if needed)


