Author:
Clyde Lopez
Date Of Creation:
24 June 2021
Update Date:
1 July 2024

Content
- Steps
- Method 1 of 3: Organize Information Properly
- Method 2 of 3: Designing an invitation
- Method 3 of 3: Printing invitations
- Tips
If you're looking to save your wedding budget without sacrificing style, making your own wedding invitations can help you cut your expenses pretty well. In this article, we'll walk you through from start to finish on how to make wedding invitations.
Steps
Method 1 of 3: Organize Information Properly
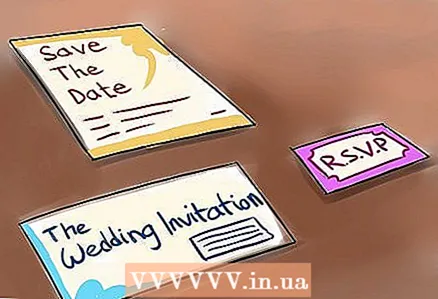 1 Break the information apart. Usually, wedding invitations are divided into three parts: the so-called save-the-date, the wedding invitation itself, and the response card. Decide if you need all three and how similar or different they should be.
 - Save-the-date usually consists of an engagement or wedding announcement, the couple's names, and the (optional) wedding date and time. Here you can omit the location of the event or any other details.
- The wedding invitation must be sent at least 6 weeks before the wedding. The invitation itself must include full information regarding the wedding, including the couple's names, venue, date and time. At your choice, you can include any other information that you think is necessary.
- A response card is a small card sent along with an invitation. You don't need to do it, but it can actually be very useful. It is sent in one envelope along with the invitation and provides your invitees with the opportunity to answer if they will come to the wedding. In addition, using invitation cards can help you count the number of guests and find out the guests' preferences. The invitees will send you an invitation card back so you know how many people you need to calculate the wedding for.
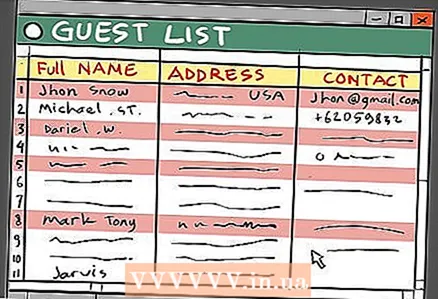 2 Make a list of invitees. Before you start making invitations, you should calculate how much you need. To do this, it is better to make a list of invitees, organizing it by family.The list should include the full name, address, if necessary, email and telephone number of the invitees.
 - It is best to put the list with all the information in an Excel spreadsheet on your computer. This way, it will be easy for you to find the information you need and make the necessary changes.
- Once you have received the answer card, mark the names of these guests in your table. This will help you keep track of guest information and see who you haven't received a response from yet.
- Consider perhaps some of your invitees need a special invitation. For example, if someone lives in a remote area, it might be better to send the invitation via email. Alternatively, if there are invitees who do not speak Russian, consider translating the invitation for them.
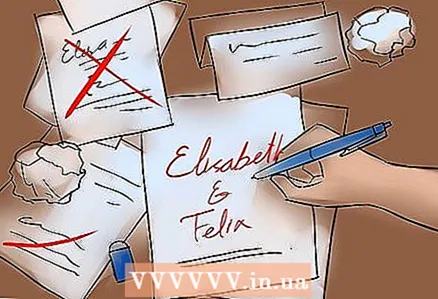 3 Write down all the information required for the invitation. When you have already decided which of the components of the invitation you will do, make an image for each of them. Choose the exact words you want to write, including the order of the invitations and the amount of space between parts of the invitation.
 - Decide in what style you want to write your invitation: formal or informal. The classic formal beginning includes words like "Dear (s) [names of invitees], we invite you to our wedding ceremony, which will take place on [date, time]" or "Dear (s) [ names of the invitees], we are pleased to invite you to the gala evening dedicated to our wedding day, which will take place on [date, time] ".
- If you want to create your wedding invitations in a less formal style, you can start by saying "Dear (s) [guest names], welcome to our wedding!"
- Although the invitation text is quite simple, be sure to check that there are no spelling or grammatical errors in it.
- If you wish, you can make several versions of invitations in different styles.
- If necessary, add a travel plan to the place of your celebration in the invitation, especially if it is far away and most guests do not know the way.
Method 2 of 3: Designing an invitation
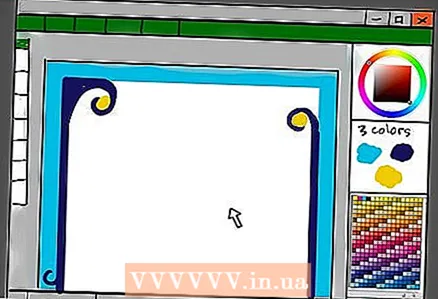 1 Choose a color combination. Make invitations only after you've organized the bulk of your wedding. To make everything look great, choose colors that match the main decorations.
 - Limit the color gamut to a maximum of 3 colors. This way, you can avoid clumsy, gaudy invitations.
- Use at least one base neutral color. Usually white or cream colors are used for the base. However, you can give preference to any light shade. Next, choose 1-2 bright, rich shades to complement the base.
- Make sure the colors you choose have sufficient contrast and the text is easy to read.
- Use the same color scheme for the invitation, save-the-date, and response cards. All three components must be in the same style.
- Choose a color for each element of your invitation - background, text and additional design elements.
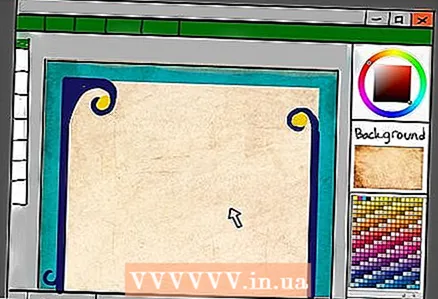 2 Pick a background design. Select a background before adding quiz and pictures. If it is a formal invitation, the background should be neutral. For a less formal invitation, fun graphics and playful elements can be used as backgrounds.
 - If you choose a deeper color for your background, think about a color scheme. It may be appropriate to use a smooth transition from one shade to another.
- Consider using a pattern or image as a background. Despite the fact that the area with the text will have to be lightened a little, using a pattern or an image as a background can look very beneficial.
- You can also use printing paper that already contains a print. Thus, you only need to select and correctly position the text on the invitation. You can choose paper with any print you like.
- You can also create the illusion of a print by choosing textured paper.
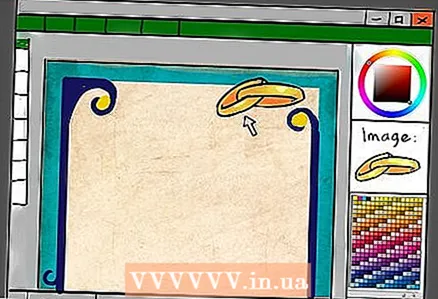 3 Select images. If you want to add images to your invitation, first select a few of the possible options. If you are unsure about the choice, check with your friends or family. Among them, for sure, there is a creative person who is ready to help you.
 - If you want to use images, you can design them yourself or download them from the Internet. Among the many images, you can choose a frame around the edges or around the text, small inlay designs, clipart, or your engagement photo.
- If you are using an image, consider whether it will be an image attached separately at the top of the invitation, or it will be the same sheet of paper that includes both text and an image.
- Don't go overboard with details. If you are using textured paper, do not add too many images or frames. Do not use more than 2 images and make sure all attention is focused on the text.
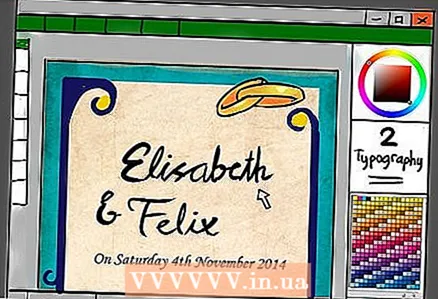 4 Format your text. Just as important as the background and images is the choice of font. He will give a special mood to your invitation.
 - For a formal invitation, choose classic serif italic. This will give your invitation a stylish, noble look.
- If your style is informal, use plain sans-serif text that resembles handwriting. You don't have to follow all the rules, of course, and you can use a more formal font, of course.
- Limit your choice of fonts to a maximum of two. It is perfectly acceptable to use multiple fonts for wedding invitations, however, too much variety will be conspicuous and difficult to read.
 5 Consider other possible additional elements as well. Today, wedding invitations are very diverse and can include many additional decorative elements. Corrugation, ribbons, bows, confetti, sparkles - whatever you want.
 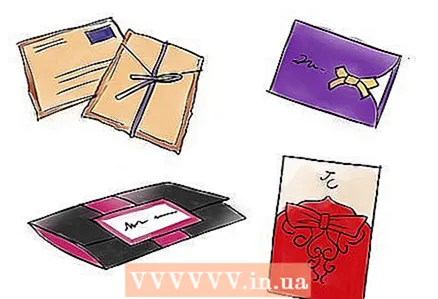 6 Select an envelope. There are hundreds of envelopes on sale in a variety of styles, including those designed for wedding invitations. This part of the work will be difficult to do by hand, of course, not counting the most courageous brides. Find the right size and color for envelopes.
 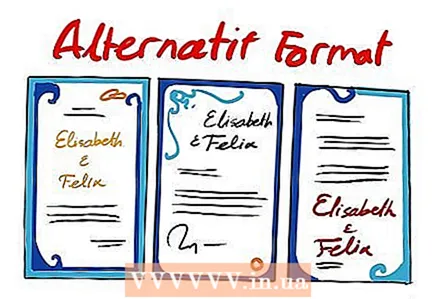 7 Create a layout for your invitation. With all the elements selected - text, colors, backgrounds, and images - create a layout for your invitation. This will be an invitation model with a perfect arrangement of text and images.
 - Make multiple versions of the same prompt by moving the text around, decreasing / increasing the size of objects and trying different frames.
- Don't be tied to the same format and style. Try different styles to find the best one; you may be surprised at what you like and what you don’t.
- Remember the size of the invitation, which must fit in the envelope. Perhaps this will slightly change the format of the objects.
 8 Save the final invitation. Once you've considered all the possible text layouts and different styles, save the final invitation. Make sure that there are no errors in the text and that the size is correct.
Method 3 of 3: Printing invitations
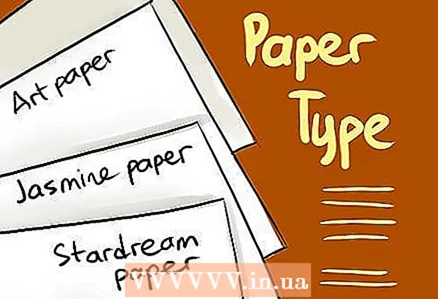 1 Choose paper. Even though you have already decided whether the paper will have texture or pattern, now you should choose the final type of paper for printing.
 - Go to your local print shop to see the different types of paper that are available. Pay attention to the price, considering the discount when buying in bulk.
- Avoid glossy photo paper when choosing, as it can be easily damaged. Choose matte or cardstock paper.
- Make sure you can cut the paper, or you can order the size you want.
- If you are counting multiple layers for your invitations, make sure you calculate the correct paper size for each layer.
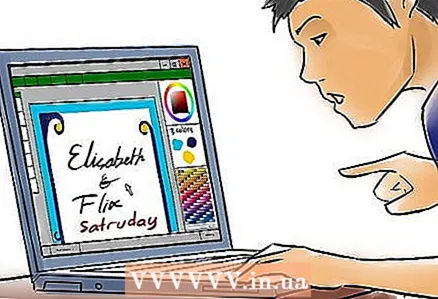
 2 Think about how you want to print your invitations: at home or in the print department.If you want to print invitations at the print department, it will take quite a lot of money.
 - If you decide to print invitations at home, make sure your printer is compatible with the type of paper you purchased and that you have enough ink to print.
- Call the various print departments in your area to compare prices. The usual printing and cutting of invitations may not be that expensive.
- Make sure the size of your invitations is accurate so you don't overpay for reprints due to an error.
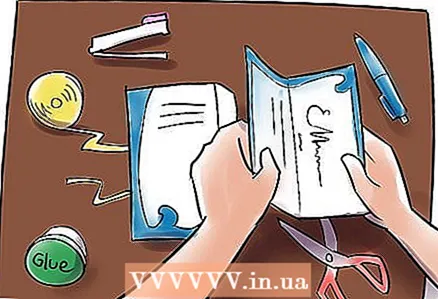 3 Collect all the invitations together. After printing and cutting, put all the invitations together! If the invitations have multiple layers, glue them together. Place answer cards and attachments inside the invitations, and then place them all in envelopes.
 - You can seal the envelope with glue stick or sealing wax.
- When specifying the address for sending envelopes, write clearly, or use printed address cards.
 4 Send out your invitations! When everything is ready, send out invitations, thus inviting your friends and family to celebrate your important event. make sure all invitations are sent at least 6 weeks before the wedding.
Tips
- On the Internet, you can inexpensively purchase a lot of ready-made invitation templates.
- You can also arrange for the production of your invitation with design students who will ask inexpensively for such work.

")

