Author:
Florence Bailey
Date Of Creation:
23 March 2021
Update Date:
1 July 2024
Content
- Steps
- Method 1 of 4: Preparing to Create a Functional Collar
- Method 2 of 4: Making a functional collar
- Method 3 of 4: Create a Stylish Collar
- Method 4 of 4: Understanding the Importance of Dog Collars
- Tips
A dog is man's best friend. Therefore, your desire to provide your pet with everything you need, including an amazing collar, is well founded. With a few simple steps, you can make an effective and inexpensive collar yourself. Alternatively, you can get creative and create an entire wardrobe of dressy dog collars. Most importantly, remember that the most important parameters of a DIY collar are the comfort and safety of your pet.
Steps
Method 1 of 4: Preparing to Create a Functional Collar
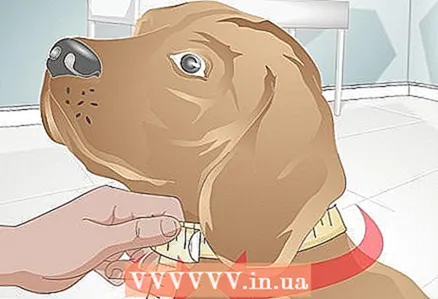 1 Measure your dog. For a collar to be effective, it must fit well around the dog's neck. To correctly determine the size of the collar, you first need to measure the circumference of the dog's neck. It is best to use a measuring tape for this.
 - Measure the circumference of the dog's neck where the collar should be. Then add another 5 cm to the measurement. Approximately this should be the size of the collar (depending on the size of the dog itself, the increase in the length of the collar may be less or more).
- If you don't have a tape measure, you can use twine. Cut the string around your neck and then measure it with a ruler.
- Collar width is also important. Large breeds should wear collars about 2.5 cm wide.For medium-sized dogs, collars 2 cm wide can be used, and for small breeds, about 1.5 cm wide.
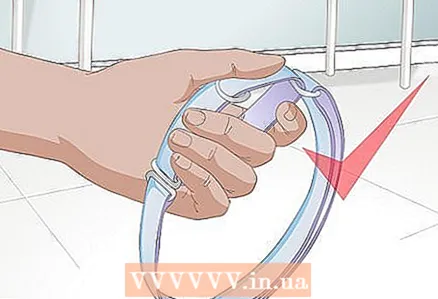 2 Decide on the right collar type. When making a collar, you must remember that different breeds have different needs. For example, if you have a large dog with some difficulty obeying vocal commands, you will need a very sturdy collar. If you are dealing with a small dog, then you have a little more choice. Think about what you want from a collar. Do you need it to control your dog or just to go out with it for a walk? Consider both your needs and the needs of your dog.
 - Standard collars are flat. They are usually secured with a clasp or buckle. Such a collar should fit snugly around the dog's neck, but allow you to slip a couple of fingers under it.
- For dogs with small heads, it is best to use half-choke collars. For example, for a Greyhound, you can make a collar from a strong tape (the length is slightly less than the girth of the neck) with two rings at the ends and an additional loop tightening them. The leash is attached to a loop on a loop that tightens the collar when the leash is pulled. The half-choke collar is especially useful for those dogs that are constantly trying to slip out of their collars.
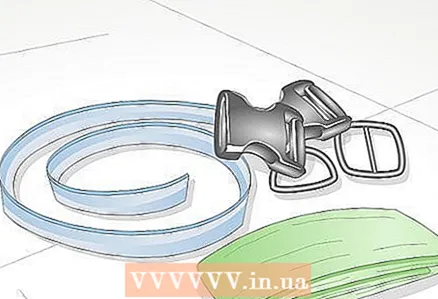 3 Prepare the required materials. Few materials are required to make a functional adjustable collar. You will need a strong textile tape (nylon tape is recommended). Buy one meter of this tape. This will be more than enough, but it is always useful to have a stock of material in case you make mistakes.
 - You will also need to purchase collar accessories. You will need a clasp (in this case, a fastex buckle), a D-ring, and an adjustment buckle. You can purchase these accessories online or at your local sewing and handicraft store.
- Purchase a fabric to trim the textile tape with. It is good to use cotton as it is easy to cut and wash. Additionally, you will need threads.
- It is very convenient to use a sewing machine for this project. If you don't have it, try borrowing it from your friends for a while. But if this does not work out, it will be possible to cope with an ordinary needle and thread. You also need an iron.
Method 2 of 4: Making a functional collar
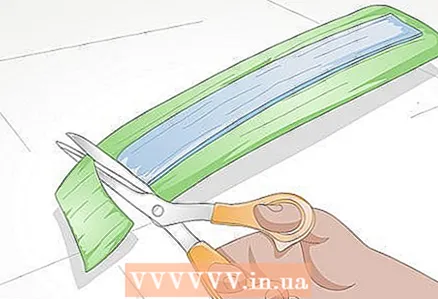 1 Open the materials. You need to carve out the fabric and cut the tape according to the estimated collar length. Note: The fabric rectangle for the tape should be 2.5 cm wider and longer than the length of the textile tape. It will be necessary to wrap and trim the tape with a fabric piece, so its dimensions should be larger.
 - A general rule of thumb for an adjustable collar is to use a piece of tape approximately 27.5 cm longer than the circumference of the dog's neck. In general, it is permissible to make an increase in the range of 25-30 cm.
- Use a lighter or match to lightly melt the ends of the tape so that the edges do not crumble.
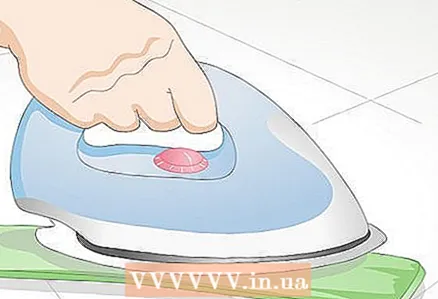 2 Connect the tape to the fabric. Place the tape on the wrong side of the fabric (exactly in the center) and iron with a low heat iron. Then fold the fabric overlays onto the tape, creating neat folds. This will create the base of the collar. Iron the tape and fabric again to lock the folds into the fabric.
 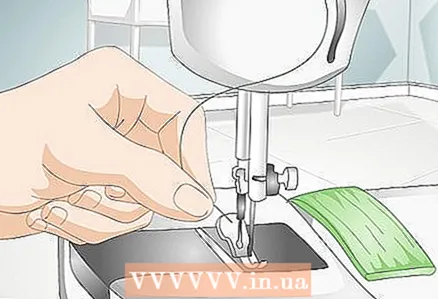 3 Thread the sewing machine and sew around the collar. Run a stitch around the entire circumference of the collar. If you do not have a sewing machine, use a needle and thread for this step. Basically, you need to securely attach the fabric to the textile tape. Use the simplest stitches and make sure the stitch is straight. Sew the edges of the collar around the entire perimeter and make sure the stitching is everywhere securely stitching fabric and tape together.
 - Use fabric scissors or regular household scissors to cut off any protruding threads.
 4 Attach the adjustment buckle. Place the adjusting buckle (center strap) over one end of the stitching tape and pull that end out of the buckle about 2.5 cm. It does not matter which end you choose. Sew the loop around the buckle. Sewing on the loop will secure the adjustment buckle to the collar.
 - When you sew the folded end of the tape to the main length, sew an hourglass stitch. For example, first sew a straight line of stitches along the bottom edge of the tip, then go up diagonally to the top edge, sew a straight stitch across the top, and then diagonally back down to the starting point.
- Cut off excess threads. The adjustment buckle is now neatly attached to the collar.
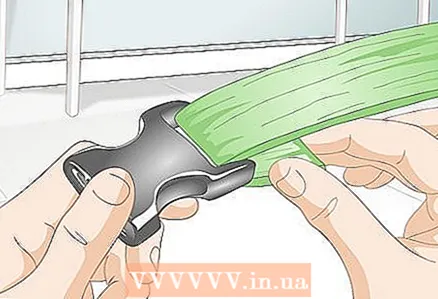 5 Attach the first half of the clasp. The collar clasp will be in two halves. Take one of them and slide it over the free end of the collar. Then thread the same end of the collar through the adjusting buckle to form an adjustable loop that secures the first half of the clasp. You will have a collar with one free end, but with a half buckle on the other end.
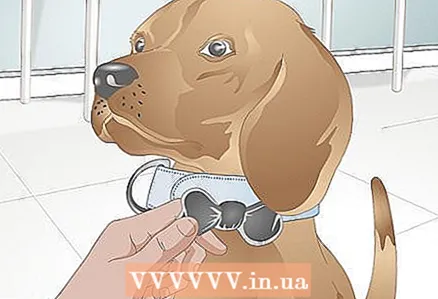
 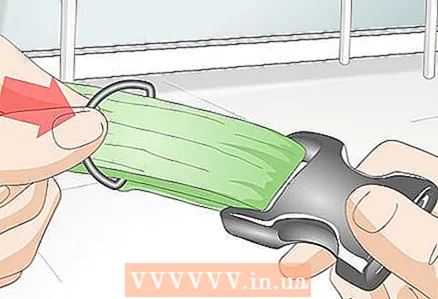 6 Place the D-ring on the collar for attaching the leash and sew the other half of the clasp to the free end. First, slide the D-ring onto the collar and then the other half of the clasp, extending about 5–7.5 cm through it from the free end of the strap. Fold this end of the ribbon to its main length and stitch the resulting loop with the buckle and ring on it.
 - Run hourglass reinforcement stitches on either side of the D-ring. This will prevent it from sliding over the collar. Your collar is now complete.
- Cut off any protruding threads.
Method 3 of 4: Create a Stylish Collar
 1 Enjoy your work. Once you get to know the basic method of making a functional collar, you can let your imagination run wild! For example, no one bothers you to create a whole wardrobe of collars for your dog, making a variety of collars with different prints.And if you like sewing, you can also sew and donate collars to friends and family who have dogs.
 - Sewing collars is quite simple. Therefore, if you have children, then such a project is quite suitable for working together with them. In addition, it can be used to teach children basic sewing skills.
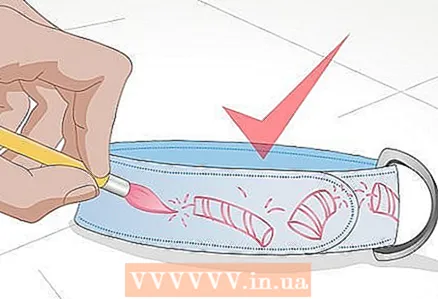 2 Take a seasonal approach. Everyone knows that dressing up for certain holidays can be quite interesting. So let your dog get a seasonal wardrobe too! For her, you can make a variety of collars to suit different seasons. You can also think of a collar featuring fireworks for the New Year or a heart print for Valentine's Day.
 - Look for themed fabrics after a season or holiday of interest is over. You can often get good discounts if, for example, you buy fabric with a New Year's print in spring or summer.
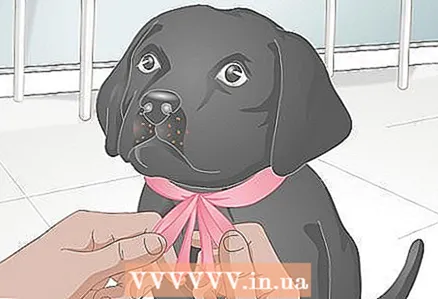 3 Try new materials. Some dog collars are decorative rather than functional. If you are interested in just such a collar, you can safely experiment with a variety of materials. For example, try using pretty ribbons for your collar. Many sewing and handicraft stores have wonderful colored ribbons (including prints). Ribbon collars work well for small dogs.
 - Leather is also an excellent material for collars. It will cost you more, but the collar made of it will last much longer.
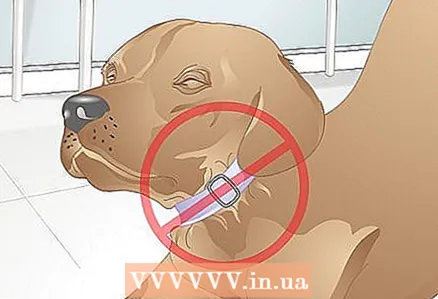 4 Be kind to your dog. Despite your desire to give your dog a stylish look, be sure to think about his comfort. For example, if you are dealing with a puppy, the collar should be adjustable and allow for extra length to grow. The collar should never be too tight.
 - Do not use string or any other material to make collars that can abrade or damage your dog's coat.
Method 4 of 4: Understanding the Importance of Dog Collars
 1 Put important information on the collar. One of the important reasons for using collars is that you just need to attach a tag with important information to something. The tag should always be on the pet for the sake of his own safety. If the pet gets lost, then the information on the address label will help him return home.
 - On the address label, you must indicate the name of the animal and the contact numbers of the owner.
- Make sure that when leaving the house, the dog must have a collar with an address tag.
 2 Observe safety rules. Even if your dog is well trained, something unexpected can always happen on a walk. For the safety of the dog and others, always take your dog for a walk with a collar and a leash. This will help you control your pet. Do not allow a dog to suddenly jump out onto a busy road or engage in a fight with another dog.
 - If you are having difficulty walking your dog on a leash, it is wise to consider taking a dog training course. Good obedience will make walks more enjoyable for you and your dog.
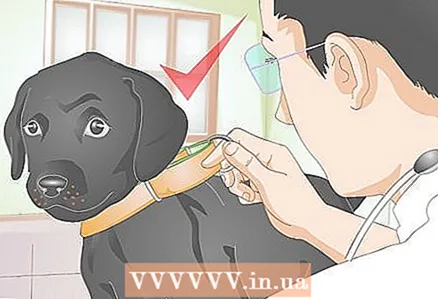 3 Always think about your dog's needs. Remember: a collar must be both comfortable and effective at the same time. Check with your veterinarian about which type of collar is best for your dog. Your pet's safety and health should be the most important factors to consider when making a collar.
Tips
- When choosing a collar type, consider your own lifestyle and your dog's lifestyle.
- Enjoy this project. Ask your friends to join you in this business and have a sewing party.
- Don't be cruel or make the collar too tight or uncomfortable. Remember to keep one or two fingers free between the collar and the dog's neck.


