Author:
Sara Rhodes
Date Of Creation:
17 February 2021
Update Date:
2 July 2024

Content
- Steps
- Method 1 of 2: Cardboard Method
- Method 2 of 2: Using a glue gun
- Tips
- Warnings
- What do you need
Toy pistols are great for parties and sunny days outdoors. To make a toy gun, try one of the following methods.
Steps
Method 1 of 2: Cardboard Method
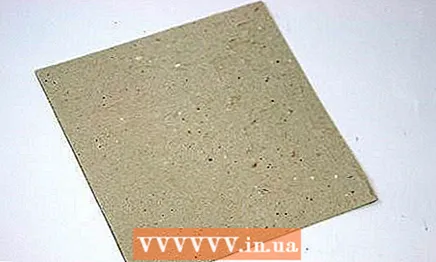 1 Cut a 15x15 cm piece of cardboard. You can cut it out of a cereal box or the back of a notebook cover.
 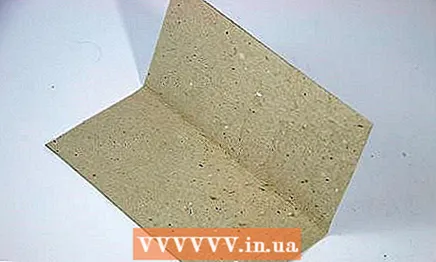 2 Fold the cardboard in half, then unfold it.
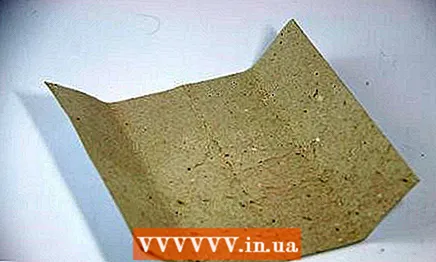 3 Fold the outer edges towards the fold you made in the previous step. There should be three folds on the cardboard.
 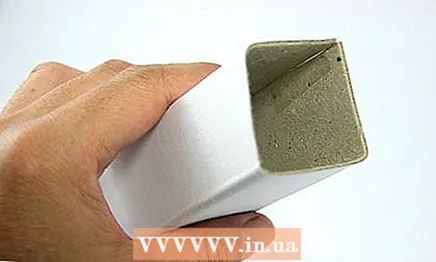 4 Fold and seal the whole thing in a rectangular tube shape with duct tape. Fold along the lines you've already made and use as much duct tape as needed. Do not pay attention to the sloppy appearance, you will paint the entire workpiece at the end.
 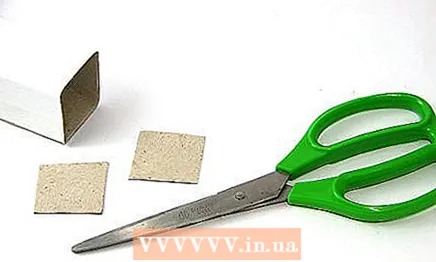 5 Cut out two 4x4 cm pieces of cardboard.
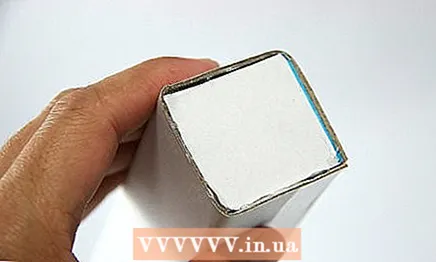 6 Tape one piece of cardboard to one end of the rectangular tube to cover the hole.
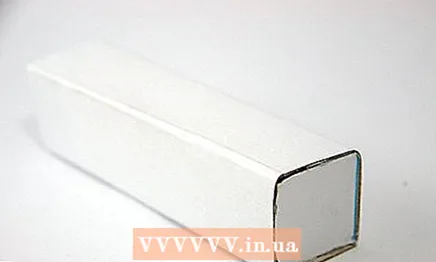 7 Use a second piece of cardboard to glue the other end of the tube. Take an empty or nearly empty glue stick, if available. Find the curled part at the bottom that is for the glue stick to slide out and remove it. (You may need to ask an adult to help you cut it if it doesn't stretch easily.) Glue it to the second piece of cardboard, and then place it in the open hole of the rectangular tube, so that the piece of glue adheres to the ends of the tube.
 - If you don't have a glue stick, you can cut a hole in the center of a piece of cardboard and tape it to the open end of the tube.
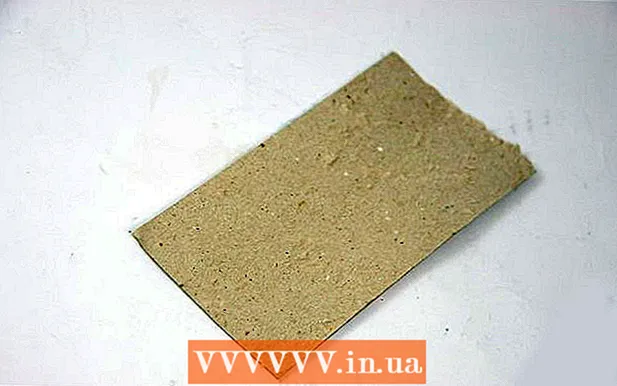 8 Cut a piece of cardboard 15x7.5 cm
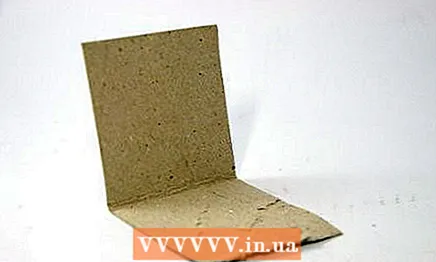 9 Measure the center on the long side, fold the cardboard, then unfold it. If folded correctly, each half should measure 7.5x7.5 cm.
 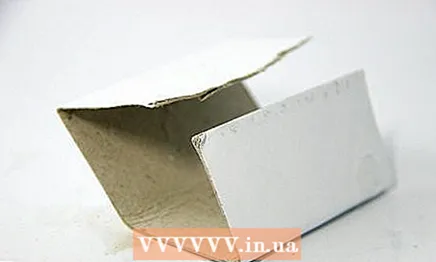 10 Fold the two outer edges towards the center fold as in the previous step. There should be three folds on the cardboard.
 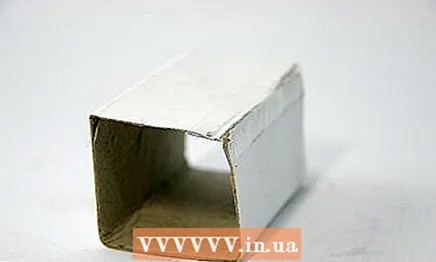 11 Fold and tape the whole thing in a rectangular tube. Bend along the lines you've already made.
 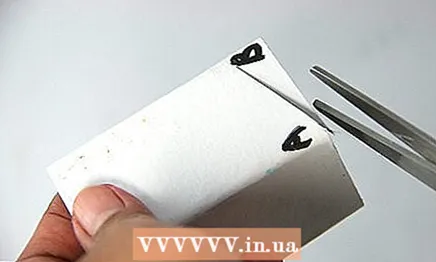 12 Cut both ends of the tube at an angle. Label each side of the tube with the letters A, B, C, and D (you can label them on the tube if you like). Start at the top corner of side A, cut down and at an angle to side B, then cut straight side C, then cut up again at an angle to side D. This end of the tube should now be angled. Repeat the same with the other end of the tube so that the corners are parallel.
 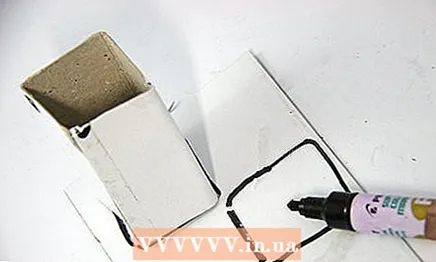 13 Trace both ends of the angled tube on the cardboard.
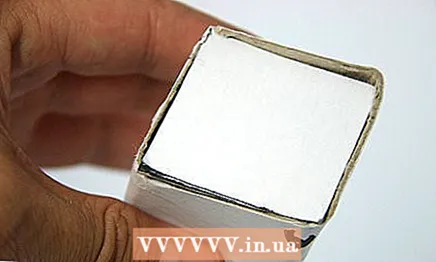 14 Cut out the drawn rectangles and use them to cover the ends of the corner tube. This tube will be the pistol grip.
 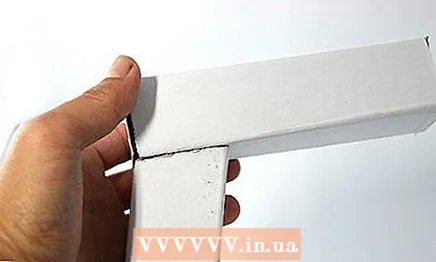 15 Glue the pistol grip to the barrel. Since you are making a hand-held pistol, use glue or duct tape to attach the grip as close to the back of the barrel as possible (about 1 cm from the barrel) so that it is at an angle to the barrel.
 - 16 Add a trigger (optional). Cut out an L from cardboard, make a cut at the bottom of the barrel of the weapon (in front of the grip) and glue an L into the cut to make it look like a trigger.
- 17 Decorate the gun if desired. You can, for example, add a strip of cardboard around the end of the barrel (near the hole) or attach a piece of cardboard centered to both sides of the grip to give the gun a more realistic look.
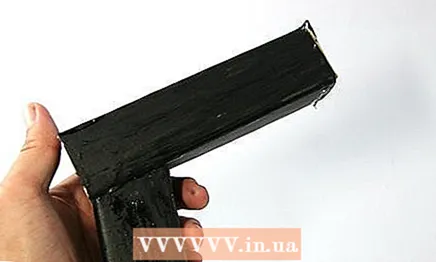 18 Make the gun black. Paint it with acrylic paint. You can also wrap parts of the pistol (such as the grip) with black duct tape.
Method 2 of 2: Using a glue gun
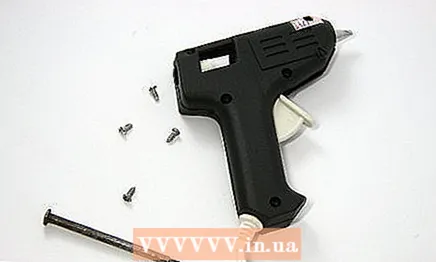 1 Remove the screws from the old glue gun. Make sure it's off and cool to the touch.
 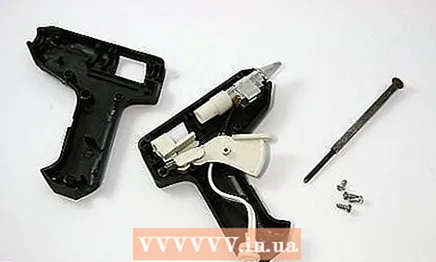 2 Detach the two plastic halves of the glue gun body. Inside you will find all of its components.
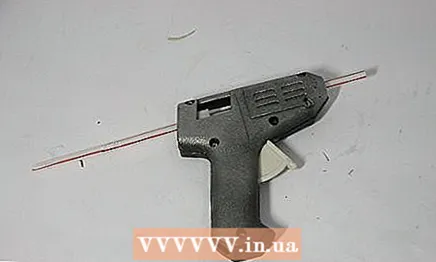
 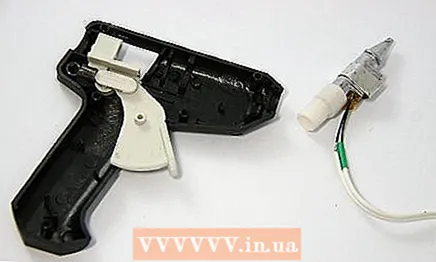 3 Remove all internal parts except the trigger and the charger. The charging mechanism feeds the glue sticks into the gun through the hole in the back. It must be connected to the trigger. Remember to remove the metal tip on the front of the gun.
 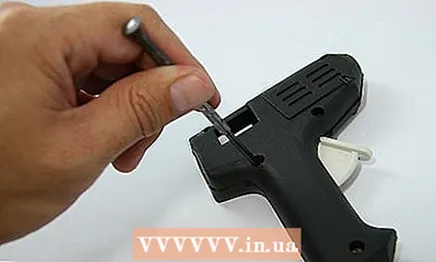 4 Connect both body parts together. Check if the trigger moves the loading device. If not, correct it as needed.
 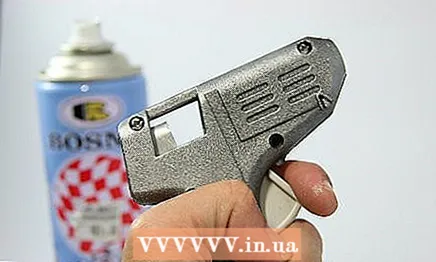 5 Decorate the pistol (optional). For example, you can paint it black or wrap the handle with black duct tape.
 - 6 Place snap-n-pops in the loading area and pull the trigger. The impact of the loading mechanism on the clapper should activate it, producing the sound of a shot.
 7 Optionally, make a snap-n-pops pop shop. If you want to be able to shoot bursts without reloading, do:
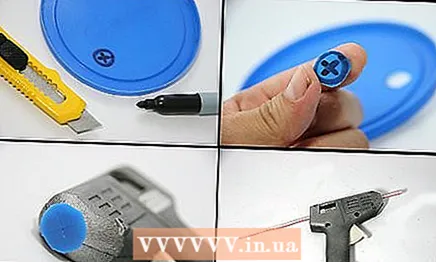
 - Trace one end of the rigid plastic tubing on a medium-thick piece of plastic. A flexible lid from a Tupperware package, for example, is perfect.
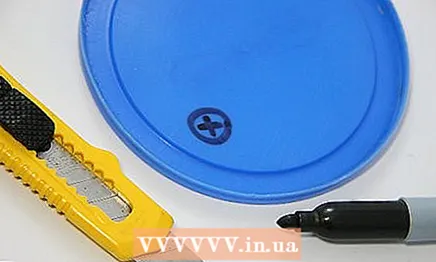 .
. - Cut an X in the plastic directly into the hole you drew.
- Cut out the piece of plastic containing the X, leaving some space around the X. The piece of plastic should be large enough to cover the front of the glue gun (the part where the glue was coming from).
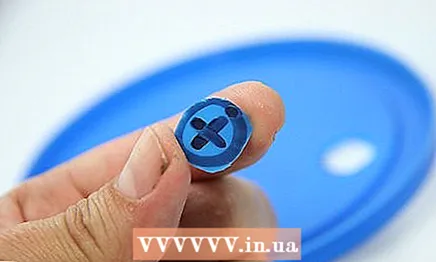
- Apply glue to the piece of plastic around X. Make sure the X does not stick.
- Glue a piece of plastic with an X to the front opening of the glue gun. 209198 25 bullet3.webp}
- Gently fill the plastic tube with snap-n-pops, leaving a small space between them.
- Push the tube towards the back of the glue gun through the X-shaped hole (which will prevent the tube from sliding sideways). Now you can shoot in quick bursts.
- When the tube no longer fits in the pistol, remove it, flip it over and fire the firecrackers from the other half.
- Trace one end of the rigid plastic tubing on a medium-thick piece of plastic. A flexible lid from a Tupperware package, for example, is perfect.
Tips
- If your glue gun is the wrong size, shape, or color, and you don't mind using a new one, you can buy a glue gun that looks better and looks more like a real gun.
Warnings
- Do not bring toy guns to school or public places. This can lead to serious trouble.
What do you need
Method using cardboard
- Cardboard
- Ruler
- Scissors
- Old glue stick (optional)
- Duct tape
- Glue
- Black paint
- Black duct tape (optional)
Method using a glue gun
- Glue gun
- Screwdriver
- Snap-n-pops
- Paint (optional)
- Black duct tape (optional)
- Unbendable plastic tube (optional)
- Tupperware lid (optional)
- Knife (optional)
- Glue (optional)


