Author:
Florence Bailey
Date Of Creation:
26 March 2021
Update Date:
1 July 2024

Content
Do you want to make something out of paper? Maybe you are just bored, you want to have fun with friends or suggest an interesting activity for children, but in any case, making a laptop out of paper is a fun, simple and cheap idea. Anyone can handle this on their own, it only takes a little materials and free time.
Steps
Part 1 of 2: Making the component parts
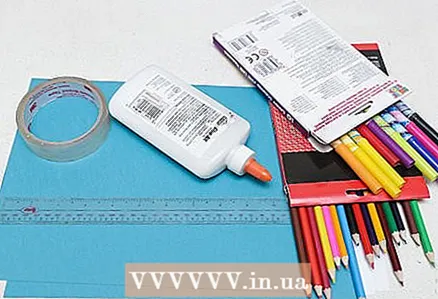 1 Collect materials. To make a paper laptop, you need two sheets of paper or cardboard in the same color as the case. You will also need two sheets of white paper, a piece of cardboard, a ruler, scissors, glue, a pen, and markers or crayons.
 - If you want to make a laptop with a decorative case, use patterned paper instead of plain paper.
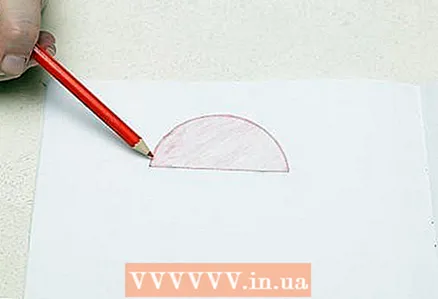 2 Select your laptop type. After collecting all the materials, decide what type your computer will be. Draw the logo of the respective brand on one of the sheets of paper. For example, draw an apple if you want to make an Apple computer, or write Toshibaif you want to make a laptop of this brand.
 - If you're not sure about the logo, do a little research and see exactly what the logo of your favorite laptop brand looks like. This way you can draw it as accurately as possible.
- If you are using patterned paper, apply the logo to the patterned side. Then the pattern will be on the outside (on the laptop case).
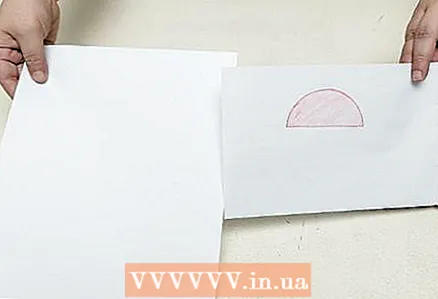 3 Make a desktop. Now that you have the base, you need to make the desktop screen. Take one of the sheets of white paper and attach it to the sheet on which the logo is drawn. If they are the same size, measure and trace 1 inch from each side of the white sheet, and then cut them off. Then draw or glue pictures that will represent the desktop.
 - Try using a real laptop desktop as a reference. Draw a colored background, icons, and menu bar along the bottom edge.
- If you can't draw, find a photo to serve as your desktop background and cut out the pictures as icons.
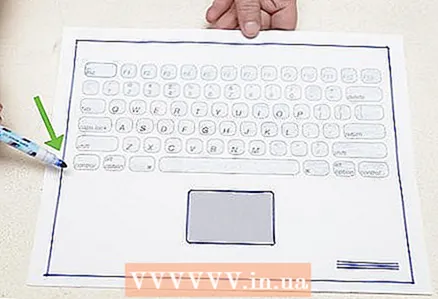 4 Make a keyboard. Take a second white sheet of paper and attach it to a second colored or patterned sheet. Measure and trace about 1.3 cm from each edge, then trim them off. Then draw the sheet based on the sample keyboard. Make sure the proportions of the keys match the paper size. If you can't draw the keys yourself by hand, try placing a sheet of paper gently on a real keyboard and pressing the paper against the keys to make them print on to it. You can then trace around them with a pencil.
 - You can buy letter stickers and stick them on the marked keys. This will make all letters of the same type and size, and the keyboard will look more like a real one.
- If you want a flawless look, you can also print the keyboard itself instead of drawing by hand. Just make sure it matches the size of the rest of the laptop.
 5 Make a stand. Since a paper laptop does not have a structure to hold the screen upright, you will need to make a stand. Take a piece of cardboard and fold it in three equal strips. Unfold and join the edges of the cardboard to form a triangle. Glue them with tape: the triangle should keep its shape.
Part 2 of 2: Assembling the laptop
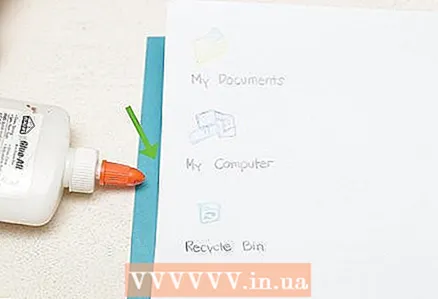 1 Assemble the screen. You have a piece of paper or cardboard with a drawn logo and a work table. Now you need to connect them together. Take a picture of your desktop and apply glue to it on the back, along the edges and in the middle. Place it with the glue down on the back of the laptop lid, aligning it to the center. Press down on the picture and smooth it gently so that no bubbles remain under it.
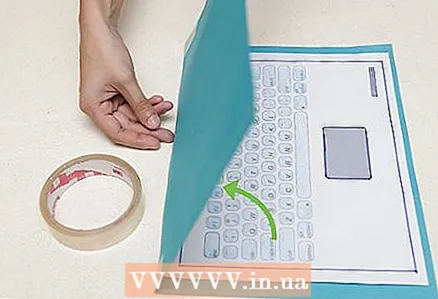
 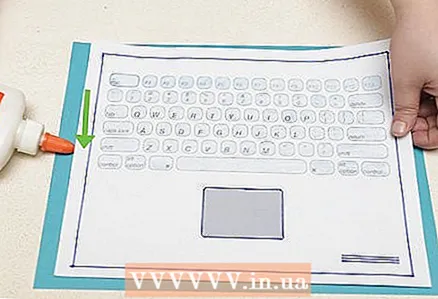 2 Assemble the keyboard. Now you need to take a second sheet of colored or patterned paper and glue the drawn or printed keyboard onto it. Flip the keyboard over and apply glue to the back of the keyboard, along the edges and in the middle. Place it in the center of the colored sheet, gently attach and smooth so that it does not remain a bubble. Draw a power button in one of the upper corners.
 - If you don't want to draw the power button, you can print a picture with its image and stick it on paper, as you already did with the keyboard.
- If you want to make your laptop a little stronger, you can reinforce it with cardboard. Glue a piece of cardboard to the top and bottom of the laptop. Then glue another piece of colored or patterned paper to the back of the cardboard so that it doesn't show through. After that, glue the desktop and keyboard.
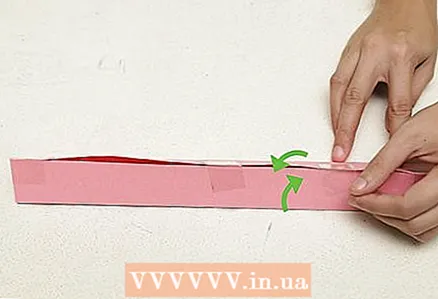
 3 Connect both sides of the laptop. Now that the screen and keyboard are ready, you need to connect them together. Take both pieces and fold the long side to each other. Make sure both the screen and keyboard are facing up. Glue the joint with a strip of clear tape. Turn the glued sheets over and stick another strip of tape in the same place, but on the back side.
 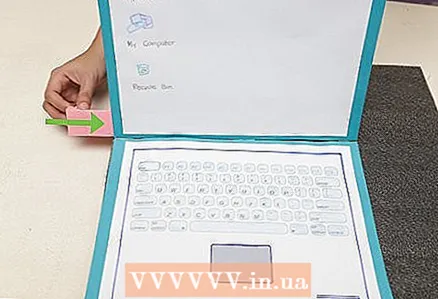 4 Install your laptop. Turn the laptop back to face up and fold over the seam line. Turn the fold away from you. Take the stand you made earlier and place it behind the glued edge. Open the laptop as you would a real laptop and lean the lid against the stand to keep it upright. Your laptop is ready.
 - If you feel the edge isn't holding well enough, try another strip of tape to reinforce it.


