Author:
Alice Brown
Date Of Creation:
25 May 2021
Update Date:
1 July 2024
Content
1 Get everything you need ready. After mixing all the ingredients, you need to work quickly. It will not be very good if at the last moment you rush to look for a suitable bomb mold.- Keep in mind that this recipe is for about one large bomb the size of two tennis balls.If you want more bombs, adjust the recipe to match the proportions. For example, if you want to make two bombs (larger than a tennis ball), then you need to take two glasses of baking soda instead of one, and so on.
- Try to prepare your ingredients so that liquid ingredients are separate from dry ingredients.
 2 Add dry ingredients to a glass or metal bowl. Place baking soda, tartar, cornstarch, and salt in a bowl.
 - Do not use plastic bowls or spoons, as plastic can absorb essential oils. This will not affect your bath bomb, but the plastic product may still smell like soap for a very long time.
- Any of several types of salt can be used in this recipe. Epsom salt is most commonly used for bombs, but you can use more expensive sea salt as well. As a last resort, you can even take table salt, but it must be non-iodized.
- Some bath bombers claim that cornstarch can cause candidiasis and do not use it in their recipes. However, studies have not shown such a relationship, and cornstarch is still used as one of the main ingredients in industrial bath bombs. If you don't want to use starch, add another 1/4 cup baking soda and 1/4 cup salt. Keep in mind that cornstarch acts as a filler and slows down the fizzing reaction. Without it, the bath bomb will foam much more intensely, but not for as long.
3 Mix dry ingredients. Use a metal whisk to mix all the ingredients well. If you don't have a whisk, you can use two forks or a set of chopsticks. 4 Combine oils and food coloring in a separate bowl. Add the correct proportions of oils and food coloring to a second bowl. Whisk the ingredients together, but keep in mind that you are unlikely to be able to mix food colors and oil, as the main ingredient in most food colors is water. - Essential oils add flavor to your bath bomb. Be careful when handling undiluted essential oils as they can burn your skin.
- The second type of oil is optional and acts as a moisturizer. Sweet almond oil, coconut oil, and olive oil work well for these purposes.
5 Mix liquid and dry ingredients gradually. Using a spoon, gently add the liquid ingredients to the first bowl and mix well before adding more. Stir very well and add a little. If the mixture starts to foam, you may have added the ingredients too quickly. - Wear gloves to avoid getting your hands dirty. At this stage, it is best to mix the ingredients with your hands, as if you were kneading dough.
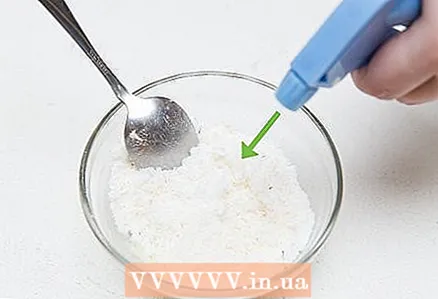 6 Spray the mixture with water from a bottle as needed. You may need to add some water to your bath bomb to mix the ingredients well. The exact amount of additional moisture required may vary, so it is best to add a little water at a time while working. In general, you will need less than one tablespoon. Spray the mixture with water whenever it becomes stubborn.
 - As a result, you should get a loose mixture, which at the same time keeps its shape.
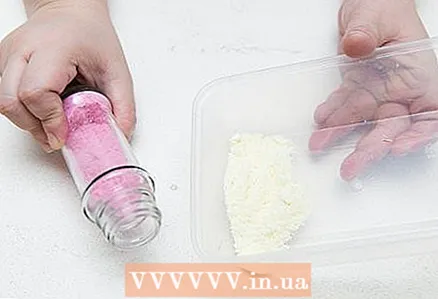
7 Place the mixture in a mold. Fill the mold with the mixture as tightly as possible. Pat it on it to get a smooth and even surface. - If you are using a Christmas ball mold, fill each half with a slide with the mixture. Join both halves by pressing lightly together.
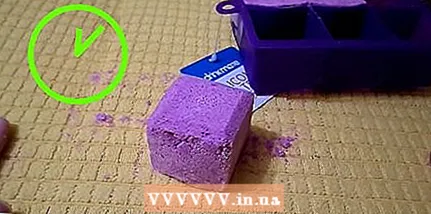 8 Wait for the mixture to set and then remove it from the mold. Leave the bath bomb to dry for at least a few hours, preferably overnight.
 - If you try to reach the bomb earlier, it will most likely crumble.
- Rinse all metal tools thoroughly.Epsom salts can be corrosive over time.
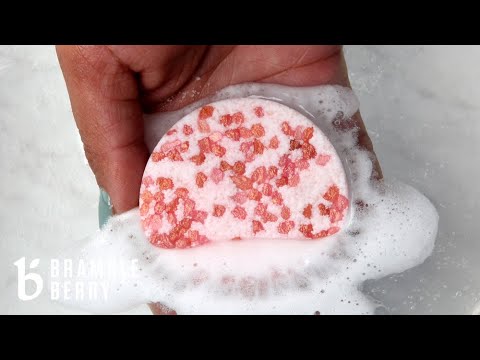
9 Use a bath bomb. Once removed from the mold, the bath bomb is ready to use. Just fill the tub with warm water, throw a bomb in it and have fun. - It is best to use a bath bomb for several weeks. Old bombs lose their ability to bubble.
Part 2 of 2: Preparing and decorating your bath bomb
 1 The choice of the form. You can use almost anything as a form, but plastic and glass products are most suitable for this. You can choose a mold that is large enough for a few glasses to make one large bomb, or you can use smaller molds to make small bombs.
 - Undiluted essential oil can be absorbed into the plastic, but this is less likely when all the ingredients are mixed.
- The most popular mold is a plastic Christmas ball. You need a two-piece split ball, commonly available at craft stores. It will make tennis ball-sized (or slightly larger) round bombs, which are often seen in stores.
- There are many cute chocolate molds that are perfect for making bath bombs.
- Cake and cupcake tins work well as well.
 2 Pick colors and experiment with them. You don't have to use colorants right out of the box. Try mixing several colors to get your favorite shades.
 - Even if the bomb looks beautiful during the manufacturing process, this does not guarantee that it will turn out to be a beautiful bathtub.
- Write down which color combinations you tried and which ones you liked the most.
- Make sure to use non-toxic, non-staining and water-soluble dyes.
 3 Find the perfect scent. Dream up with a bath bomb scent. Mix different oils to create your own unique scent.
 - If you are unsure of where to start, you can find various recipes for essential oils on the Internet. You don't have to look specifically for fragrance combinations to make your bath bombs. You can use the information on soap making and aromatherapy.
- Some popular flavor combinations are: 4 parts mint to 1 part patchouli, 2 parts orange to 1 part vanilla, 1 part patchouli to 1 part cedarwood to 2 parts bergamot, equal parts lavender and mint, and 1 part peppermint to 1 part tea tree to 2 parts lavender.
- Large volumes of your favorite aroma oil blends can be poured into bottles and stored for later use.
- Be careful when handling undiluted essential oils as they can burn or irritate the skin.
Tips
- Add oils to dry ingredients very slowly. If you do this too quickly, the bath bomb will not work.
- Wrap a bath bomb in plastic wrap or put it in a bag, wrap it with a ribbon and tie a bow for a cute handmade gift.
- If the air is too humid, the bomb will take longer to dry.
- Try making another small bath bomb if there are crumbs left after removing the bomb from the mold.
- You can change and adapt this recipe, as well as replace citric acid in other recipes with tartar. In this case, tartar must be taken half as much as citric acid. If you use too much tartar, the mixture will be very difficult to mix.
- Coconut oil goes great with all bath bomb recipes.
What do you need
- 1 or more forms (depending on the amount of mixture)
- Whisk (can be replaced with two forks or chopsticks)
- 2 bowls (glass or metal)
- Beaker
- Measuring spoons (preferably metal)
- Small metal spoon
- Latex gloves (optional)
- Water bottle with spray bottle


