Author:
Clyde Lopez
Date Of Creation:
24 June 2021
Update Date:
1 July 2024

Content
- Steps
- Method 1 of 5: linking video clips
- Method 2 of 5: crop video
- Method 3 of 5: changing the file format and size
- Method 4 of 5: Adding Filters
- Method 5 of 5: preview and save your work
Avidemux is a free and compatible with multiple operating systems (Microsoft Windows, Linux and Mac OS X) video editing software. It natively supports a wide variety of codecs, file types and formats. This is a very valuable and functional application, but far from the simplest and most understandable for the average user. By following this guide, you will become familiar with several basic video editing functions provided by Avidemux.
Steps
Method 1 of 5: linking video clips
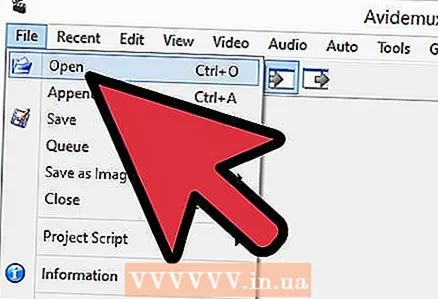 1 Open the original video clip. To do this, click on "File" and then "Open". Select the first video.
 - If you need to join the converted video files, just open the main VOB file and the rest will join automatically.The main VOB file usually looks like this: VTS_01_1.vob.
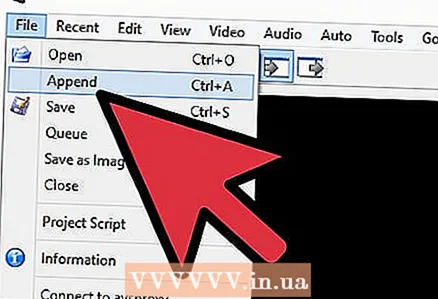 2 Add a second video clip. Click "File" and select "Append". Find the video clip you want to attach to the end of the first one.
 - The aspect ratio and frame rate of the second file must be the same as the first.
 3 Add more video clips. You can continue attaching the video to the end of the file in the same way.
Method 2 of 5: crop video
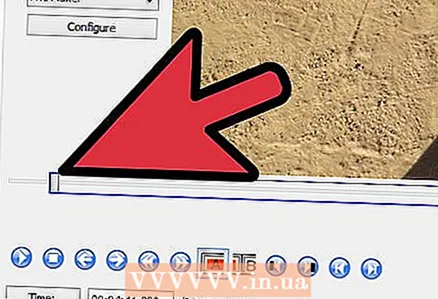 1 Set the starting point. Use the navigation bar at the bottom of the video to find the beginning of the section you want to delete. Press either the "A" button in the playback menu or the "[" key to set the starting point.
 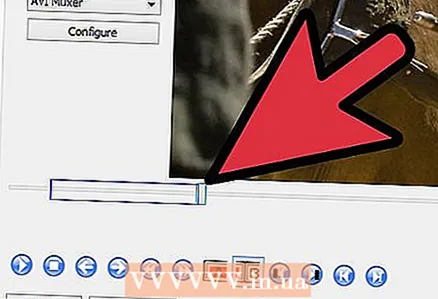 2 Set the end point. Scroll down the navigation bar and find the end of the section you want to delete. Press either the "B" button in the playback menu or the "]" key to set the end point. As soon as you do this, the part of the video that you have chosen to delete will be highlighted.
 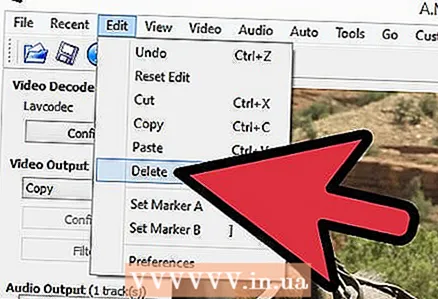 3 Delete the passage. If a part of the video is selected correctly, press the Del / Delete key to delete it. If you want to cut this part and then paste it somewhere else, choose "Cut" from the "Edit" menu, or press the keyboard shortcut "Ctrl + X".
Method 3 of 5: changing the file format and size
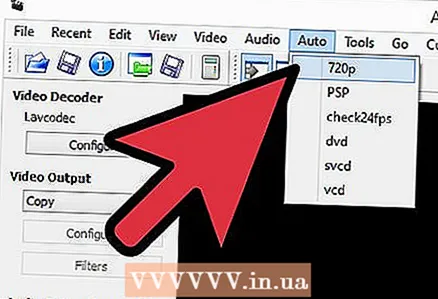 1 Select the format in advance. If you want your video clip to be compatible with a specific device, simply select the one you want from the Auto menu. All settings will be changed automatically. If your device is not listed, or if you want to configure other settings, follow the steps below.
 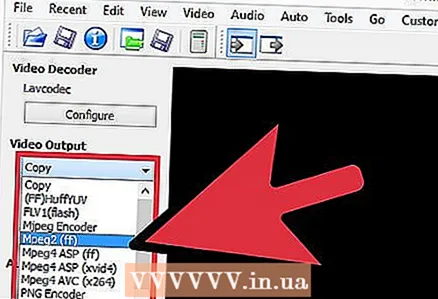 2 Select the desired video codec. In the "Video Output" section on the left side, select the required codec from the list provided. Mpeg4 (x264) is one of the most common formats and is compatible with most media players.
 - Selecting a copy will keep the existing format.
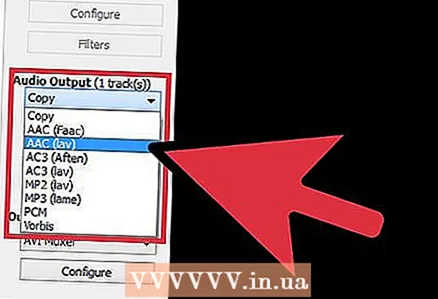 3 Select the audio codec you want. In the Audio Output section below the Video Output section, select your preferred audio codec. The most popular codecs are AC3 and AAC.
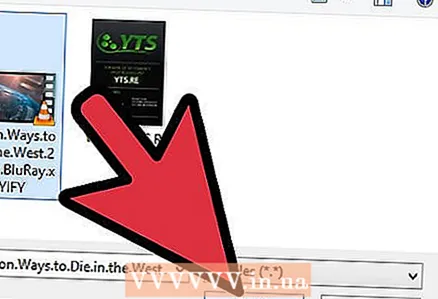
 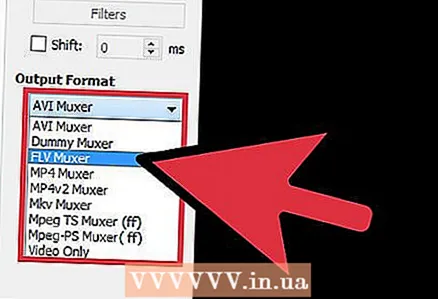 4 Select the format you want. In the Output Format section, select a file format from the drop-down menu. MP4 will play on most devices, while MKV is preferred for use on a personal computer.
 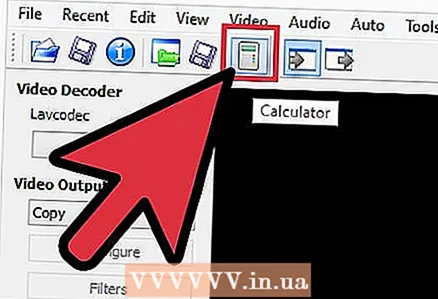 5 Resize the video file. Click on the "Calculator" icon in the top row to adjust the final file size. Enter the desired file size in the Custom size field. The bit rate of the video file will automatically change to match the selected size.
 - Smaller video files will have lower video quality than larger files.
Method 4 of 5: Adding Filters
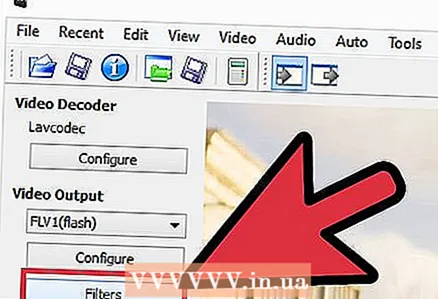 1 Click on the Filters button in the Video Output section. Here you can choose from a variety of filters to change the visual appearance of your video. The most popular filters are described below.
 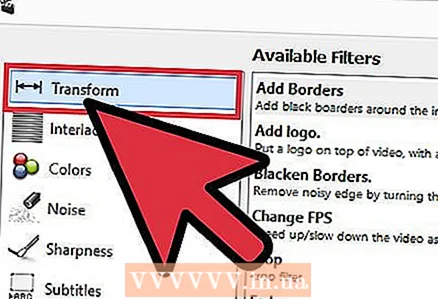 2 Modify your video. The "Transform" filter category allows you to customize the video display options. With their help, you can add a frame, logo, and more.
 - To resize the video, use the "swsResize" filter to manually adjust the resolution. You can change it using percentages or pixels.
- The Crop filter allows you to crop the edges of your video. The double click determines how much you want to crop from each edge.
- Enhance and dim the image with the "Fade" filter. Double click sets the start time for video editing.
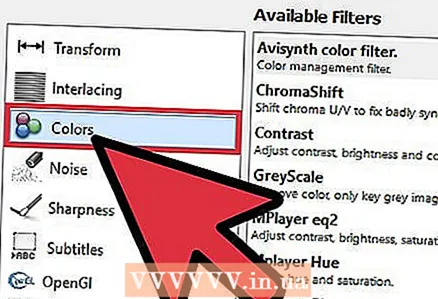 3 Adjust colors. Change saturation, hue and more with the Colors filter category. By using multiple filters at once, you can get your own unique color scheme.
 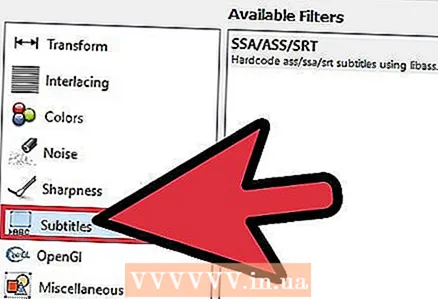 4 Add subtitles. If you have a subtitle file for your video, you can add them using the "SSA" filter from the "Subtitle" category, and then specify where on the screen they will appear.
 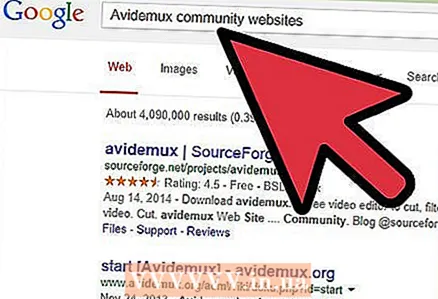 5 Unlock new filters. You can also add custom filters developed by members of the Avidemux community. You just need to go to the program's website, select and download the appropriate one. After downloading the filter, click on the "Load filters" button to add it to the list.
Method 5 of 5: preview and save your work
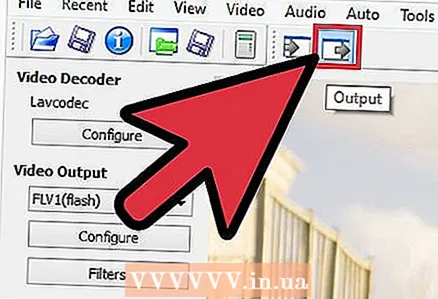 1 Switch to "Output" mode. In the top row of icons, click on the “Output” button, which has an arrow pointing to the right.This will display the final version of the video and you will be able to see any changes to the video parameters and the filters used.
 - Click on the "Play" button at the bottom of the screen to view the final version of the video.
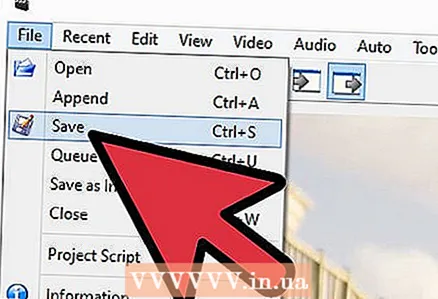 2 Click “Save”. You can save the video from the file menu, or click on the save icon in the top row. Name the file and choose a save location.
 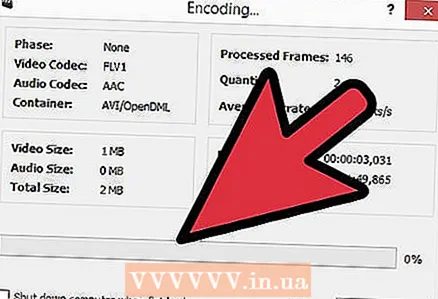 3 Wait for the coding to complete. After you clicked "Save", Avidemux starts encoding the video according to the settings you selected. Depending on the size of the installations, the duration of this process can vary significantly. When the process is complete, open the finished video in the media player and see the result of your work.


