Author:
Ellen Moore
Date Of Creation:
18 January 2021
Update Date:
1 July 2024

Content
In this article, we'll show you how to print a large image on multiple sheets of paper on a Windows or macOS computer.
Steps
Part 1 of 2: How to Enlarge an Image Using Rasterbator
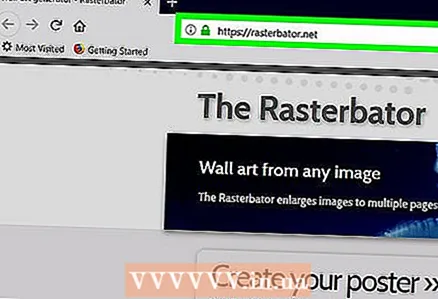 1 Go to address https://rasterbator.net/ in a web browser. Rasterbator is an online service that can be used to enlarge an image to fit a poster.
  2 Click on Create your poster (Create a poster).
 3 Select the original image. This can be done in three ways:
 - If the image is on any site, enter or paste the image URL in the “Load from URL” line, and then click “Load”.
- If the image is stored on your computer, click Browse to open the file browser on your computer, select the image, click Open, and then click Load.
- Just drag the image into the “Drag image file here” field on the Rasterbator page.
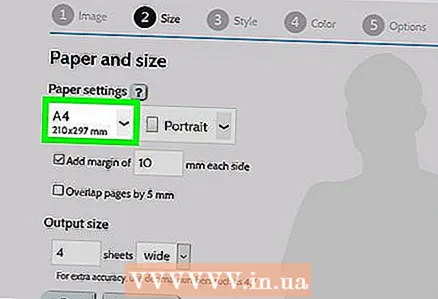 4 Select paper options. Do this in the "Paper settings" section:
 - From the first menu, select the paper size and size, for example, "A5 (5.8" x 8.3 ").
- Select the paper orientation - "Portrait" or "Landscape".
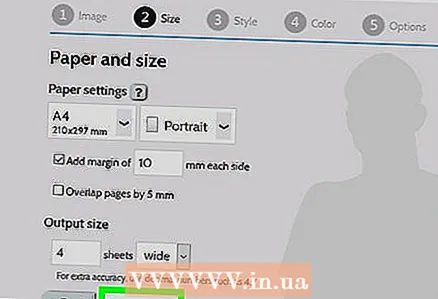
- The default margins are 10mm, which will fit most printers. Margins are necessary because printers do not start printing from the very edge of the paper. If the margins are too narrow, the image will be cropped, and if the margins are too wide, you can always cut off excess paper.
- The overlap will make it easier to join the different sheets when you crop the margins, because the image will overlap slightly on adjacent sheets. Check the box next to “Overlap pages by 5 mm” for best results.
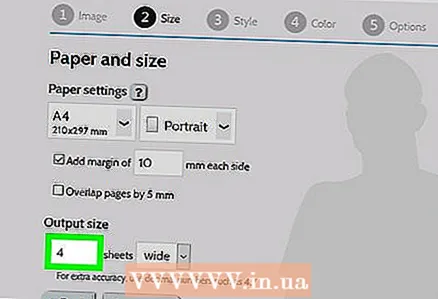 5 Set the size of the poster. Do this in the "Output size" section. Remember that the size of the poster depends on the number of sheets on which the image will be printed - the more sheets, the larger the poster.
 - In the first box, enter the number of sheets.
- Open the menu and select "wide" and "high" (height).
- For example, if you enter “6” in the “sheets” field and select “wide” from the menu, the width of the image will be equal to the total width of 6 sheets of paper, and Rasterbator will calculate the poster height and the corresponding number of sheets.
- If you select “high” from the menu, the height of the image will be the total height of 6 sheets of paper, and Rasterbator will calculate the poster's width and the corresponding number of sheets.
- In the preview window, the image will be covered with a grid, each cell of which represents one sheet of paper.
 6 Click on Continue (Proceed).
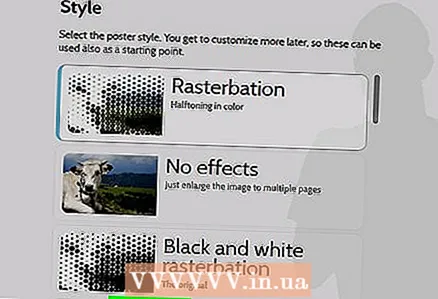
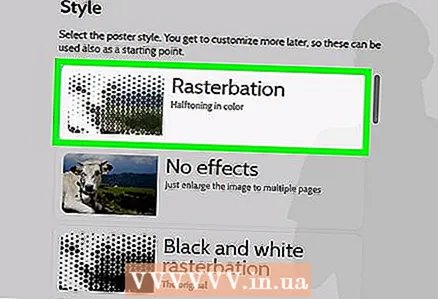 7 Choose a style. A style lets you apply an artistic effect to an image. Click on the style (you can see the result in the preview window) or select “No effects”.
 - "Rasterbation" and "Black and white rasterbation" are popular styles (the image is composed of halftone dots).
 8 Click on Continue (Proceed).
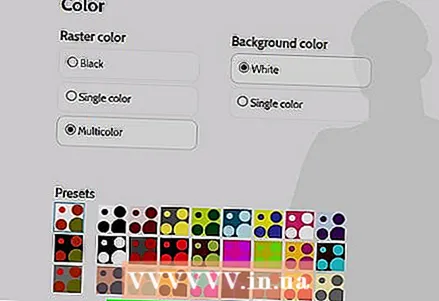
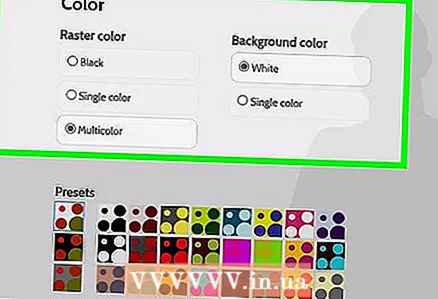 9 Customize the colors. Do this if you have chosen a specific style.
 - If you selected the No Effects option, you will not be able to adjust the colors.
 10 Click on Continue (Proceed).
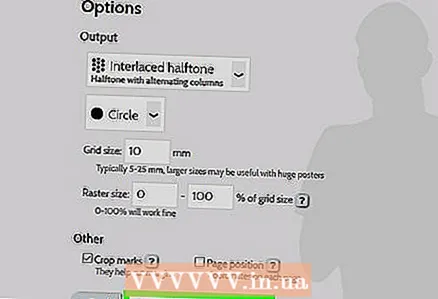
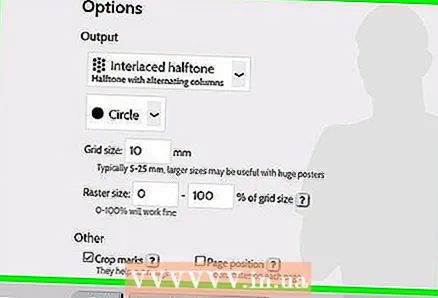 11 Adjust the style parameters. They depend on the chosen style.
 - If you haven't selected a style, you can still open the menu at the top of the screen to select and apply some effects. If effects are not needed, click “Enlarge” on the menu.
- Check the box next to Crop marks to make it easier to crop margins. Skip this step if you have previously checked the "Overlap pages by 5 mm" checkbox.
 12 Click on Complete X page poster! (Create an X-page poster). "X" is the number of sheets on which the poster will be printed. The poster will be created.
 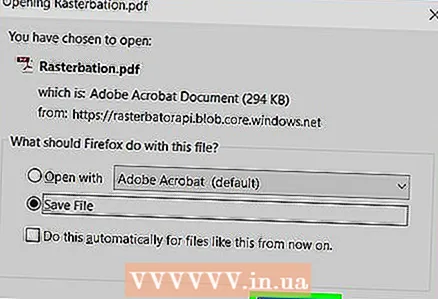 13 Download the PDF file. Click “OK” or “Save” (the name of the button depends on your computer and browser) to download the poster to your computer.
Part 2 of 2: How to print an image
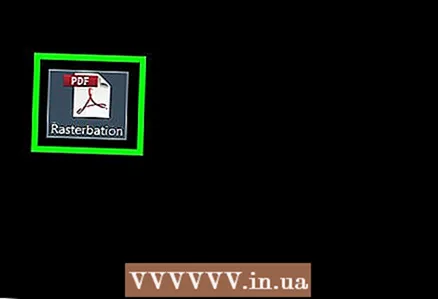 1 Open the PDF file. Double click on the file that you downloaded from the Rasterbator website. The file will open in a PDF viewer.
 - Rasterbator recommends using Adobe X Reader, but any similar program will do.
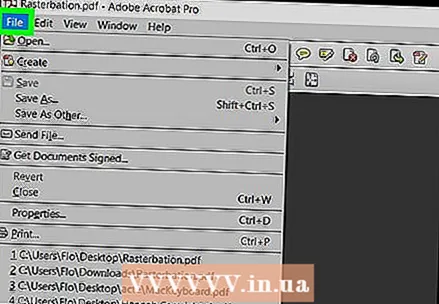 2 Open the menu File. On Windows, you'll find it in the menu bar at the top of the PDF viewer window. On macOS, this menu is located in the menu bar at the top of the screen.
  3 Click on Seal. The print options will be displayed in a new window.
 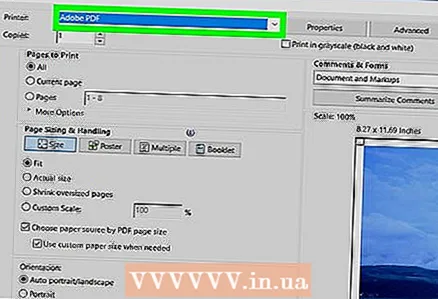 4 Select your printer. To do this, open the "Printer" menu and select the desired printer in it.
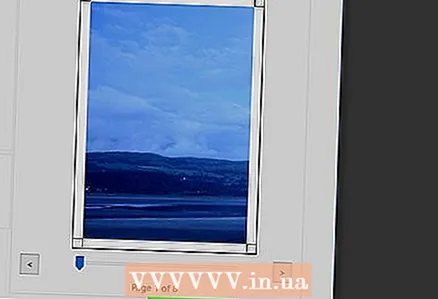
 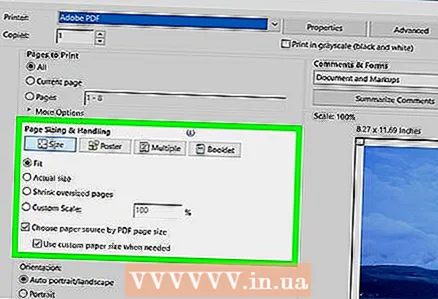 5 Set the paper size. Open the Size or Paper Size menu and choose a poster size from the menu.
  6 Select the "Fit to Page" option in the "Scale" section. On a Mac computer, click Show Details to display the printer options.
 - On macOS, select Scale To Fit.
- In Adobe Reader for Windows, select the Scale check box under Adjust page size and handling.
 7 Make sure the printer is not configured for duplex printing. To print your poster correctly, each page must be printed on a separate sheet.
 - For Windows, clear the check box next to "duplex printing".
- On macOS, open the menu in the center of the Print window, click Layout, and make sure Duplex is set to None.
 8 Click on Seal. The poster will be printed.
 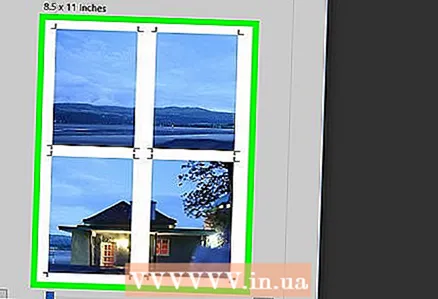 9 Organize your pages. To do this, use a large surface. If your poster is printed on many sheets of paper, you can get confused. Therefore, in the lower right corner of each sheet, find a marker to help you arrange the sheets correctly.
 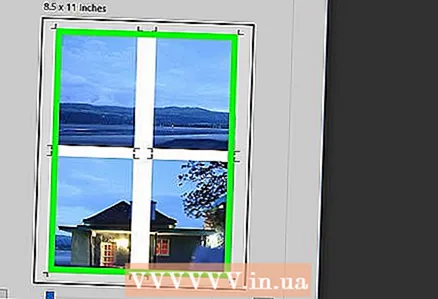 10 Trim the margins. To do this, use the crop marks in the margins of the poster. Use a sharp knife and ruler to trim the margins neatly.
  11 Merge the pages to make a large image. To do this, tape the pages together, glue them to the board, or attach each sheet to the wall.
 - Place small pieces of duct tape at some points around the poster to help you move the poster with ease.


