Author:
Helen Garcia
Date Of Creation:
22 April 2021
Update Date:
24 June 2024
Content
- Steps
- Method 1 of 3: Preparing at Home
- Method 2 of 3: Installing Cameras
- Method 3 of 3: Building a CCTV System
- Tips
- Warnings
You may not like the idea of drilling holes in the walls of your home to route the cables for your CCTV cameras, but many systems come with everything you need to make installation a lot easier. This article will guide you on how to select and install a home video surveillance system.
Steps
Method 1 of 3: Preparing at Home
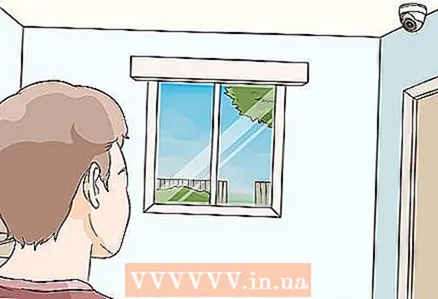
 1 Decide on the monitored area. This is because it is expensive and impractical to keep track of every square foot of your home. Make a rough plan of your house, print it and mark the places where you want to place the cameras. Then check each location and make sure you get the best view possible without getting in the way. You can install cameras in the following locations:
 - Front and back doors
- Windows overlooking the courtyard
- Large common spaces
- Access roads
- Verandas
- Stairs
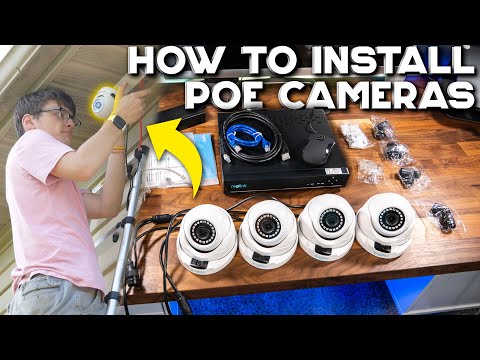
 2 Buy a system that suits your needs. You can buy each camera individually, but it is cheaper and easier to buy a security system kit. The system should include 1-3 cameras, digital video recorder, appropriate cables (Siamese, BNC and power). If you don't need to track a large area, buy wireless cameras.
 - Basic home security system. This is a set of 2-3 outdoor cameras (for door control) and a digital video recorder designed for 3 days of continuous recording.
- Control of children or valuables. To do this, buy 1-3 room wireless cameras that will send the image directly to your computer.
 3 Select the type of cameras you want. After determining how many cameras you need, think about their specifications. A home video surveillance system can cost tens of thousands of rubles, so before buying, decide on the characteristics you need. While you can buy the cameras individually, buying a CCTV kit is cheaper and easier to install.
 - Wireless or wired camera. Wireless cameras are easy to install and do not require cables, but the image quality from such cameras depends on the distance from the signal receiver (the further, the worse). If you want to monitor a large area, it is better to buy a wired camera, but in most cases, wireless cameras are bought for the home.
- Internal or external cameras. If you install a camera designed for indoor installation outdoors, it will quickly break (due to rain or moisture).
- Traffic monitoring. Some cameras only start recording when they detect any movement, which saves hard disk space and energy.
- Remote viewing. Good cameras can be controlled by a smartphone or laptop from anywhere in the world, that is, you can view the image from the camera at any time (using the provided program or application).
 4 Install the recorder and monitor. In order to store and view your footage, you need a digital video recorder. All cameras are connected to this device, and it transmits the image to a monitor (usually a computer monitor or a small TV). Digital video recorders have varying storage capacities, allowing them to store a specific amount of video files - from 24 hours to hundreds of hours of recording.
 - If you buy a complete CCTV kit, a digital video recorder is included.
- You can buy a network video recorder or an analog video recorder.They work similarly to a digital video recorder, but transmit the signal over a network (network video recorder) or record onto magnetic tape (analog video recorder).
 5 Test the hardware before installation. Make sure all cables, DVR and cameras are working properly.
Method 2 of 3: Installing Cameras
 1 Choose the best viewing angle. In rooms, you will get a better viewing angle if you hang the camera from the ceiling. Make sure you have a good view of all the inputs and outputs and that the camera is close to a power outlet.
 - If you are installing an outdoor camera, hang it at a height of 3m so that it will not be removed.
 2 Attach the camera to the wall. Some cameras come with Velcro / suction cups, but it is better to screw the cameras to the walls with self-tapping screws. Here's how to install most types of cameras:
 - Attach the camera to the wall at a location of your choice.
- Use a pen / pencil to mark the hole to be drilled (for fasteners).
- Drill a hole for each self-tapping screw with an electric drill.
- Drive dowels into the holes.
- Attach the camera to the wall and secure it with self-tapping screws.
- Set the desired viewing angle.
 3 Connect the camera to a power source. Almost all cameras come with a power adapter that plugs into a regular wall outlet. Connect the small round plug to the power port on the back of the camera and plug into a power outlet.
 - If the power adapter is missing or broken, contact the manufacturer.
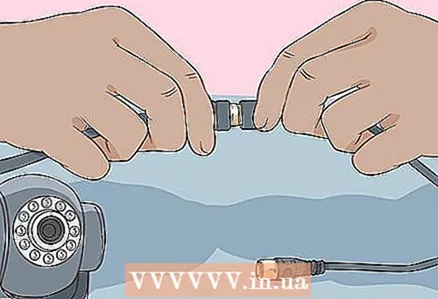 4 Connect your VCR to your wired camera. This is done with a BNC cable. The BNC cable is easy to use - it is identical at both ends and you just need to plug it into the corresponding connectors and then turn the washer to secure the cable. Connect one end of the cable to the “Output” connector of the camera and the other to the “Input” connector of the VCR.
 - Remember the VCR connector to which you connect the camcorder - you will need to configure the VCR to receive a signal from this connector.
- If you have a different type of cable, buy a BNC adapter.
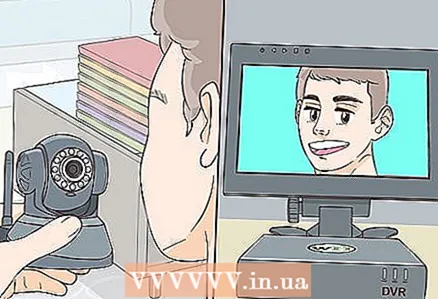
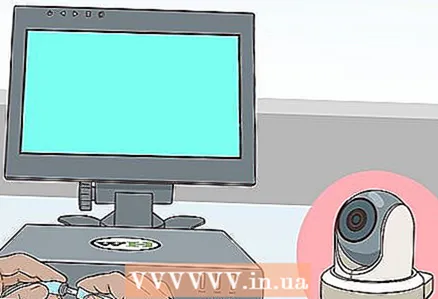
 5 Connecting the wireless camera to a computer. Wireless cameras come with a disc containing the software required to view camera images. Follow the instructions on the screen to access the cameras.
 - Some cameras have a small receiver that connects to a computer (USB port). Make sure it comes with your camera.
- Make a note of the IP address of the camera (for example, 192.168.0.5). Enter this address in a web browser to view the camera image remotely.
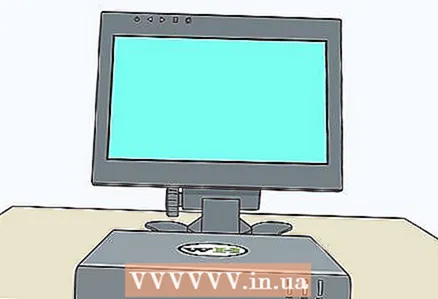
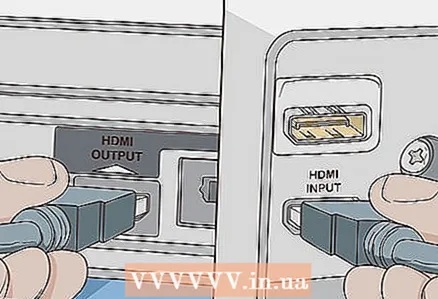 6 Connect your monitor to your VCR. For this, either a BNC cable, an HDMI cable, or a coaxial cable is used. Connect one end of the cable to the “Output” jack of the VCR and the other to the “Input” jack of the monitor.
 - You can connect as many cameras as there are input connectors in your VCR - it will automatically record the image from each camera.
- Remember the input signal connector to which you are connecting - you will need to select this connector in order to view the image from the cameras.
 7 Troubleshoot problems. Make sure the camera, VCR and monitor are connected to a power source and turned on. Also check that the cables are securely fastened and that the correct connectors are selected. Some monitors show images from all cameras at once, while others allow you to switch between cameras.
Method 3 of 3: Building a CCTV System
 1 Prepare a place (or room) for a video surveillance post. If you are installing multiple wired cameras, you need a place where you put the VCR and run the cables; therefore, it should be an easily accessible place where you can run cables from all cameras. For a video surveillance post, you can use the attic, basement or even an office.
 - You only need one VCR for all cameras.
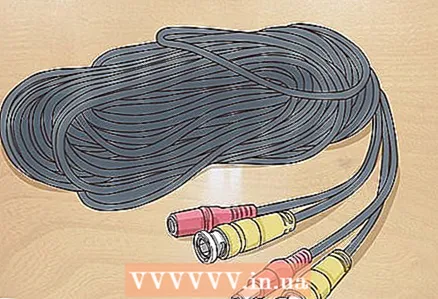 2 Use Siamese cables to connect your CCTV system. Siamese cable is a cable made up of two cables connected together. One of them is a power cable, and the second is used for transmitting video signals. This means that you only need to run one cable to connect each camera. This cable is referred to as RG59 or RG6.
 - The red and black intertwined cable is the power cable (red is positive, black is negative).
- The coaxial cable is used to transmit the video signal. It comes with a BNC plug or a coaxial plug.
 3 Use power adapters to power multiple cameras from a single outlet. Such power supplies cost 1,500 - 2,500 rubles and are sold in online stores. These power supplies have multiple connectors for connecting multiple cameras. But you will have to route the power cable from each camera to the power supply if you want to connect all cameras to the same power outlet.
 - Connect the cameras to the power adapter first and then plug it into a power outlet.
- The power supply must support the number of cameras that you want to connect to it. The number of connectors for connecting cameras can be found on the power supply.
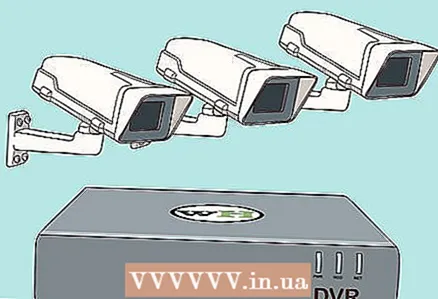
 4 Connect each video cable to a separate connector on the DVR. The VCR can work simultaneously with several cameras, recording images from each of them. Some monitors display images from all cameras at once, others allow you to switch between cameras (to do this, use the "Input" button on the VCR).
 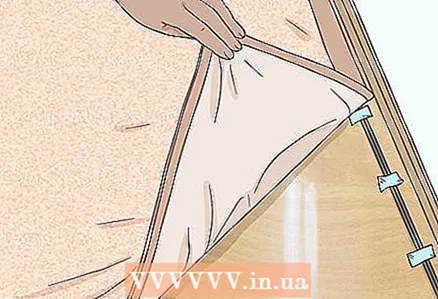 5 Hide the cables. To do this, it is necessary to pass the cables through the walls and bring them to the video surveillance post. Make sure you know the location of the walls, as well as the location of pipes, cables, spacers. To hide the cables, drill a hole in the wall and run the cable through the walls to the VCR.
 - If you don't want to drill holes in walls and pull on cables, have a professional hide the cables.
- You can also hide cables under skirting boards using the simplest tools.
- Or hide cables under carpets by gluing them to the floor with tape.
 6 If you'd like, bring in a home security professional to install a video surveillance system. There are many companies that install cameras, alarms, motion sensors and similar devices. Such services will cost more than self-installation, but if you have a large house, or you cannot lay cables, or you need additional devices (motion sensors, alarms), it is better to contact the appropriate company.
 - For example, you can contact TSS-Security, Protection, Security Systems.
Tips
- Most CCTV kits come with cables, cameras, and a VCR; it is easier to buy a kit than all the equipment separately.
Warnings
- If you are unsure how to route cables or connect them to equipment, call a professional.
- It is illegal to spy on people without their consent (unless they are on the territory of your home).


