Author:
Janice Evans
Date Of Creation:
24 July 2021
Update Date:
16 September 2024
Content
In this article, we will show you how to use effects in your Facebook Messenger video chat, as well as how to add effects to the videos you share.
Steps
Method 1 of 2: Video chat
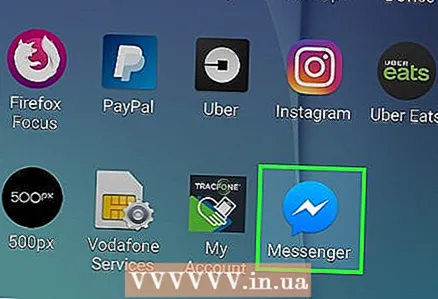 1 Start Facebook Messenger. Click on the speech cloud icon with a white lightning bolt. It's on your home screen or app drawer.
 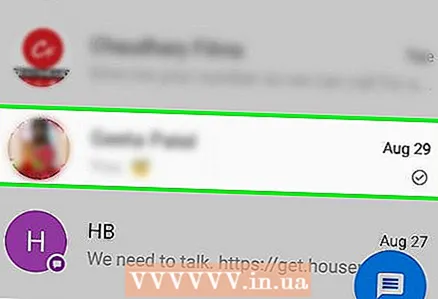 2 Select a contact. If you can't find the person you're looking for, use the search bar at the top of the screen.
 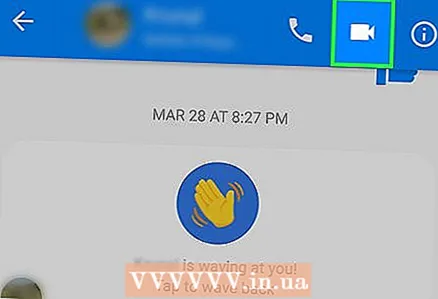 3 Tap the icon that looks like a white camcorder on a blue background. A video call will be made. When the person responds, effects can be used.
 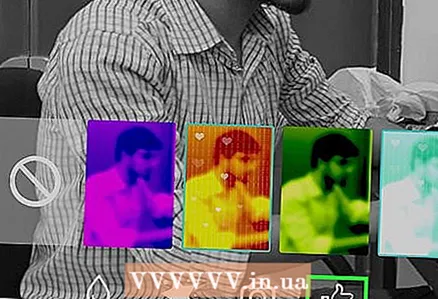 4 Click on the thumbs up icon to use Reactions. They can be used in the same way as Reactions in posts and comments on Facebook, that is, simply select the reaction-emoticon that will be used during the video chat. Choose one of the emoji (heart, laugh, sadness, anger, and so on) and animated emoji will appear around your head.
 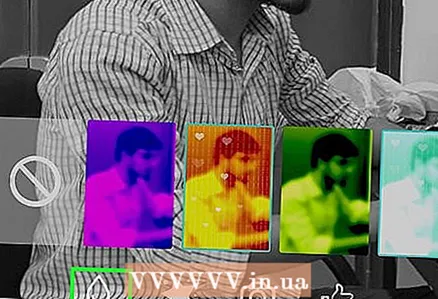 5 Tap the blob icon to select color and lighting filters. Scroll through the options to apply the filter in real time. Your interlocutor will see the selected filter.
  6 Tap the star icon to choose masks and stickers. Scroll through the list of effects to put on a funny mask or add animated background effects.
Method 2 of 2: How to record a video
 1 Start Facebook Messenger. Click on the speech cloud icon with a white lightning bolt. It's on your home screen or app drawer.
 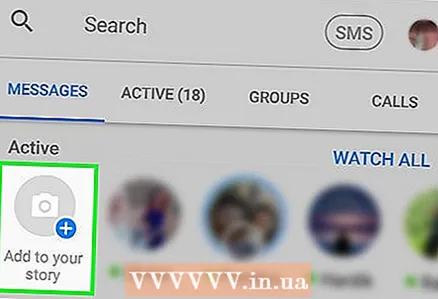 2 Tap Add to My Day. It's at the top of the screen. The camera of the Android device will turn on.
 - To switch to the front camera, tap the arrow-shaped camera icon at the top of the screen.
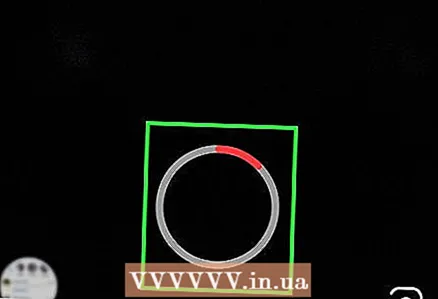 3 Press and hold the shutter button to record a movie. When you remove your finger from the screen, video recording will stop (this will also happen when the circle around the shutter button turns red). A preview of the video appears on the screen.
 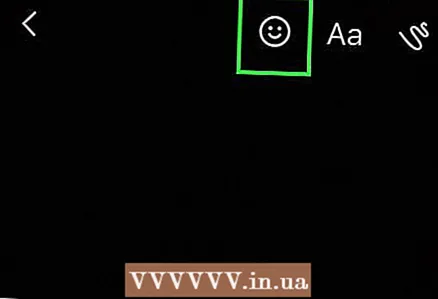 4 Tap the emoticon icon. A list of stickers and masks will open.
 - Scroll down to browse the sticker / mask categories. These categories are I Do, Who Wants, I Feel, and Everyday Fun.
- You can search for stickers by name or subject; to do this, enter a keyword in the search bar.
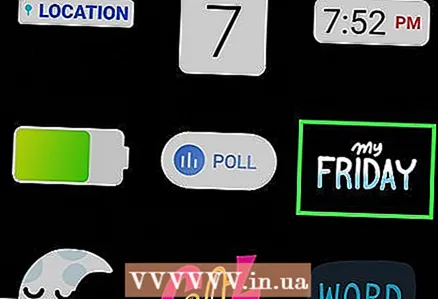 5 Select the effect you want to apply to your video. Remember that you can only use one effect at a time.
  6 Click the Aa icon to add text to the video. This icon is at the top of the screen. Choose a font color, enter any text and click Done.
  7 Tap the wavy line icon to add a picture to your video. This icon is located at the top of the screen and will allow you to draw a picture in the video. On the right side of the screen, select a color, draw a picture and click "Done".
 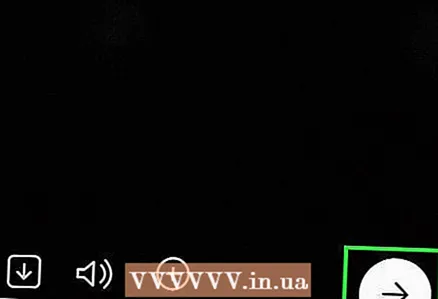 8 Click the right-pointing arrow icon. It's at the bottom of the screen. You will be taken to the Share page.
 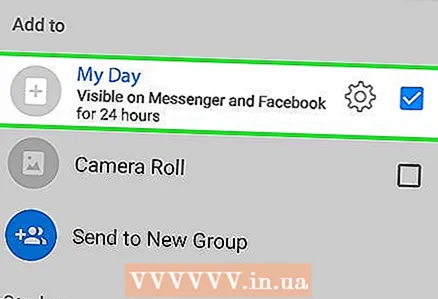 9 Select My Day if you want to share the video through the story in My Day. Otherwise, skip this step.
  10 Select video recipients. To send the video to specific users, tap the circle to the left of the names you want.
 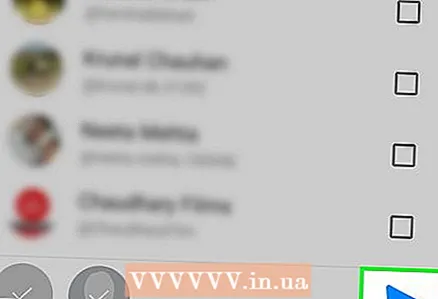 11 Click Submit. This button is in the lower right corner. The video will be uploaded and, if you have selected the appropriate option, posted to your story.


