Author:
Janice Evans
Date Of Creation:
3 July 2021
Update Date:
1 July 2024
Content
- Steps
- Part 1 of 4: How to set up a new phone
- Part 2 of 4: Calls and Messages
- Part 3 of 4: How to Customize Desktops
- Part 4 of 4: Installing Apps from the Google Play Store
- Tips
Smartphones combine so many features that they have come to resemble the Swiss Army Knife and have surpassed all other types of phones. As a result, they have become complex devices, for the effective operation of which you need to thoroughly familiarize yourself with the principles of operation. In addition to calls and messages, smartphones are endowed with a large number of functions with individual settings.
Steps
Part 1 of 4: How to set up a new phone
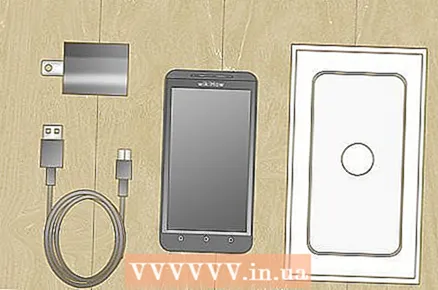 1 Unpack the device. Examine the device and find the main controls. These include the power and volume buttons, as well as the charger connector and audio output. For easy navigation, you can use function keys, which include a home-shaped home button, an arrow-shaped back button, and a recently launched apps button that allows you to view a list of all running programs. On some models, these buttons become visible after turning on the smartphone. The device out of the box may be discharged, so use the charger to turn on the phone.
  2 Insert the SIM card. It is required to connect to the operator's network. The exact location of the SIM card slot depends on the device manufacturer. The connector can be located under the battery, directly under the cover, or behind a special plug. Follow the instructions to find the place to install the SIM card.
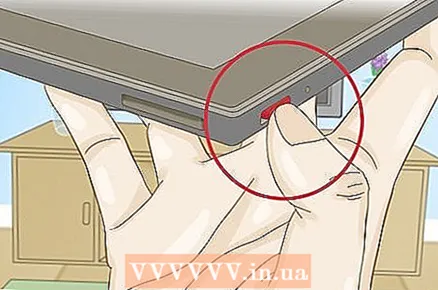
 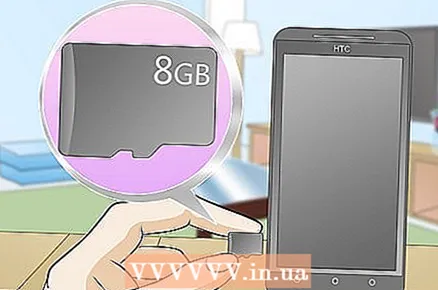 3 Insert SD card. Removable SD memory card allows for more storage. It is not necessary to use such a card, but sometimes it is impossible to install new applications and save multimedia files without it, if the internal memory is already occupied. The SD card slot can be located under the cover and support SD, mini-SD and micro-SD formats, which differ in physical size. Please refer to the instruction manual for information on supported memory cards.
 - Some devices cannot expand the built-in memory and do not support SD cards.
 4 Turn on your smartphone and complete the initial setup. Press and hold the power button for a few seconds to turn on your phone. It will also take a few seconds for the machine to boot up. Then the initial setup menu will open. Follow the prompts on the screen and complete the setup.
 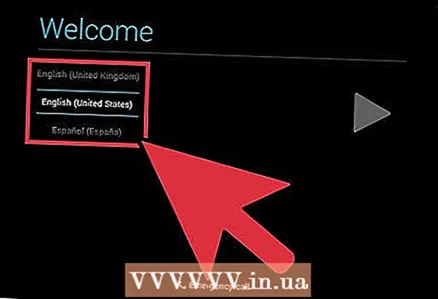 5 Choose language. This option allows you to change the default menu language and language settings for some applications. The language can always be changed in the phone settings.
  6 Select a Wi-Fi network. If your tariff provides for mobile Internet, then the smartphone can be immediately connected to the network. You can also connect your smartphone to a local Wi-Fi network for a faster network connection or save mobile data. Browse the list of available wireless networks and select the appropriate access point.
 - To connect to a secure network, you must enter a password. Tap the text input field to bring up the onscreen keyboard, and then enter the password.
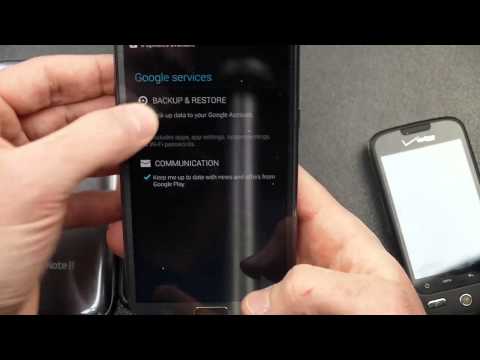
 7 Create or sign in to your Google account. Android is developed by Google, so you need to create a free account to use Google Play, Gmail, YouTube and more. Follow the prompts on the screen to create a Google account or sign in to an existing account that will be linked to this smartphone.
 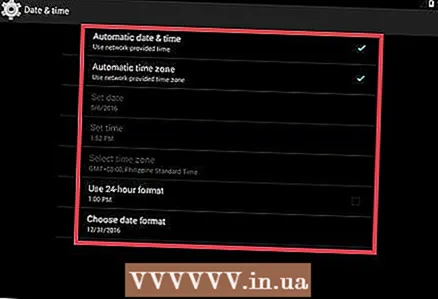 8 Set the date and time. You can choose to set the time over the network or set the current time manually.
 - When setting manually, you also need to select the date, time zone and time format.
 9 Use the settings program to change the configuration of your smartphone. This application allows you to change almost any phone settings, including the settings of installed programs, notifications, sounds, languages and much more. From the home screen, tap the shortcut that looks like a grid to open all applications. Flick the screen sideways or from top to bottom to view all installed programs. Find and open the Settings app.
 - Select Wi-Fi, Bluetooth, and Data connectivity to change settings, create a new connection, or activate or deactivate the feature. Wi-Fi connections are used primarily when there is an available wireless network nearby.
- Select a ringtone from Sound> Ringtone. You can also adjust the ringtone and media volume separately in the Sound> Volume tab.
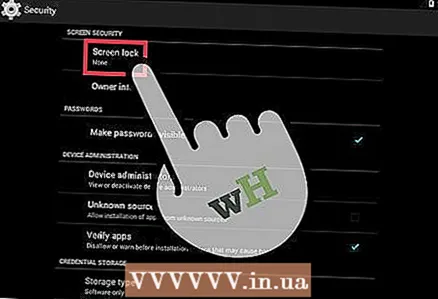 10 Ensure safety. Activate the lock screen on your smartphone. It will come in handy if your phone is lost or stolen and will prevent others from using the device. In the “Settings” go to the “Security” item and select the screen lock using one of the available methods - password, PIN-code or pattern. Complete the settings according to the prompts on the screen.
 - Be sure to remember the digital combination and pattern in order not to lose access to your smartphone. Otherwise, you will have to perform a factory reset, which will result in the loss of all data.
- After completing the settings, you must enter the selected code to unlock your phone. Press the power button to turn off the screen and lock the device. Press the power button again to turn on the screen. Follow the prompts and unlock your smartphone. You will be required to enter a password or pattern.
Part 2 of 4: Calls and Messages
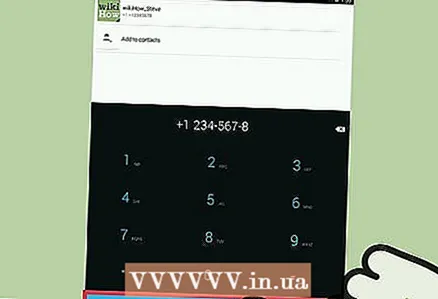 1 Make a call. Open the Phone app to call another person. Such an application is usually found in the Favorites bar at the bottom of the screen or in the menu of all programs. After launching the application, the numeric keypad will open. Click the icon if the keyboard is not displayed. Enter the contact's phone number and click “Call”. Additional features will be available during the call.
 - When you bring the smartphone to your ear, the backlight will turn off and the touchscreen will be locked.Move the phone away from your ear to use additional features during a call.
- Click the microphone icon to mute the microphone and the other person cannot hear you. Tap the icon again to continue the conversation.
- Tap the speaker icon to turn the speakerphone on and off. Adjust the call volume using the control buttons on the side of the device.
- Click the keyboard icon, which looks like a square grid, to bring up the numeric keypad. During a call, the keyboard may be required to enter information.
- Click the End Call button to end the conversation.
 2 Save and edit contacts. The smartphone allows you to save personal contact information in the phone book. Open the Contacts app to see your list of contacts. The smartphone can use the contact information of the SIM card or Google account to populate the phone book.
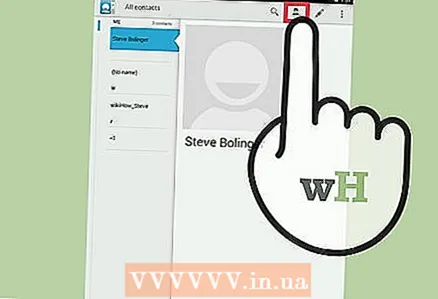
 - To add a contact, click the “Add” icon at the top of the screen. Choose where to save your contact information - phone memory or Google account. You can enter a person's name, phone number, email address, and other information. After entering all the information, click “Save” to create a new contact on your device.
- Scroll up and down the list to view all available contacts. Tap a name in the list to view contact information, make a call, send a message, email, or edit information.
- Press and hold a contact's name to bring up a context menu that allows you to make a call, edit contact information, send a message, or block calls from a contact.
- Tap the magnifying glass icon to search for a contact's name.
 3 Send a text message. Open the Messages application, which is usually found in your favorite programs or in the menu of all programs, to use the short text messaging (SMS) service. Also, the program stores all outgoing and incoming messages, which are shown in the form of dialogs. Messages are sent to the phone number.
 - The message can be sent to a contact from a book or by a phone number. Click “Compose” to enter your message text. In the “Recipient” field, enter the recipient's name from the phone book or enter a phone number. If the number is in the phone's memory, the appropriate options will appear on the screen. Click on a name or phone number to select.
- The text of the message should be entered in a special window. Tap the field to bring up the onscreen keyboard. Then enter your message and click “Send”.
- A paperclip icon allows you to attach attachments. Various files can be attached to the message text. Follow the prompts to add the file and then click “Submit”.
Part 3 of 4: How to Customize Desktops
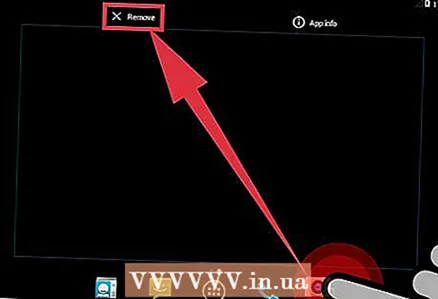 1 Add a desktop. The system allows you to add desktops to host applications for quick access. Move two fingers from the borders to the center of the screen, or hold down the Home button to see all desktops. Click “Add” to add a new desktop. Press and hold the selected desktop with your finger, then drag over the Delete icon and release to remove one of the tables.
 - There is always a home screen among all desktops. It will open when you press the Home button on any desktop or program.
- Press and hold the selected desktop, and then drag forward or backward to reorder the desktops.
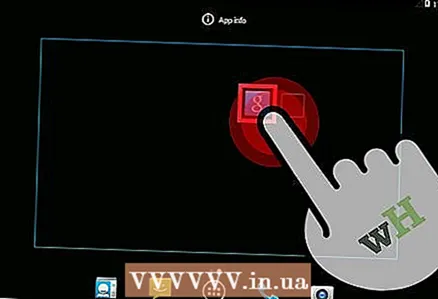 2 Add apps to your home screen. Click the grid icon to view all installed applications. Scroll the screens to the sides or from top to bottom. Press and hold a program icon to create a shortcut on your desktop. Release your finger at the selected location on the desktop to position the shortcut.
 - You don't need to create a desktop shortcut to launch applications.Click on the icon of the selected program.
- You can also add a shortcut to the favorites bar at the bottom of the screen. This string does not change when switching between desktops and is displayed on the lock screen.
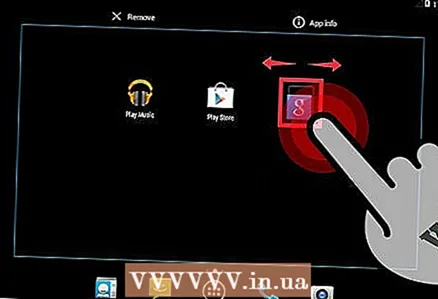 3 Arrange items on your desktop. The desktop can be customized to your liking. Application shortcuts and other items can be arranged in a grid according to your preferences for quick and easy access. Hold and hold the shortcut for a couple of seconds to move it to any free point, and then release your finger.
 - Drag the icon to the left or right edge of the screen to move it to another table.
- Some devices allow you to drag and drop icons on top of each other and create folders. Just click on a folder to see the contents. Press and hold the folder icon to bring up the keyboard and enter any name. Enter your text and press enter to rename the folder.
- Press and hold the selected shortcut with your finger, then drag over the Delete icon and release to remove the shortcut from the desktop.
 4 Place widgets on your desktop. A widget is an application window that runs right on the desktop. Get instant access to unique phone features. Use a calculator, view real-time social media updates, or work with the built-in music player. The list of available widgets can be viewed in one of the following ways. Press and hold your finger on an empty space on the desktop, or open the list of all programs and find the section with widgets. Consider the size of the widget when adding it to the desktop, as it is laid out on a grid similar to application shortcuts. Press and hold the selected widget to bring it to your desktop, then select a suitable location. Release to place the widget on your home screen.
 - If there is not enough room on the table for the widget, then add a new desktop or move adjacent shortcuts with widgets to free up space.
- Home widgets can drain your battery faster. Limit yourself to only the most essential widgets.
Part 4 of 4: Installing Apps from the Google Play Store
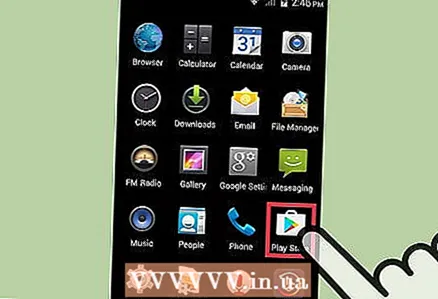 1 Open the Google Play app store. You must first sign in to your Google account. Find the “Play Store” icon among other applications and launch the program.
 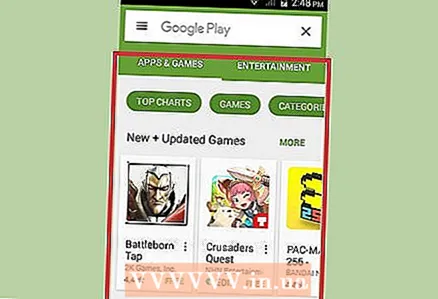 2 Find an app to download. There are several options for finding applications. You can scroll through the list of programs on the screen. Click on the app to view the information page.
 - If you know the name of the program you want, tap the search bar at the top of the screen and enter your text, then press Enter to see a list of search results.
- To select useful programs, you can use the store's recommendations or the lists of popular applications. Scroll up and down to view the entire list. All programs are arranged horizontally by category. To view apps in a category, swipe left or right, or tap More next to a category name.
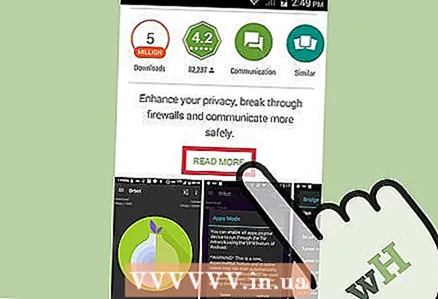 3 Review the application information page. This page contains information that allows you to determine whether to install the program.
 - Programs can be added to the wishlist by clicking the ribbon-shaped icon in the upper right corner of the information page.
- Some sections of the page can be flipped right and left to view images of the program interface and other information. Reviews and recommendations from other users are also available here.
- Some programs cannot be installed due to incompatibility with the device. You can find a similar program or other developer apps for your device.
- Some reviews indicate the Android version and phone model that were used when working with the program. Look for reviews specifically for your model, as different devices may have different performance.
 4 Install the app. At the top of the page there is an “Install” or “Buy” button that allows you to download the application to your phone. The Google Play store will inform you about the required permissions, such as working with a contact list or wireless connections, that are required to use the program. Accept the terms to install the app. Installation time depends on the size of the file. When the installation is complete, a notification will appear on the screen.
 - For paid apps, prices are quoted in local currency. After permits, you should choose a convenient payment method. You can use a bank card or credit from the Google Play store. To use the card, click “Add a payment method” and enter the card details. Follow the onscreen prompts to add payment information to your account. Subsequently, the card will be displayed as an available payment method, and you will no longer need to re-enter the data. If the credit in the Google Play store does not cover the entire cost of the program, the rest of the amount can be paid by credit card.
- Also, next to the “Install” button, there may be a text “There is paid content”. This postscript suggests that in-app purchases are possible in the program. The added payment method on Google Play will be used for such purchases. For more information, see the instructions for the app.
 5 Install the program to your phone. The application will appear in the list of installed programs and on the desktop with free space. To start, click the program icon.
 - The “Install” button on the information page will be replaced with a “Remove” button, which allows you to remove the application from your phone. Press the corresponding button to reinstall. Previously purchased software can be re-installed at no additional cost. To see all purchased and installed programs, select “My Apps & Games” from the side menu.
Tips
- After downloading the app from the Google Play store, the program will be licensed for your account. Purchased programs do not need to be paid again when re-downloaded.
- If you have other Android devices, Google Play will allow you to install purchased apps on that device if it uses your Google Account. Some programs can be installed on a limited number of devices. The corresponding restrictions can be found on the program information page.
- If you want to turn off your phone completely, press and hold the power button, and then select shutdown or restart from the list of available options.
- You can manage downloaded programs through the Settings app. Go to Storage> Applications to see a list of programs. Click on an application to display a list of available actions that allow you to see the amount of occupied space, uninstall the program or move application data to the memory card (if an SD card is installed and the program supports external storage).
- A password is required to make purchases on Google Play. If you need to improve security and prevent others from making purchases, open the Play Store app. Click the menu icon in the form of three horizontal bars, then select "Settings". Find the item “Purchase authentication” and set the desired parameters.
- The Google Play Store has a refund policy that allows you to get an app refund if you uninstall the app within two hours of purchase. Open the Google Play store. Click Menu> Account. Scroll to Order History and click to see a list of previously purchased software. Find the desired program in the list and the corresponding button to remove the application from your smartphone and get your money back. The money is credited in accordance with the used payment method.


