Author:
Clyde Lopez
Date Of Creation:
24 June 2021
Update Date:
1 July 2024

Content
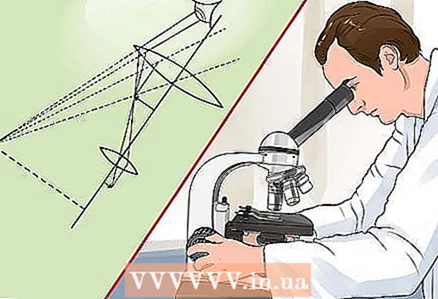
The compound optical microscope is an effective magnifying device that is widely used in scientific laboratories for viewing bacteria and other tiny cells. Composite microscopes use at least two convex lenses that are located at opposite ends of the tube. This moves the sample closer to or away from the lens to help focus and magnify the image. Despite the complex construction of a compound microscope, you do not have to be a scientist to understand its structure and principle of operation.
Steps
Part 1 of 2: Microscope Construction
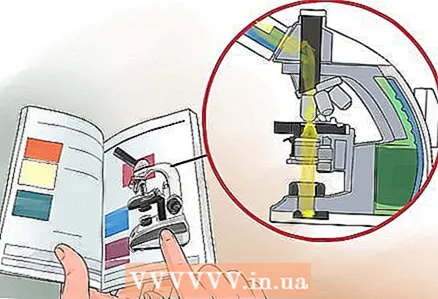
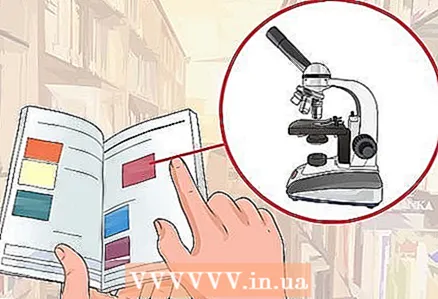 1 Familiarize yourself with the microscope design. Inspect all the components and remember their names and purposes. If you are studying a microscope at school, your teacher will tell you how it works.If you study the microscope on your own, information about the device design can be found in the instructions attached to it.
 - Place the microscope on a clean, level surface near an electrical outlet.
- Always carry the microscope with both hands. Grasp the tripod with one hand and support the bottom of the microscope with the other.
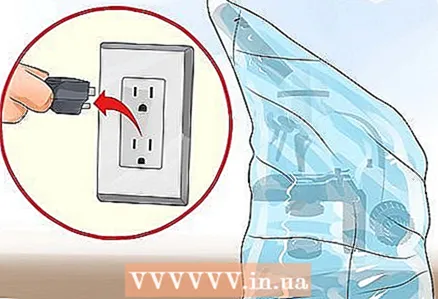
 2 Turn on the microscope. To do this, you need to plug it into a suitable socket. Usually the plug is located at the base of the microscope.
 - Electrical energy is required to operate the illumination system of a compound microscope.
- Make sure the power source is suitable for your microscope. Typically, a compound microscope requires 220 volts to operate.
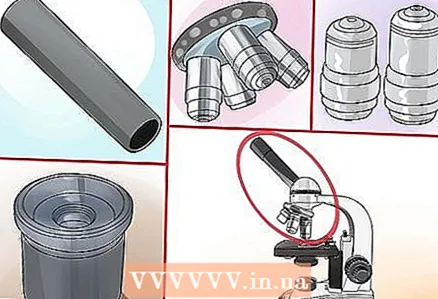 3 Check the optical head of the microscope. The head supports the main optical components of the microscope, which include an eyepiece (or binocular) attachment with one (or two) eyepieces, a tube and objective lenses (these are inserted into the revolving attachment).
 - Through the eyepiece, you look through the microscope to see the object of interest.
- The eyepiece supports the eyepieces.
- Revolving lens attachment holds objective lenses.
- Objectives are the primary lenses of a compound microscope. Depending on the configuration of the microscope, its revolving attachment can be designed for 3, 4 or 5 objective lenses.
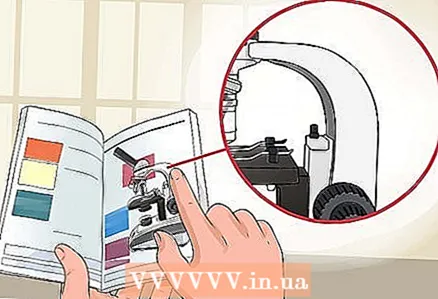 4 Examine the tripod. The microscope stand connects its optical head to the base. The tripod does not contain any lenses.
 - When carrying a compound microscope, support it by its tripod and base.
- The tripod supports the optical head of the microscope.
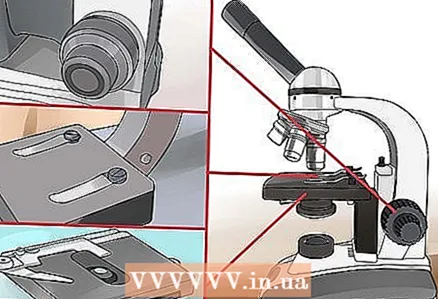 5 Examine the base. The base supports the entire optical system of the microscope and the stage on which the samples are placed. In addition, there are coarse and fine focusing knobs on the base.
 - Focus levers can be located separately or coaxially (in this case, they are located on the same axis).
- The test samples are placed on the stage. The mechanical stage can be moved, which may be needed at high magnifications.
- Clamps on the stage are used to secure the specimen.
 6 Learn about light sources. For better illumination, compound microscopes use their own light source. It is located at the base of the microscope.
 - Before reaching the stage and onto the specimen slide, the light passes through an aperture, which is a small diameter hole.
- A light source illuminates the sample. As a rule, low power halogen lamps are used for this purpose. Illumination can be changed.
- The condenser collects and focuses the light that is emitted by the illuminator. The condenser is located under the stage and is often equipped with an iris diaphragm.
- With a dedicated focusing knob, the condenser moves up and down, which allows you to adjust the illumination.
- The iris diaphragm is located under the stage. Along with the condenser, it allows you to adjust and focus the light incident on the sample.
Part 2 of 2: Focusing the Microscope
 1 Prepare sample plates. Before placing samples on the microscope stage, they should be placed between two glass slides. This protects not only the samples themselves, but also the objective lenses of the microscope.
 - To prepare a microscopic specimen (specimen for examination under a microscope), place the material to be examined between two glass slides.
- Place the specimen in the center of the stage with the test material over the hole in the stage.
- Fix the drug. To do this, press the slides against the stage with two clamps.
 2 Check if the iris is open. Usually this diaphragm is located just below the stage. It is essential that the optimal amount of light falls on the sample and the lens.
 - The iris should not be used for brightness control.It is designed to adjust contrast and resolution (get a clearer image).
- This diaphragm is usually used at the lowest magnification.
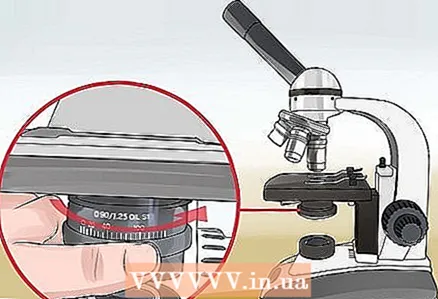
 3 Extend the desired lens and adjust the focusing knobs. Start at the lowest magnification. This will allow you to select the area of the sample that is of greatest interest. Once you find such an area, you can use a higher magnification to see finer details.
 - Rotate the turret so that the shortest objective lens is above the specimen. In this case, a click should be heard, after which the revolving nozzle will lock in a certain position. The shortest objective lens produces the smallest magnification and is best used to start examining the specimen.
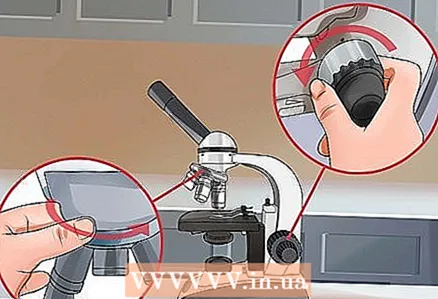
- Rotate the coarse focus knob (larger knob) on the side of the tripod until the stage is tilted closer to the short objective lens. When doing this, do not look through the microscope eyepiece. Care must be taken that the slide does not touch the lens. Stop rotating the coarse focusing knob shortly before the slide touches the lens.
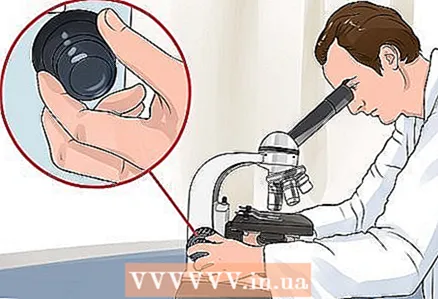 4 Focus the image. Looking through the eyepiece, use the illuminator and diaphragm to set the optimal illumination of the sample. Move the slide with the sample so that the place of interest is in the center of the visible field.
 - Use the illuminator to achieve optimal illumination of the sample. Set the light to bright enough so that the specimen is clearly visible, but don't overdo it as you will see less detail in too much light.
- Rotate the coarse focusing knob in the opposite direction to that in which you rotated it before so that the stage is lowered and away from the objective lens. Rotate the knob slowly until the image begins to focus.
 5 Enlarge the image. Use the coarse focus knob to bring out the sample so that fine details are visible, then use the fine focus knob to achieve the sharpest image. When going to higher magnifications, you may have to move the slide.
 - If a compound microscope has one eyepiece, it is best to keep both eyes open. In this case, one eye should look through the eyepiece, and the other outside the optical system of the microscope.
- With a 10x lens, it is recommended to set less lighting to see fine details better.
- Re-adjust the illuminator and iris if necessary.
- Change your objective lens. To do this, turn the turret so that the longer lens is at the bottom.
- Focus the image.
- After you have focused the image, place an objective lens with aOhigher magnification. Then you can easily refocus the image.
- If you are unable to focus the sample image, repeat the steps above.
 6 Turn off and cover the microscope. Dust is very harmful to a compound microscope. It can scratch the lenses, clog the adjustment knobs and dirty the eyepieces.
 - Always turn off the power when you finish working on the microscope.
- Lower the stage, remove the sample from the stage and cover the microscope with a dust-repellent cover.
- Do not touch lenses and other glass parts with your fingers.
- When carrying the microscope, be careful and hold it with both hands.
Tips
- Since the sample is viewed through multiple lenses, an inverted image is obtained. To see the bottom of the sample, you need to move it up.
- Apply a small amount of material to the slide. When you cover the material under study with a second glass slide, it will spread, and if there is too much of it, it will squeeze out from under the edges of the glass.
- Check if the microscope is equipped with a stopper. If not, be careful not to push the lens against the slide, as this could damage the lens.
Warnings
- Do not place the compound microscope on an uneven surface, otherwise you will not be able to focus the image properly, it will shift and shake.
- Always carry the compound microscope with both hands. Use one hand to hold the tripod and support the base of the microscope with the other. Do not forget that a microscope is a rather fragile and expensive instrument.
- Do not touch the glass of the lenses to avoid damaging them.
- Keep both eyes open when working with the microscope. Although you are looking at the sample with one eye, it can strain if you close your other eye.


