Content
- Steps
- Method 1 of 3: How to do a simple cleanup
- Method 2 of 3: Removing the keys
- Method 3 of 3: Cleaning up liquid spills
- Tips
- Warnings
Without regular cleaning, your laptop keyboard can become heavily clogged. Sebum on your fingers leaves deposits on the keys, and crumbs, dust, and pet hair get trapped in the cracks on the keyboard. If you are intimidated by cleaning your keyboard, then no need to worry! You can do everything yourself. There are ways to minimize damage, even if you spill a drink on the keys!
Steps
Method 1 of 3: How to do a simple cleanup
 1 Turn off the laptop and unplug it from the outlet. Power off the laptop completely, even if you are not going to spray liquid directly onto the device, to prevent damage if a small amount of moisture gets inside. Turn off the laptop through the "Shutdown" item, and then unplug the cable from the outlet.
 - In addition to protecting against electric shock, it also prevents accidental e-mails from being sent to your boss!
 2 Turn the laptop upside down and shake it gently. This will remove large clumps of dust, crumbs, and other debris lurking in the gaps between the keys. If you remove all coarse dirt first, then it will be easier for you to perform a thorough cleaning later.
 Advice: Try placing a towel under your laptop while you shake it to make it easier to collect trash.
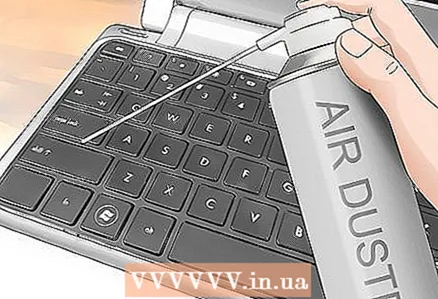 3 Blow dust between the keys with compressed air. Attach a special thin attachment to the compressed air cylinder. Tilt the keyboard slightly and blow through all the keys with short blasts of air, gradually moving across the entire surface. The force of the air flow will dislodge any debris that gets stuck between and under the keys.
 - You can buy a compressed air cylinder at a home and office supply store.
- Never spray compressed air when holding the bottle upside down, otherwise the spray may get inside the laptop and damage its components.

Filip boksa
Cleaning professional Philip Boxa is the CEO and founder of King of Maids, a US cleaning service that helps clients with cleaning and organizing. Filip boksa
Cleaning professionalOur expert confirms: “After turning off the laptop, blow out the keys with compressed air to remove any trapped particles. Then wipe the surface with a slightly damp, lint-free cloth. "
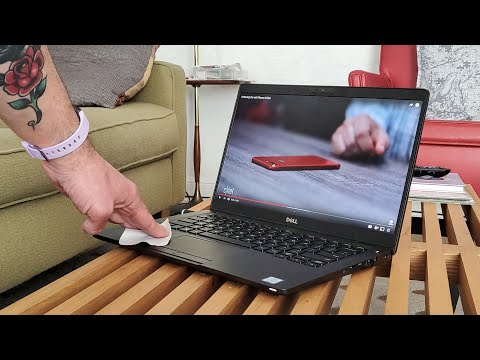
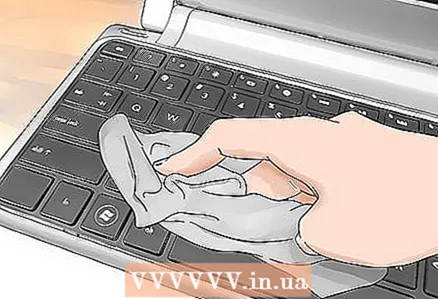
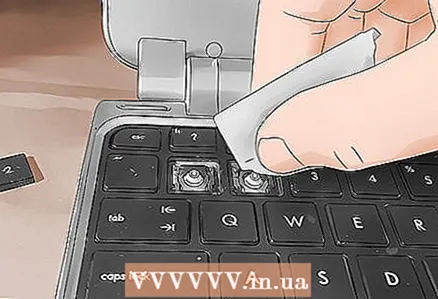
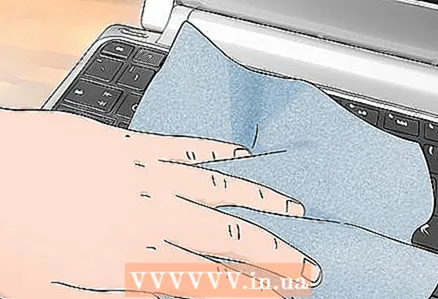 4 Wipe the keys with a damp microfiber cloth. This material is excellent at collecting dust, which will allow you to quickly clean the keys and collect plaque. If necessary, slightly dampen the cloth with water, but squeeze out any excess moisture and wipe only the top of the keys to prevent moisture from getting inside the laptop.
 Note: Instead of a microfiber cloth, a lint-free cloth is also suitable.
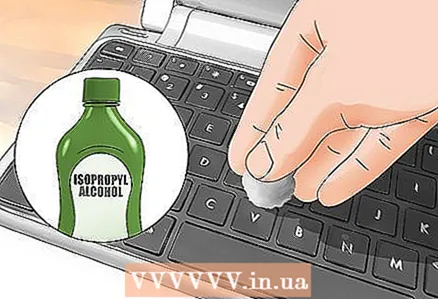 5 Remove stubborn stains with a cotton swab dipped in isopropyl alcohol. Alcohol evaporates quickly, making it safer than water when cleaning your laptop. In addition, any alcohol perfectly removes greasy fingerprints. Always apply the rubbing alcohol to the cotton swab first, not the keyboard.
 To clear the space between the keys, moisten a cotton swab with rubbing alcohol and process the areas around the keys.
 6 Kill germs with disinfectant wipes. If you are worried about germs while working on a shared laptop or after an illness, then you can wipe the keys with a disinfectant wipe. However, do not use bleach wipes, as they can damage the protective layer on the keys.
 Advice: Never apply disinfectant spray to your laptop as it contains too much moisture.
Method 2 of 3: Removing the keys
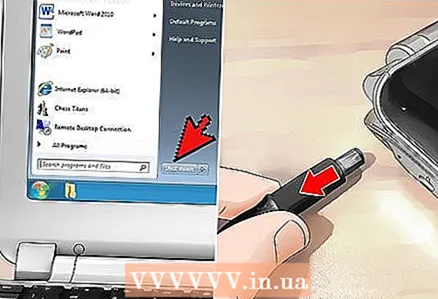
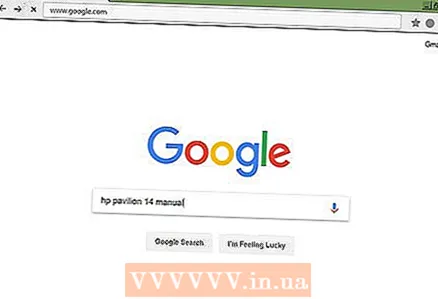 1 Find your laptop model online for a way to remove the keys. On some laptops, you can pry the keys slightly to gain access to the surface under the keyboard. Other models are equipped with simply attached keycaps. Explore the possibility and ways to remove keys online.
 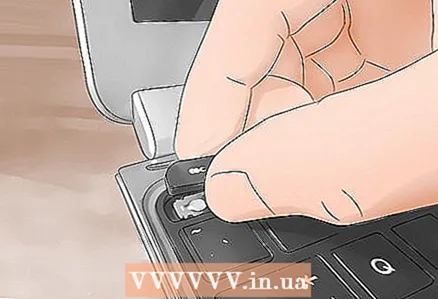 2 Remove keys only if absolutely necessary. Even removable keycaps are secured with fragile plastic tabs. Remove them only as a last resort to avoid damaging the keyboard.
 Note: to clean under the keys, it is better to choose the moment when you spill a sticky drink on the keyboard or large particles of debris are stuck between the keys that cannot be shaken out or blown out with compressed air.
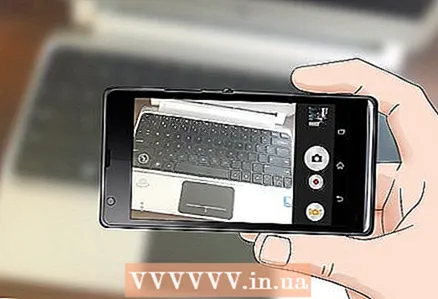 3 Take a picture of the keyboard before starting work. This way you won't forget the key layout when you put them back in place! Remembering the order of numbers and letters is not very difficult, but almost every keyboard has special symbols and function keys that can be easily confused.
  4 Pry the keys with a small flat tool. Slide the edge of your instrument under the bottom of the key and gently pry up. The keycap should pop off without effort. If it doesn’t give way, then you don’t need to apply force, otherwise you will irreparably damage the keyboard.
 - Place your keycaps in a small bowl or other container so you don't get lost.
- You can buy a special tool kit from an electronics store, which includes small plastic or metal fixtures designed to make the keys easier to use. Otherwise, you can use a flat head screwdriver, butter knife, or even your fingernail.
 5 Wipe the surface under the keys with a microfiber cloth or a cotton swab moistened with alcohol. Without the caps, the internal mechanism of the keyboard and laptop is less protected from damage, so do not use liquid to clean it. If the surface under the keys is very dirty, soak a cotton swab with a little rubbing alcohol and gently wipe off the dirt.
 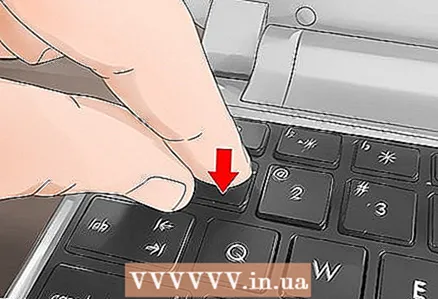 6 Replace the keycaps. Replace each cap in its place and observe the position of the keys. Start at the bottom edge and press down gently on the key until the tab of the cap snaps into the latch.
 Note: if the key does not fit into place by pressing, then refer to the laptop manual for instructions on how to install the keys.
Method 3 of 3: Cleaning up liquid spills
 1 Unplug the power cord and remove the battery immediately. Unplug the power cord immediately and hold the power button until the laptop shuts down completely. If spilled liquid spills on electrical components inside the computer, the laptop will be permanently damaged. Fast response minimizes the risk of electrical damage.
 - Do not touch the notebook if it emits smoke, steam, or the surface of the computer starts to swell. In this case, there is a risk of severe burns or electric shock.
- Even when the liquid dries up, residues from sweet, sour or alcoholic drinks can affect the functionality of the keyboard.
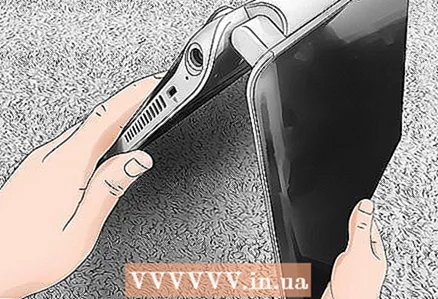
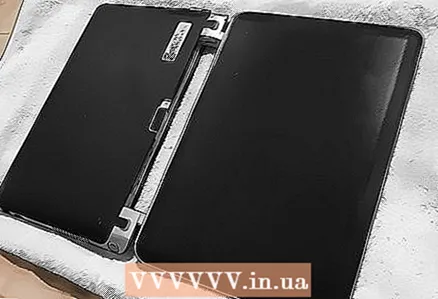 2 Turn the laptop upside down on a towel. Open the laptop to its maximum width and flip it upside down on a towel or other absorbent material. If you turn the laptop over, moisture will drain away from the motherboard and other electrical components due to gravity.
 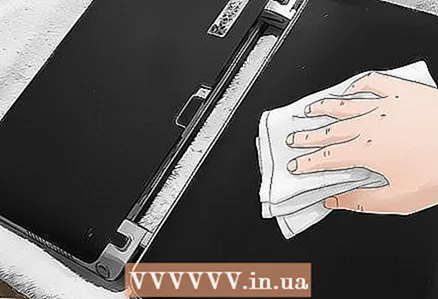 3 Blot off as much moisture as possible with a tissue paper immediately. If you have a lint-free or microfiber cloth, dry the laptop with this material. Time is against you, so in the absence of a napkin, use anything from a tea towel to an old T-shirt or paper towels. Absorb all moisture from the surface of the laptop.
 Note: Towels and paper towels can leave small particles of material trapped inside the laptop, so it's best to use a microfiber cloth or lint-free cloth.
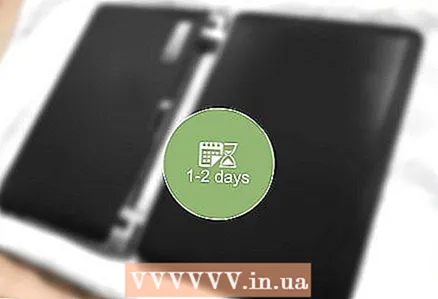 4 Leave the opened laptop to dry for 1–2 days. It is impossible to speed up the process. Even if the laptop looks dry on the outside, moisture may still remain on the inside. For safety reasons, it is best to dry the keyboard for at least 24 hours before turning it on again.
 Do not try to dry the keyboard with a hair dryerotherwise, the airflow risks carrying dust particles directly into the moisture inside the notebook, resulting in a dusty coating that will interfere with the normal operation of the device.
 5 Take the laptop to a computer / laptop repair / cleaner if spilled liquid was sweet. You should be fine if you spill some water on the keyboard, but in the case of a lot of sugary drink and an expensive laptop, it’s better to have a professional disassemble and clean the inside of the laptop. This service can cost up to 30,000 rubles, but it will be justified given the high cost of a laptop and the importance of storing data on the device.
 - If you understand electronics, you can disassemble and clean the laptop yourself, but in some cases, disassembly will require special tools that are not always at hand.
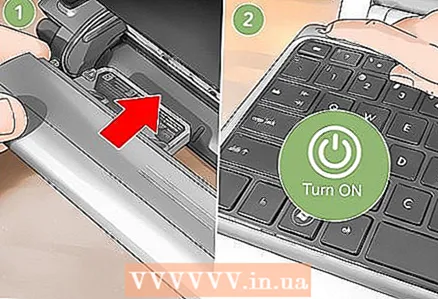 6 Replace the battery and turn on the laptop when it is completely dry. This will be the moment of truth. If your laptop doesn't work at all, leave it to dry for another 24 hours. If the operating system boots, but the keyboard does not work, it may need to be replaced - to find out for sure, take the laptop to a specialist. For full operation of the device, you can temporarily connect an external keyboard via the USB connector.
Tips
- Try removing any crumbs and dust between the keys with a sticky note paper.
Warnings
- Never use harsh chemicals or abrasive materials to clean your laptop, otherwise there is a risk of erasing the lettering on the keys.
- When using water to clean the keys, be sure to apply the water to a tissue, swab, or special tool. Do not apply water directly to the keyboard.
- Remember the safety rules! If you spill liquid on your laptop and notice heat, smoke, or a burning smell, then it's best to stay away from the device.


