Author:
Virginia Floyd
Date Of Creation:
13 August 2021
Update Date:
1 July 2024
![[4 Ways] How To Transfer Photos from iPhone to iPad Pro/Air/Mini Tutorial 2021](https://i.ytimg.com/vi/ZgHO3DDiJhs/hqdefault.jpg)
Content
This article will show you how to copy (send) photos from iPhone to iPad.
Steps
Method 1 of 3: Using iCloud
 1 On iPhone, open the Settings app. The icon for this app is a gray gear (⚙️) and is usually found on the home screen.
  2 Click on "Apple ID". This section is at the top of the Settings menu and includes your name and picture (if any).
 - If you're not already signed in, click Sign In>, enter your Apple ID and password, and then click Sign In.
- If you are using an older version of iOS, skip this step.
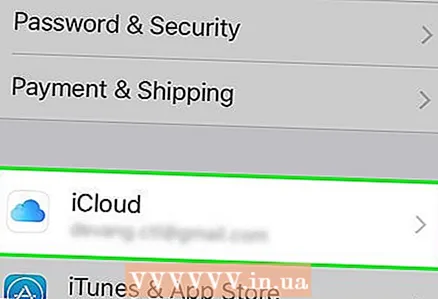 3 Click iCloud. This option is located in the second section of the menu.
 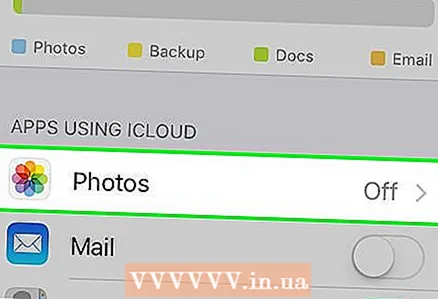 4 Click Photo. You'll find this app at the top of the Apps Using iCloud section.
 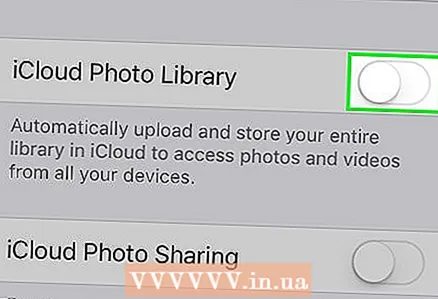 5 Move the iCloud Photo Library slider to the On position. It will turn green. Now, new photos taken with iPhone and existing images that are stored in the device's memory will be copied to iCloud.
 - To free up space on your iPhone, tap “Optimize iPhone Memory”; in this case, the size of the photos will be reduced.
 6 Move the Upload to Photo Stream slider to the On position. New photos taken with iPhone will now sync (when connected to a wireless network) with all your devices signed in with Apple ID.
  7 On iPad, open the Settings app. The icon for this app is a gray gear (⚙️) and is usually found on the home screen.
  8 Click on "Apple ID". This section is at the top of the Settings menu.
 - If you're not already signed in, click Sign In>, enter your Apple ID and password, and then click Sign In.
- If you are using an older version of iOS, skip this step.
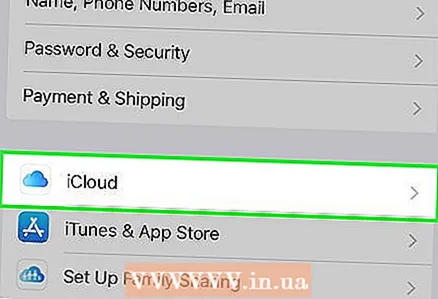 9 Click iCloud. This option is located in the second section of the menu.
 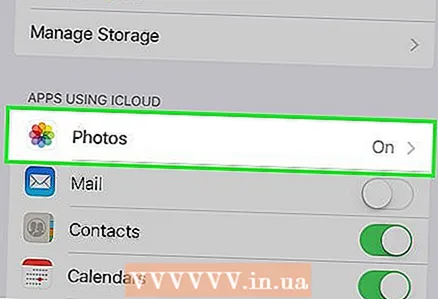 10 Click Photo. You'll find this app at the top of the Apps Using iCloud section.
 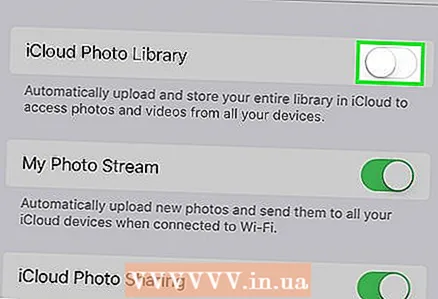 11 Move the iCloud Photo Library slider to the On position. It will turn green.
  12 Press the Home button. It's the round button on the front of the iPad (located directly below the screen).
 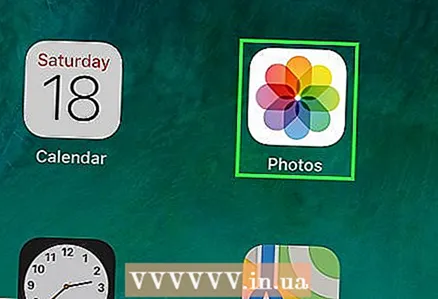 13 On your computer, open the Photos app. The icon of this application looks like a multi-colored flower.
  14 Click Albums. This button is at the top of the window.
  15 Click All Photos. This is one of the albums most likely located in the upper left corner of the screen. After iPhone and iPad sync content to iCloud, iPhone photos appear in this album.
Method 2 of 3: Using AirDrop
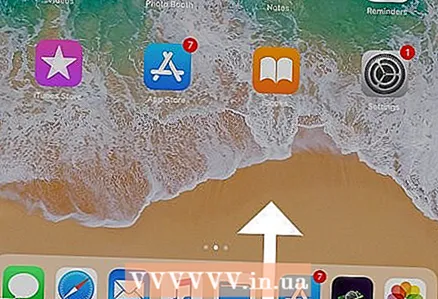 1 On iPad, open Control Center. To do this, swipe up from the bottom of the screen.
  2 Click AirDrop. This button is in the lower-left corner of the screen.
 - If you're prompted to turn on Bluetooth and Wi-Fi, do so.
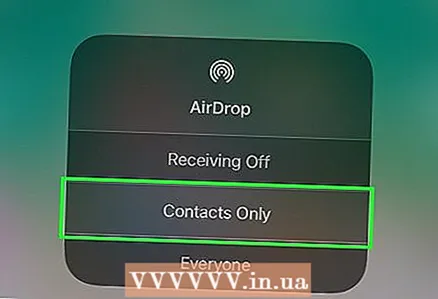 3 Tap Contacts only. It's in the middle of the menu.
  4 On your computer, open the Photos app. The icon of this application looks like a multi-colored flower.
  5 Click Albums. This button is at the top of the window.
  6 Click All Photos. This is one of the albums most likely located in the upper left corner of the screen.
  7 Select a photo. To do this, just click on the desired photo.
  8 Click Share. The icon for this button is in the form of a square with an arrow pointing up, and is located in the lower left corner of the screen.
  9 Select additional photos (if you like). Flick the photos left or right (at the top of the screen) and click the circle icon in the lower right corner of the image to select it.
 - Some users have reported issues when copying photos via AirDrop.
 10 Click on the name of your iPad. It will appear between the images at the top of the screen and the sharing options at the bottom of the screen.
 - If your tablet is not on the screen, make sure the device is close enough to your smartphone (within one meter) and that AirDrop is turned on.
- If you're prompted to turn on Bluetooth and Wi-Fi, do so.
 11 View photos on iPad. A message appears on the screen indicating that the iPhone is transferring images. When the copying process is complete, the photos can be viewed in the Photos app on iPad.
Method 3 of 3: Using Email
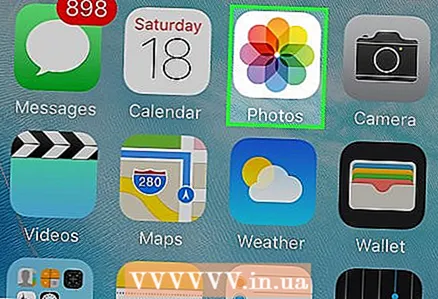 1 On iPhone, open the Photos app. The icon of this application looks like a multi-colored flower.
 - To use this method, set up the Mail app on your iPhone and iPad.
 2 Select a photo. To do this, just click on the desired photo.
  3 Click Share. The icon for this button is in the form of a square with an arrow pointing up, and is located in the lower left corner of the screen.
 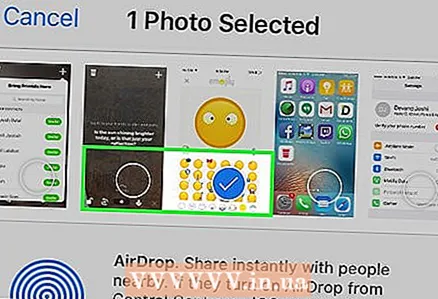 4 Select additional photos (if you like). Flick the photos left or right (at the top of the screen) and click the circle icon in the lower right corner of the image to select it.
  5 Click Mail. It's on the bottom left of the screen. You will be taken to a new screen where you can write an email.
  6 Please enter your email address. Do this on the "To" line (at the top of the screen).
  7 Click Submit. This button is located in the upper right corner of the screen.
 - Click Submit even if a warning appears that the subject line is missing.
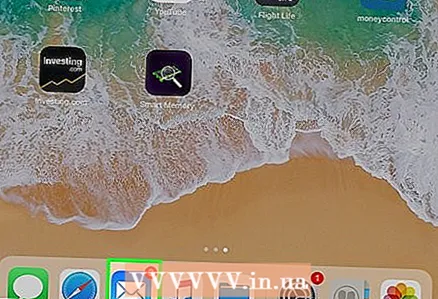 8 Open the Mail app on iPad. The icon for this application looks like a white envelope on a blue background.
 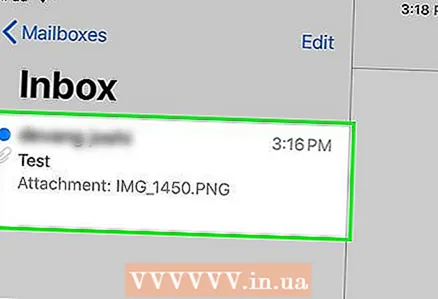 9 Click on the email you sent yourself. It will appear at the top of your Inbox.
  10 Open the photo. Click on the attached image to open it, and then press and hold the image.
  11 Click Save Image. The photo is saved in the Camera folder on the iPad.


