Author:
William Ramirez
Date Of Creation:
19 September 2021
Update Date:
1 July 2024
Content
A CR2 file is an uncompressed image captured on a Canon camera (camera), with .cr2 being the file extension. Any Canon camera creates CR2 files, but these files will be different. To edit a CR2 file, you need to install the latest version of the Adobe Camera Raw plug-in, because all Canon camera models must be present in this plug-in. If you have an older version of Photoshop, you will most likely need to convert the CR2 file to DNG format first.
Steps
Part 1 of 2: How to Update Photoshop
 1 Start Photoshop. The next step is to update the Adobe Camera Raw plug-in. It supports CR2 files and is updated as new Canon cameras are released.
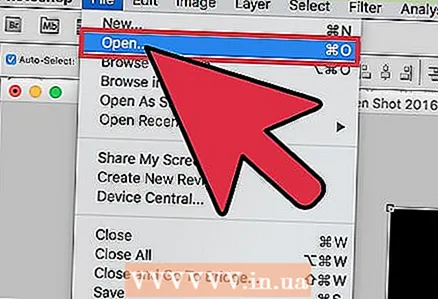
  2 Open the Help menu and select Check for Updates. In Photoshop CC, click Updates. The program will begin looking for available updates, including new versions of the Camera Raw plug-in. Camera Raw lets you work with uncompressed images, including CR2 files.
 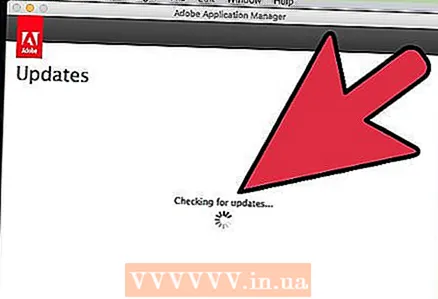 3 Install any available Camera Raw updates. If an update for this module is available, it will appear in the list. Select an update and click "Update".
  4 Install the Camera Raw plug-in update manually. If the automatic update fails, download the Adobe Camera Raw (ACR) Plug-in Update that matches your version of Photoshop. The version of Photoshop appears in the title bar of the program. Remember, early versions of Photoshop do not support later versions of ACR. Download the module from the pages listed below and then install it:
 - Adobe CS4 - ACR 5.7 (https://www.adobe.com/support/downloads/thankyou.jsp?ftpID=4683&fileID=4375)
- Adobe CS5 - ACR 6.7 (https://www.adobe.com/support/downloads/thankyou.jsp?ftpID=5603&fileID=5613)
- Adobe CS6 - ACR 9.1.1 (https://helpx.adobe.com/en/camera-raw/kb/camera-raw-plug-in-installer.html)
- Adobe CC 2014/15 - 9.7 (https://helpx.adobe.com/en/camera-raw/kb/camera-raw-plug-in-installer.html)
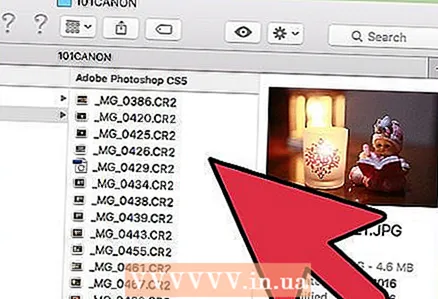
 5 Try opening the CR2 file again in Photoshop. Do this when you have installed the latest version of ACR. If the updated version of ACR supports your camera, Photoshop will open a CR2 file.
 - In an old version of Photoshop with an older version of ACR installed, you cannot open a photo taken with a new camera model. For example, if you have a Canon EOS 5D Mark III, an ACR 7.1 or newer module is required, but such modules cannot be installed in Photoshop CS4 or CS5. In this case, skip to the next section.
Part 2 of 2: How to Convert CR2 File to DNG Format
 1 Copy all CR2 files to a separate folder. The file conversion utility works with folders, not files. If necessary, sort the CR2 files into several separate folders. Files in subfolders will also be converted.
 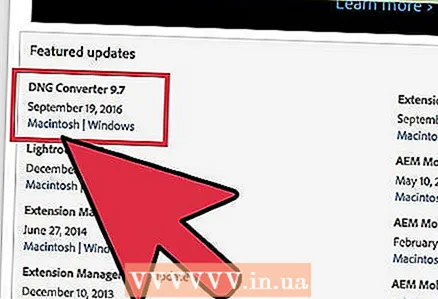 2 Download the Adobe DNG Converter utility. It converts CR2 files to DNG, which is an uncompressed format and allows you to store uncompressed images. Use this utility if you have an older version of Photoshop that does not support the correct version of the Adobe Camera Raw plug-in.
 - The latest version of the DNG Converter can be downloaded from the Updates page on the Adobe website (https://www.adobe.com/en/downloads/updates.html). Click on the link that matches your operating system.
 3 Install the DNG Converter utility. To do this, double-click the downloaded EXE file (Windows) or DMG file (Mac), and then follow the instructions on the screen.
 - On Windows, you need to view several pages in the installer window. On a Mac computer, simply drag and drop the DNG Converter utility icon into the Applications folder.
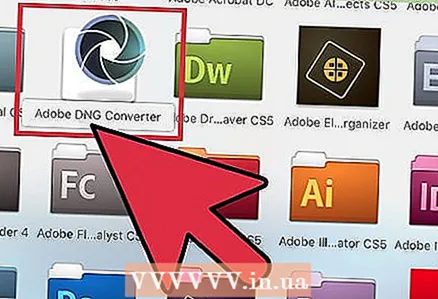 4 Launch the Adobe DNG Converter utility. Click its icon in the Start menu (Windows) or in the Applications folder (Mac).
 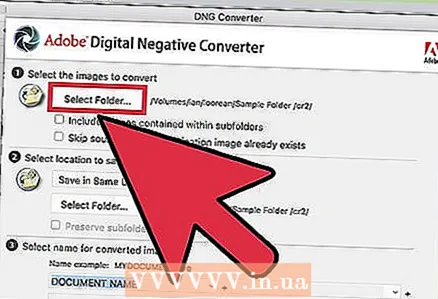 5 Select the folder with the desired CR2 files. To do this, click “Select Folder”. If the folder includes subfolders, check the box next to “Include images contained within subfolders”.
 - When you run the utility again to convert the new files, if you want, check the box next to “Skip source image if destination image already exists”. In this case, old files will not be re-converted.
 6 Select a folder to save the converted files. By default, they will be saved in the folder with the original files. If you want, choose a different folder so that the converted files are kept separate from the original ones.
  7 Enter the format for the names of the converted files. If you fill in the appropriate text boxes, you can configure the automatic naming of the converted files.
 - Open the first menu to select the file name format. Then enter your text in the additional fields. For example, you can use the first field to assign a four-digit serial number to each converted file, and the second to add a date.
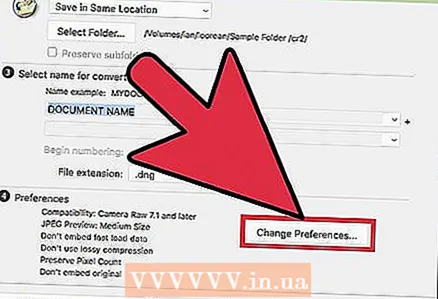 8 Click Change Preferences to set the version of the ACR module with which the converted files will be compatible. If you have an older version of Photoshop, you need to specify the appropriate ACR version.
 - From the Change Preferences menu, open the Compatibility menu to select the correct ACR version. Go to Step 4 of the first section for a list of Photoshop versions and corresponding ACR versions.
 9 Click “Convert” to start the conversion process. This will take a long time, especially if you are converting a lot of photos.
 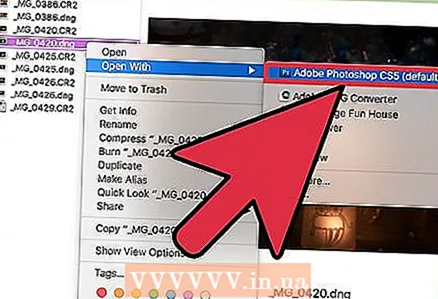 10 Open DNG files in Camera Raw. When the conversion is complete, double-click the DNG file and it will open in Photoshop's Camera Raw module.


