Author:
Sara Rhodes
Date Of Creation:
15 February 2021
Update Date:
1 July 2024

Content
The disk can be formatted using the disk utility that comes preinstalled with Ubuntu. If Disk Utility displays errors or the partition is damaged, use GParted to format the disk. You can also resize existing partitions using GParted, or create a new partition based on unallocated disk space.
Steps
Method 1 of 2: Quick Format
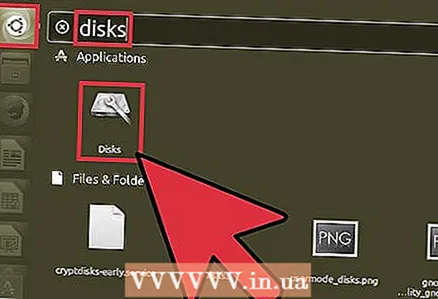 1 Run Disk Utility. Open the Main Menu and enter disks... All connected drives will be displayed on the left.
  2 Highlight the disk to be formatted. All discs are displayed on the left. Be careful when selecting a drive, as all data will be erased during formatting.
 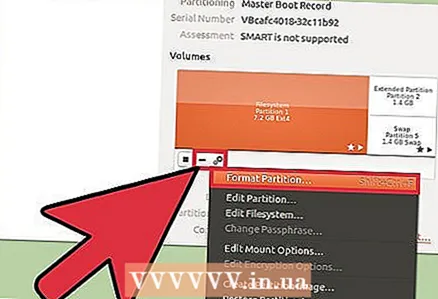 3 Click on the gear icon and select Format Partition. A new window will open in which you can specify the file system.
 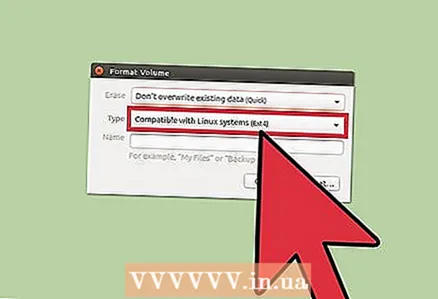 4 Select the desired file system. Open the Type menu and select the desired file system.
 - If you will be using the drive to transfer files between Linux, Mac OS, and Windows computers and between devices that support USB storage, select FAT.
- If the disk will be used on a Linux computer, select "Ext4".
- If the drive will be used on a Windows computer, select NTFS.
 5 Give the section a name. The name (label) of the formatted section can be entered in the corresponding line. The label will help you not to get confused in the connected drives.
  6 Decide on how to securely delete your data. By default, the formatting process will delete the data, but not overwrite it. To safely (permanently) delete data, select Overwrite Data with Zeros from the Delete menu. The formatting process will take longer, but the data will be safely deleted.
 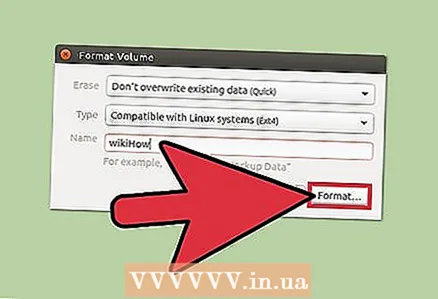 7 Click Formatting to start the formatting process. You will be prompted to confirm your decision. The length of the formatting process depends on the disk capacity and the type of data erasure (safe or normal).
 - If you have problems formatting the disk, use the GParted program (see the next section).
 8 Mount the formatted disk. When the formatting process is complete, click Mount (this button will appear below the list of drives). This will allow you to mount the partition and access its filesystem. Click on the link that appears to open a section in Explorer; or open the file utility and locate the drive in the left pane.
Method 2 of 2: Using GParted
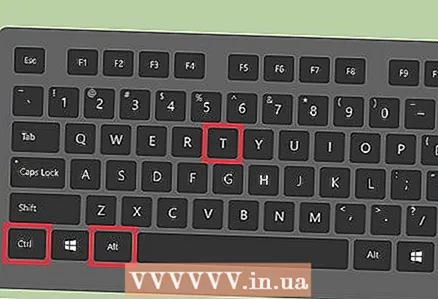 1 Open Terminal. This can be done from the Main Menu or simply clickCtrl+Alt+T.
 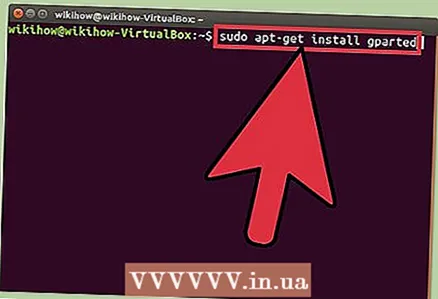 2 Install GParted. To do this, enter the following command. The system will ask you to enter a password (the password is not displayed when you enter it).
 - sudo apt-get install gparted
- Click on Ywhen prompted.
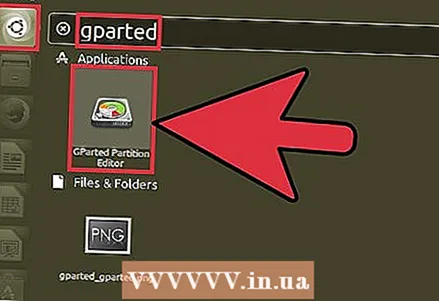 3 Launch GParted from the Main Menu. Open the Main Menu and enter "GParted" (without quotes) to find and run this program. A window will open displaying the partitions of the current disk and its unallocated space.
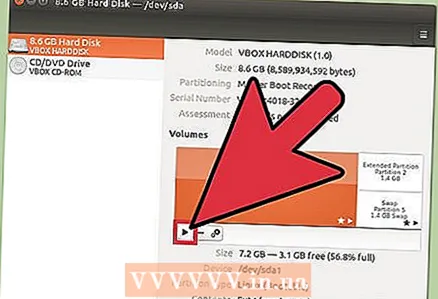
 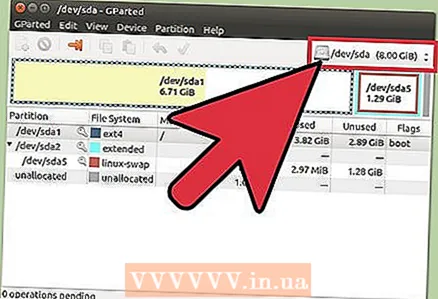 4 Select the drive to format. Do this in the dropdown menu (top right corner). If you are not sure which drive to choose, look for its capacity in the window - this may help you select the correct drive.
 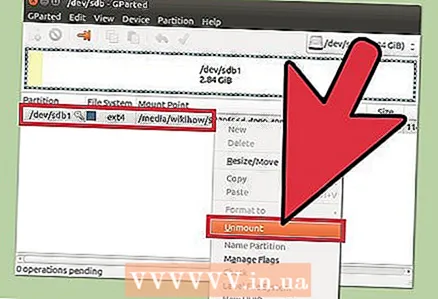 5 Unmount the partition you want to format, modify, or delete. Without this, you will not be able to work with the section. In the list of partitions, right-click on the desired partition and select "Unmount".
 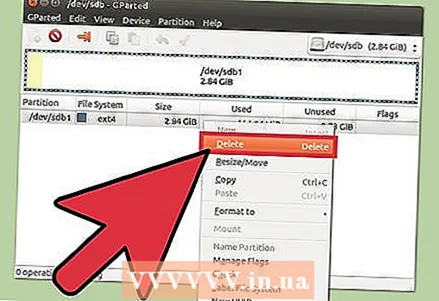 6 Delete the existing section. In this case, it will turn into unallocated space. Based on this space, you can create and format a new partition.
 - Right-click on the partition to be deleted and click "Delete".
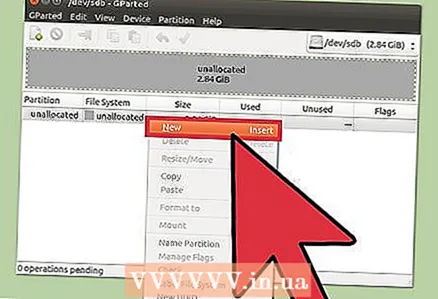 7 Create a new section. Right-click on the unallocated space and select New. The process of creating a new section will start.
 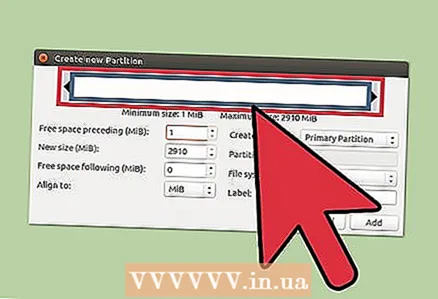 8 Set the size of the partition. To do this, use the slider.
  9 Select the file system for the partition. Do this in the "File System" menu. If the disk will be used in different operating systems and devices, select "fat32". If the drive will only be used in Linux, select "ext4".
 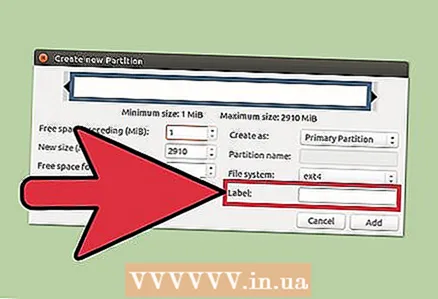 10 Give the section a name (label). This will make it easier to distinguish this section from other sections.
 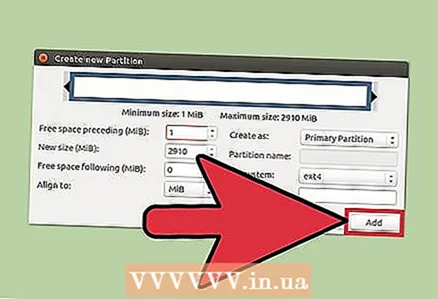 11 When you finish configuring the section settings, click Add. The creation of the section will be added to the list of operations to be performed.
 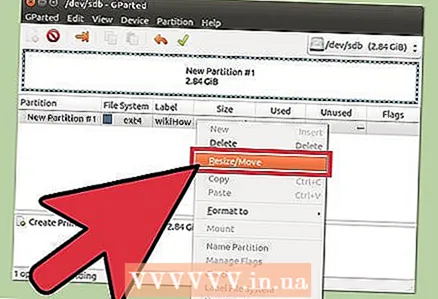 12 Resize the partition (if you like). Partitions can be resized in GParted. The partition can be resized so that a new partition is created from the unallocated space. This will allow you to split your hard drive into multiple partitions without affecting the data stored on the drive.
 - Right-click on the section you want to resize and select Resize / Move.
- Drag the sliders that delimit a section on both sides to create unallocated space before and / or after that section.
- Click Resize / Move to add the resizing to the list of operations to be performed. From the unallocated space, you can create a new partition as described above.
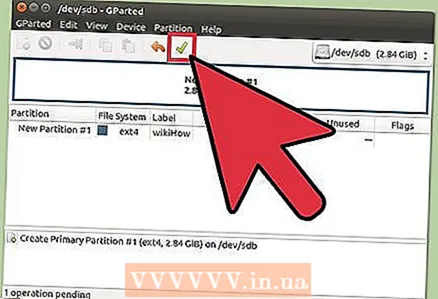 13 Click on the green checkmark button to start scheduled operations. None of the changes you make will take effect until you click this button. As a result, the selected partitions will be deleted (with loss of data), and new partitions will be created.
 - All operations will take some time to complete, depending on the number of operations and the capacity of the disk.
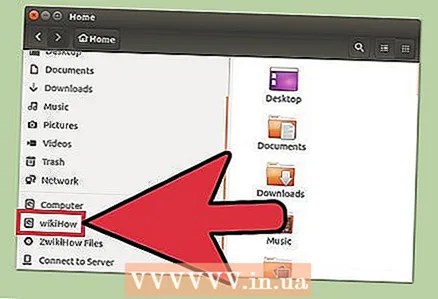 14 Find a formatted drive. When the formatting process is complete, close GParted and locate the formatted disk. It will appear in the list of all drives in the file utility.


