Author:
Sara Rhodes
Date Of Creation:
9 February 2021
Update Date:
1 July 2024
![3 Ways Remove Write Protection From USB Pendrive | "The disk is write protected" [Fix]](https://i.ytimg.com/vi/Sy-5OdaxNuc/hqdefault.jpg)
Content
In this article, we will show you how to remove write protection on a USB drive in order to format it in Windows or macOS.
Steps
Method 1 of 2: Windows
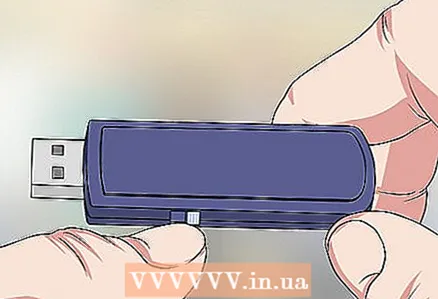 1 Look for the write-protect switch on the drive. If there is such a switch, slide it and then format the drive. If there is no switch, go to the next step.
  2 Connect the drive to a USB port on your computer.
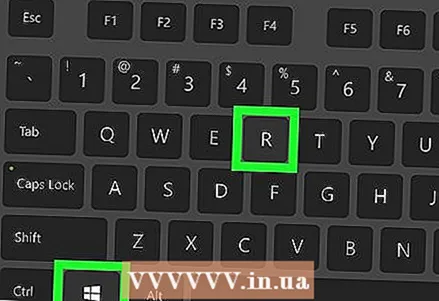 3 Click on ⊞ Win+R. The Run window will open.
 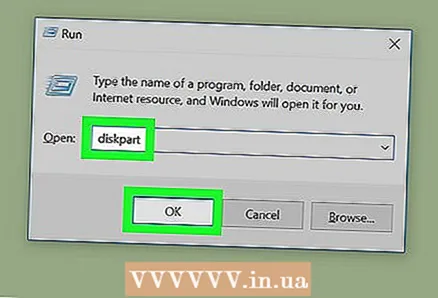 4 Enter diskpart and press OK. A command prompt window will open.
 - If the User Account Control window opens, click Yes.
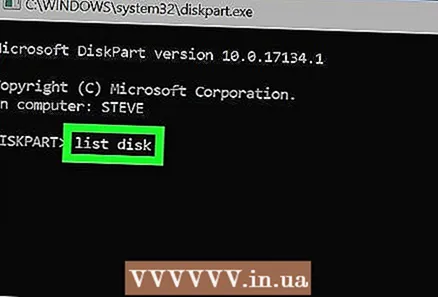 5 Enter list disk and press ↵ Enter. A list of all drives (including external drives) that are connected to the computer will be displayed.
  6 Find your USB drive number. The drives are labeled as "Disc 0", "Disc 1", "Disc 2", and so on. You can find out which of the disks is your drive by its capacity.
 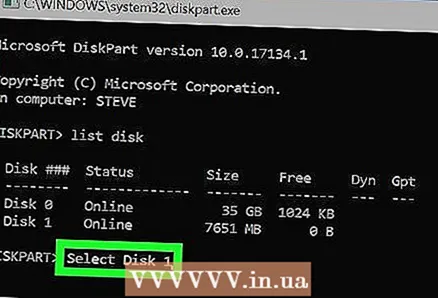 7 Enter Select Disk [number] and press ↵ Enter. Replace [number] with the number of your drive (for example, "Select Disk 1"). The message “Disc [number] selected” appears.
 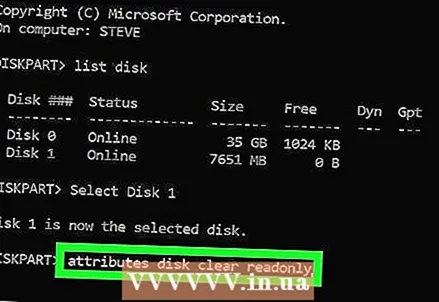 8 Enter attributes disk clear readonly and press ↵ Enter. This command will remove write protection from the drive - a corresponding message will be displayed on the screen.
 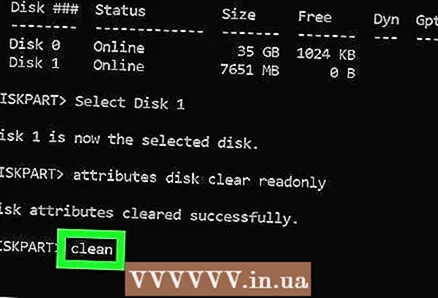 9 Enter clean and press ↵ Enter. All data on the disk will be deleted.
 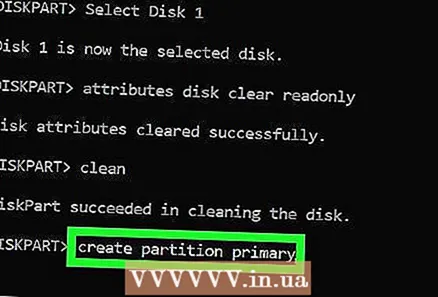 10 Enter create partition primary and press ↵ Enter. A new partition will be created so that you can format the drive. When the "DISKPART>" prompt appears on the screen, close the Command Prompt window - click on the "X" in the upper right corner.
  11 Click on ⊞ Win+Eto open the Explorer window. It will display the files and disks on your computer.
 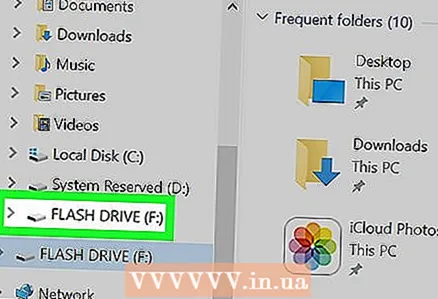 12 Scroll down in the left pane and then right click on your USB drive. It's at the bottom of the left pane. A context menu will open.
 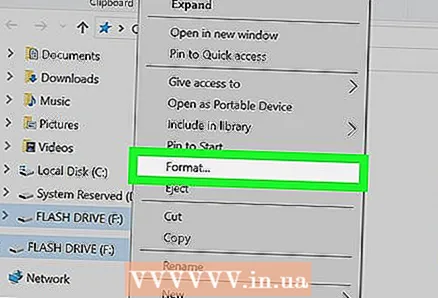 13 Click on Format. A dialog box opens with several formatting options.
 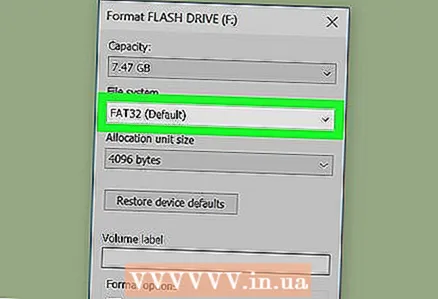 14 Select an option from the File System menu.
- FAT: - This file system is compatible with drives with a maximum capacity of 32 GB, as well as Windows and macOS operating systems.
- NTFS: - this file system is only compatible with Windows.
- exFAT: - this file system is compatible with Windows and macOS.
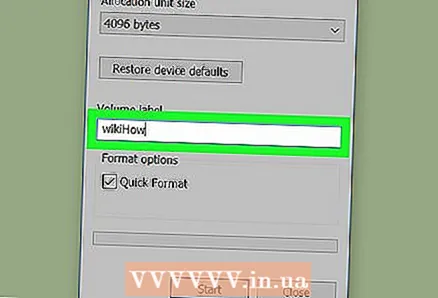 15 Enter a name for your drive. Do this on the "Volume label" line.
 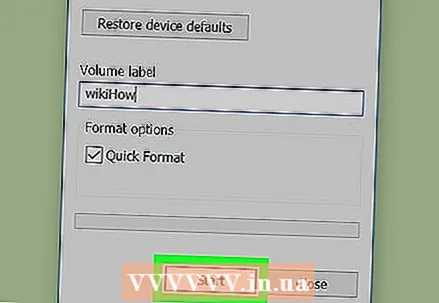 16 Click on To begin. It's at the bottom of the window. A warning appears stating that formatting will erase all data on the drive.
  17 Click on OK. The formatting process will start and will take a few minutes. When the process is complete, a pop-up window will appear.
 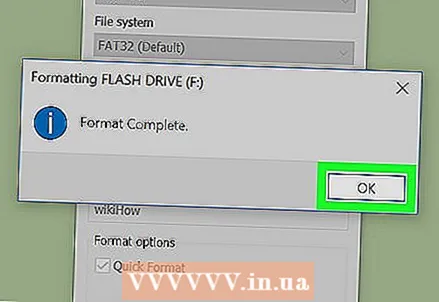 18 Click on OK. The drive is now ready to use.
Method 2 of 2: macOS
 1 Look for the write-protect switch on the drive. If there is such a switch, slide it and then format the drive. If there is no switch, go to the next step.
  2 Connect the drive to a USB port on your computer.
 3 Open a Finder window
  . You will find the Finder icon on the left side of the dock.
 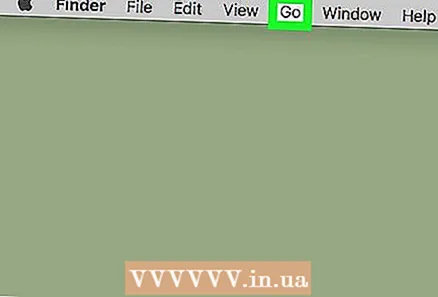 4 Open the menu Transition. You will find it at the top of the screen.
 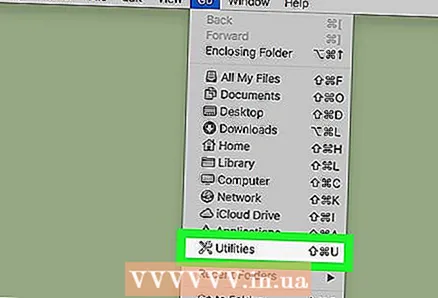 5 Click on Utilities.
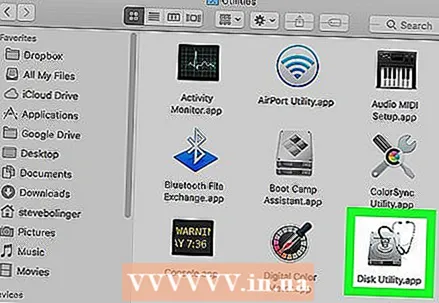 6 Double click on Disk utility. This option is marked with a hard drive icon with a stethoscope.
 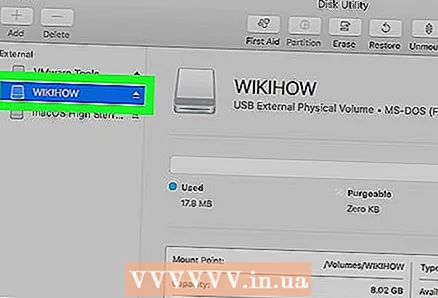 7 Click on your USB drive. You will find it in the left pane.
  8 Click on Erase.
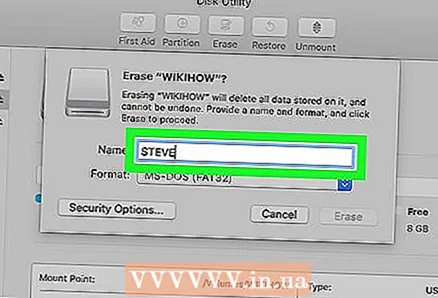 9 Enter a name for your drive. It will appear under this name in the Finder window.
 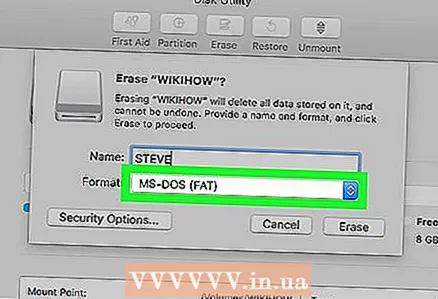 10 Select a file system. Do it in the "Format" menu.
 - Mac OS Extended (Journaled): - this file system is only compatible with macOS.
- MS-DOS (FAT): - This file system is compatible with drives with a maximum capacity of 32 GB, as well as Windows and macOS operating systems.
- ExFAT: - this file system is compatible with drives of any capacity, as well as Windows and macOS operating systems.
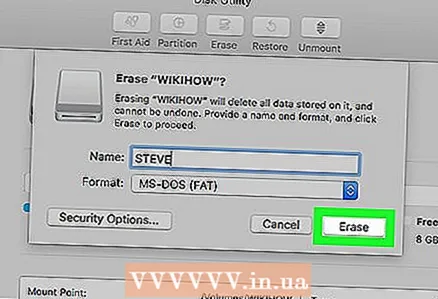 11 Click on Erase. The process of formatting the drive starts.
 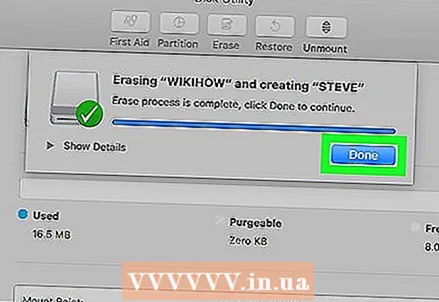 12 Click on Ready. The drive is now ready to use.


