Author:
Eric Farmer
Date Of Creation:
7 March 2021
Update Date:
27 June 2024
Content
- Steps
- Method 1 of 4: Windows (for 32GB or smaller drives)
- Method 2 of 4: Windows (drives larger than 32GB)
- Method 3 of 4: Mac
- Method 4 of 4: Ubuntu Linux
FAT32 is one of the most compatible file systems for USB drives. When your USB stick is formatted to FAT32, it is read / write on any device that supports USB sticks. All operating systems include utilities that will allow you to quickly format your USB drive to FAT32.
Steps
Method 1 of 4: Windows (for 32GB or smaller drives)
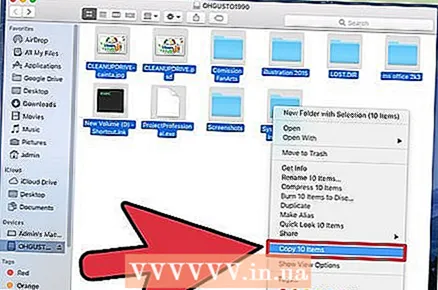
 1 Copy all valuable information from the drive. If you are already using this drive for any purpose, then you will need to copy all the data from it to your computer, since formatting will completely destroy them.
  2 Open the Computer / My Computer window. This window displays all drives connected to your computer at the moment. There are several ways to open this window:
 - Open the "Start" menu and select "Computer" or simply double-click on the computer icon on your desktop.
- Click on the folder image on the taskbar.
- Click on ⊞ Win+E.
 3 Right click on your displayed USB drive and select "Format". This will open a formatting window.
 - If your USB storage device was not found among the connected storage devices, then press ⊞ Win+R, enter "diskmgmt.msc" without quotes and click "OK". The Disk Management window will open. Here you can find the device in case of a malfunction of the USB drive or the USB port itself. Right click on it and select "Format".
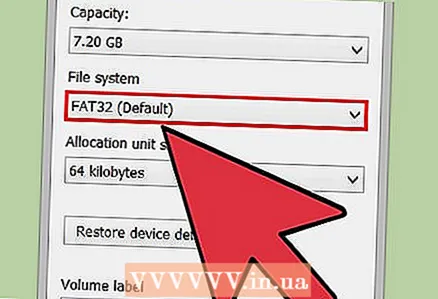 4 Select "FAT32" from the "File System" menu. There are several options to choose from. If your drive has more than 32GB, or if you want to record files larger than 4GB on it, then you should choose "exFAT" instead of "FAT32". The exFAT file system is compatible with most modern devices and can be used on drives of any size, while allowing you to store files of any size.
 - If your drive is larger than 32GB, but you still want to format it to FAT32, skip to the next section.
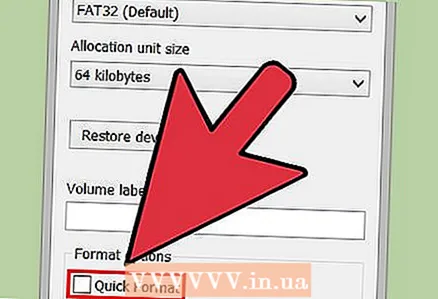 5 Uncheck the "Quick Format (Clear Table of Contents)" checkbox if the USB drive is not working properly. If you notice that your USB drive is slowing down or is experiencing errors when copying files, then you should do a full format to find and fix the problems. This process will take longer than normal quick format.
 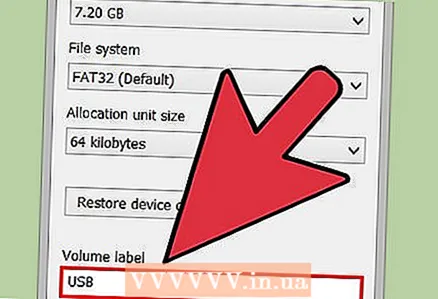 6 Give the drive a name. In the "Volume label" field, you can enter a name for the drive. This name will be displayed on the devices to which the drive will connect.
  7 Click "OK" to start the formatting process. A window will appear warning that all data on the drive will be deleted. In most cases, a quick format will take a few seconds, while a full format will take significantly longer.
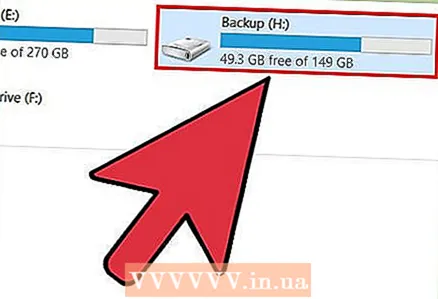
  8 Make sure your drive is working. When the process is complete, you will see your newly formatted drive in the Computer / My Computer window. You can copy any information to it, thereby you can make sure that it works correctly.
Method 2 of 4: Windows (drives larger than 32GB)
 1 Download the fat32format program. This is a free utility that can format a drive of any size (up to 2TB) to the FAT32 file system. It can be downloaded here: ridgecrop.demon.co.uk/index.htm?guiformat.htm... On the page that opens, click on the screenshot of the program to start downloading it.
 - The downloaded program will be named "guiformat.exe"
 2 Insert the drive you want to format. Using this utility, you can format a drive up to 2TB
 - The larger the drive, the longer it will take for Windows to recognize it. For example, a 2TB drive will appear no earlier than 10 seconds from the moment it is connected.
 3 Run guiformat.exe. Windows will ask you if you should give the program administrator rights. The program does not need to be installed and will be launched immediately.
 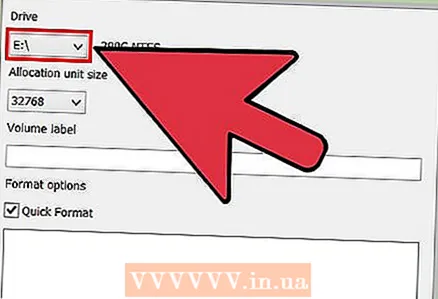 4 Select your drive from the "Drive" menu. The volume of this drive and the format of its file system will immediately be displayed on the right.
 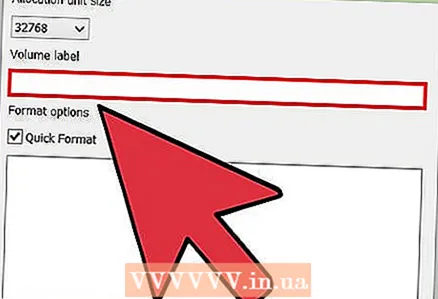 5 Give the drive a name. Any name can be entered in the "Volume label" field. It will be displayed in the devices to which the drive will be connected.
  6 Click the "Start" button to start the formatting process. The duration of the process depends on the size of the drive.
 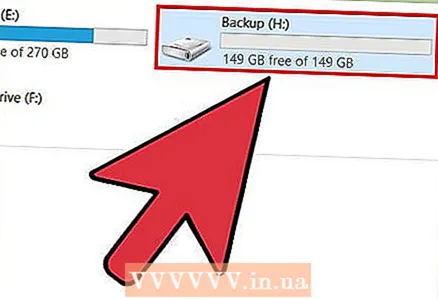 7 Check if the formatted disk is working properly. After the formatting process is complete, the drive will appear in the Computer / My Computer window. It is worth considering that this will not happen instantly if your storage capacity exceeds 1TB.
 - If you plan to use the drive on devices that definitely support exFAT or NTFS, then you should choose these formats for formatting instead of FAT32. This will improve the performance of the drive. It is worth formatting drives larger than 32GB in FAT32 only when the target devices on which the drive will be used support only FAT32.
Method 3 of 4: Mac
 1 Back up important information. The formatting procedure will erase all data on the drive, so you should first make sure that important files have been successfully copied to another location.
  2 Open the Disk Utility application in the Utilities folder. The Utilities folder is located in the Applications folder.
  3 Select your USB drive from the list on the left. If your drive is not there, try plugging it into a different USB port. If you have tried all ports and the drive still does not appear, then most likely it is faulty.
  4 Select the "Erase" tab. A set of formatting options will appear.
  5 From the Format menu, choose MS-DOS (FAT). Here, "FAT" means exactly "FAT32". Remember that the FAT32 file system has limitations: 32GB is the maximum partition size, 4GB is the maximum file size. If you have a larger drive, or if you need to store files larger than 4GB, then you should choose a different, more modern file system format, for example, exFAT. If the drive will only be used on Mac computers, select Mac OS Extended (Journaled).
 - If your drive is larger than 32GB, but you need FAT32, then you can split it into several partitions and format each one in FAT32. Select the "Disk Partition" tab and press "+" to create a new partition. Divide the space into pieces up to 32GB and select "MS-DOS (FAT)" format for each.
 6 Give a name to your USB drive. Enter a name for your drive in the Name field. The entered name will be displayed when the device is connected to a computer or other device.
  7 Click "Erase" to start the formatting process. All data that was stored on the drive will be deleted, and the file system will be formatted in FAT32.
  8 Test your USB drive. After formatting, write the files to the drive several times and check if they can be read. Everything should work well. The newly formatted drive appears on your computer desktop.
Method 4 of 4: Ubuntu Linux
 1 Back up important information. The formatting procedure will erase all data on the drive, so you should first make sure that important files have been successfully copied to another location.
  2 Open the "Disks" utility. This utility can format drives connected to the computer. The easiest way to open this program is to click on the Ubuntu logo button or click ⌘ and enter the command "disks", after which the program will appear in the list of results.
 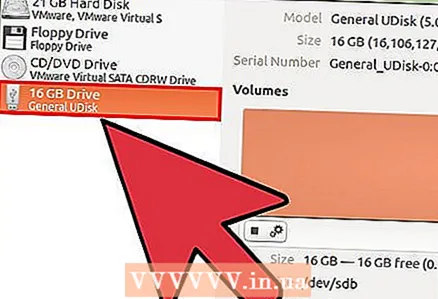 3 Select your USB drive from the list on the left. On the left side of the window is a list of all connected storage devices.
  4 Click the Stop button (■). This will unmount the device and make it available for formatting.
  5 Click on the button with the gears and select "Format Partition". A new window will open.
 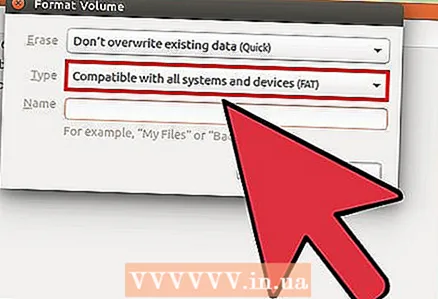 6 From the "Type" menu, select "Compatible with all systems and devices (FAT)". This will select FAT32 as the file system.
 - If you plan to use the USB device only on Linux systems, then select "Compatible with Linux systems (Ext4)".
 7 Enter a name for the USB drive. This name will be displayed when the device is connected to a computer or other device.
 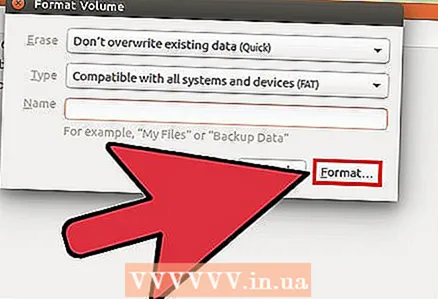 8 Click on the "Format" button to start the formatting process. The process will take a matter of seconds.
  9 Click the Play button (▶). This action will mount the newly formatted drive for future use.


