Author:
Gregory Harris
Date Of Creation:
8 August 2021
Update Date:
22 June 2024
Content
Sometimes you only want a certain part of a photo that you or someone else took. For example, cut out part of a photo with you. Read this article to learn how to crop an image in the Gimp.
Steps
 1 Open the image.
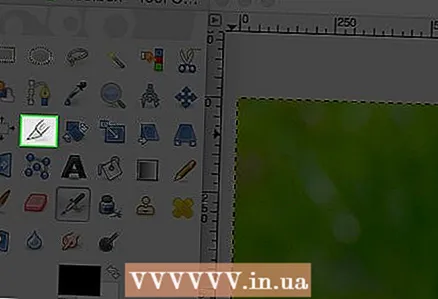 2 Click on the crop tool. Looks like a paper knife.
 - The crop tool options will open, below the toolbar icons.
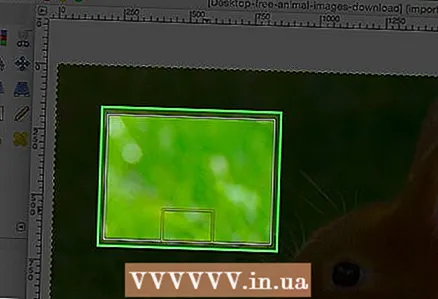 3 If you are not sure how exactly you want to do this, then start experimenting and see what happens. You can always undo the last action. In this example, the selection was made by clicking on the center and then moving the selection along the sides. This will make your selection more or less centered.
 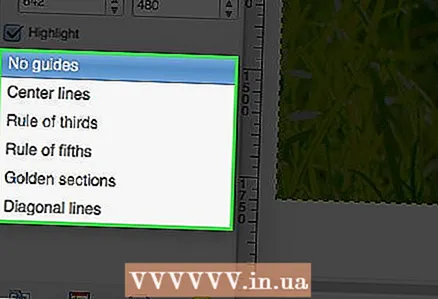 4 You can read the manual for using this tool. You will learn about the classic techniques used to work with photography.
  5 Once you're happy, double click on the selection center.
Method 1 of 1: Sampling Method
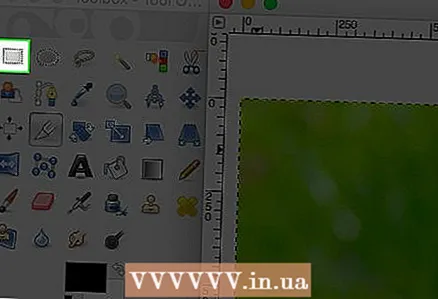 1 Use the Selection tool, in the shape of a circle or square, or any shape that fits your selection.
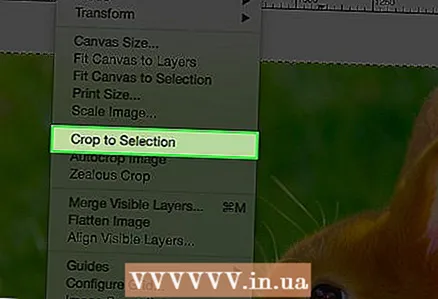 2 Click on Image Crop to Selection.
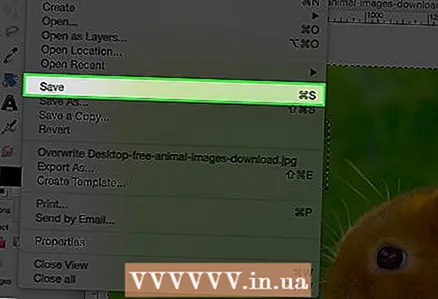 3 Save the image.


