Author:
Janice Evans
Date Of Creation:
28 July 2021
Update Date:
1 July 2024

Content
- Steps
- Method 1 of 4: Parental Control Programs
- Method 2 of 4: Securing your local network
- Method 3 of 4: Windows Family Safety
- Method 4 of 4: Editing the hosts file
The World Wide Web can be dangerous and intimidating because of its content, especially for children. Fortunately, you have tools at your disposal that can reduce risks and also control your child's Internet use. It is in your power to reduce the chances of your child meeting dangerous people or inappropriate content.
Steps
Method 1 of 4: Parental Control Programs
- 1 Choose the right software. There are dozens of programs that differ slightly in functionality, but sometimes strikingly differ from each other in price. Luckily, there are free options as well. Here are some of the most popular on the Russian market:
- Norton family
- ChildWebGuardian
- Hidetools Parental Control
- KinderGate Parental Control
- Kids PC Time Administrator
- Child Control 2013
- Internet Censor
- CyberMom
- NetKids
- Alone at home
- Kidlogger
- Time boss
- NetPolice Pro
- 2 Install the program on your computer. Regardless of whether you have chosen a paid or free program, you need to install it on your computer.
- 3 Run the program file and follow the instructions of the installer. After installation is complete, you may need to restart your computer.
- 4 Blocked content. Most programs allow you to customize lists of prohibited sites, categories (in some programs, you can independently enter keywords by which the sorting will take place).
- Filters are often updated automatically, and the list of sites to block is constantly growing.
- You can also deny access to the Internet for programs installed on your computer.
- 5 Set time limits. Some web monitoring programs allow you to set time frames for blocking / unblocking access to certain content.
- For example, you can deny access to social networks during hours when the child has to do homework.
- 6 Logs. Most programs provide the ability to maintain history and save attempts to access prohibited content in the logs. That is, you can find out if your child has tried to watch something.
Method 2 of 4: Securing your local network
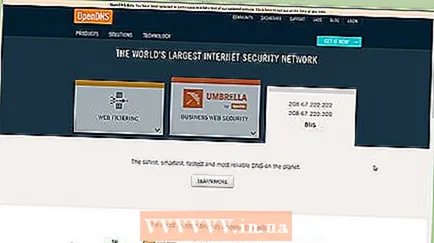 1 OpenDNS. This software makes it possible to block access to prohibited content by working with a router. Thanks to this, the program works on all devices connected to the router (computers, laptops, tablets, phones).
 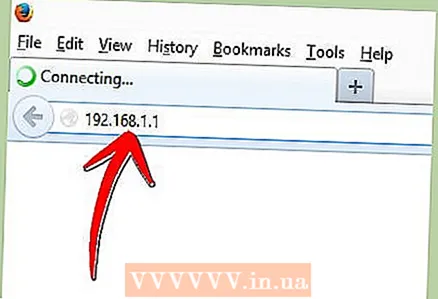 2 Go to the router settings. This can usually be done by entering 192.168.1.1 or 192.168.0.1 in the address bar of the browser, after which you may need to enter the login and password for the router.
 - The method of entering the settings, as well as the login and password, are usually indicated in the user manual for the router.

- The method of entering the settings, as well as the login and password, are usually indicated in the user manual for the router.
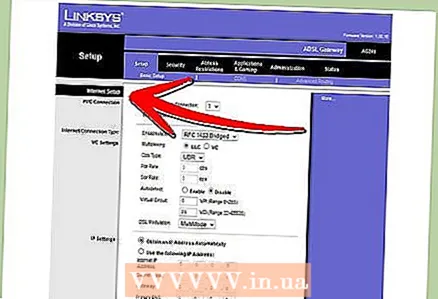 3 Find the tab for changing DNS settings. The exact location depends on the specific router model, but usually these settings are available in the "Internet" section. Next, look for the input fields for the IP address marked "Use these DNS servers".
 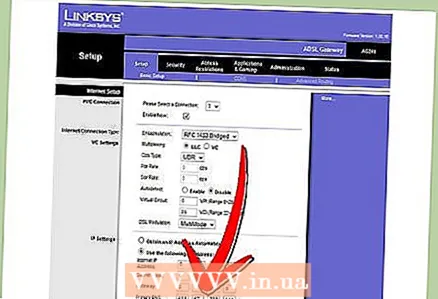 4 Enter new addresses. Use the following addresses:
 - 208.67.222.222 for Primary DNS (main DNS server)
- 208.67.220.220 for Secondary DNS (secondary DNS server)
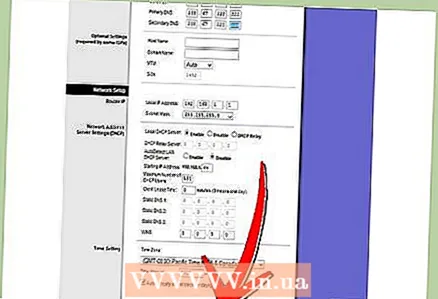 5 Click Apply Settings or Save Settings.
- 6 Enable dynamic IP support. This is necessary in order for the program to continue working when the address is changed.
- Log into your account on the OpenDNS.com website using the login and password created during registration.
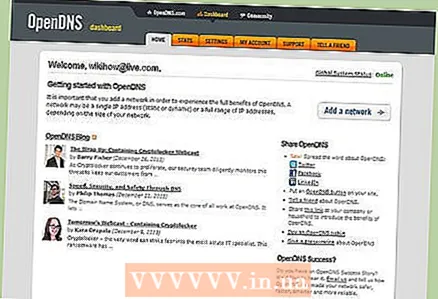
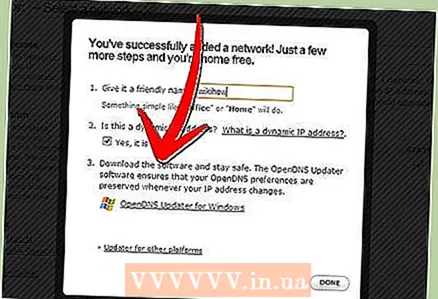
- Click the "Add a network" button.

- Then enter the name of the network (think of it yourself), check the box "dynamic ip address" and download the program. Then click "Done".
- Log into your account on the OpenDNS.com website using the login and password created during registration.
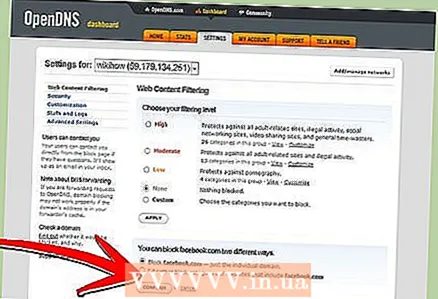
- 7 Set up filters. You can set a specific blocking level, filter by category, block specific sites, or allow specific sites.
 8 Go to the "Settings" tab, select your network from the list.
- Filtering levels are High, Medium, Low, Disabled and Customizable. If you want to choose the blocked categories yourself, activate the last level.

- Below, in the "Manage individual domains" field, you can add sites yourself. If you add twitter.com to allowed, then only it will work. Blocking of an individual site is carried out by 2 methods - blocking only the site and blocking the categories of sites containing the blocked address.
- Filtering levels are High, Medium, Low, Disabled and Customizable. If you want to choose the blocked categories yourself, activate the last level.
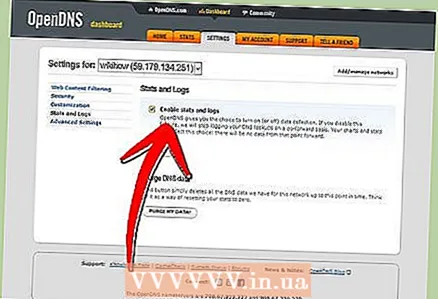 9 History. Under "Stats and logs" check the box next to "Enable stats and logs". You will now be able to view your request history and see if your children have tried to access prohibited sites (date and time included).
Method 3 of 4: Windows Family Safety
 1 Install the program. Attention! This software is preinstalled on Windows 8 and can be installed on Windows 7, earlier versions of Windows and other operating systems are not supported.
  2 Activate the program. You need a shared Windows Live ID to sign in. If you do not have it, then the easiest option is to create a mailbox on hotmail.com and use the mailbox name and password from it to log in.
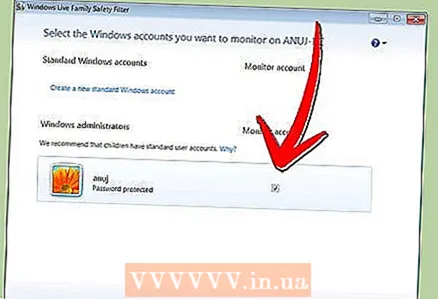
 - Select the required monitoring accounts. It is better if each family member has their own account.
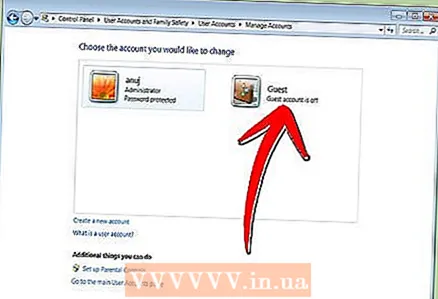
- Deactivate the guest account to prevent children from using it.
- Select the required monitoring accounts. It is better if each family member has their own account.
 3 Windows 8. Here, all created "child accounts" are monitored by default. In order to enable monitoring on a regular account, you also need to mark it as "child".
 - 4 Log in to your account at familysafety.microsoft.com
- Select a user to view. You will see a list of available users for monitoring, for each you can configure filters, history, time limits, game restrictions.

- Filtering follows the same category principle. You can also block the download of files from the Internet.

- You can also block / allow certain sites.

- You can send customization requests. Then, when you try to access a prohibited site, you will receive a notification, and you can decide whether to give access or not.

- Time frames allow you to set the time of access to the computer. At the end of the availability period, the user account will be locked out.

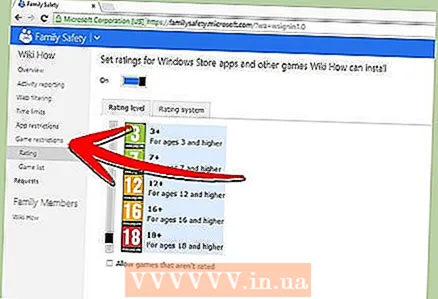
- Game restrictions allow you to deny access to games either by list or by rating.
- Select a user to view. You will see a list of available users for monitoring, for each you can configure filters, history, time limits, game restrictions.
Method 4 of 4: Editing the hosts file
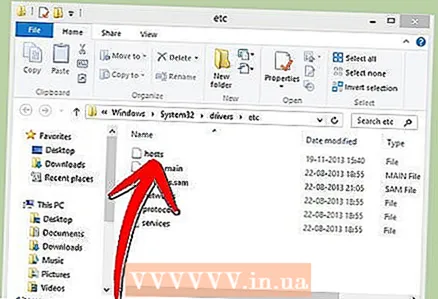
- 1 The hosts file and Windows. You can add site addresses to this file, and they will be inaccessible to all users, without exception.
- The file is usually located in the path C: Windows System32 drivers etc and must be opened with notepad or another text editor.
- Move the cursor to the end of the document (on a new line after the last entry).
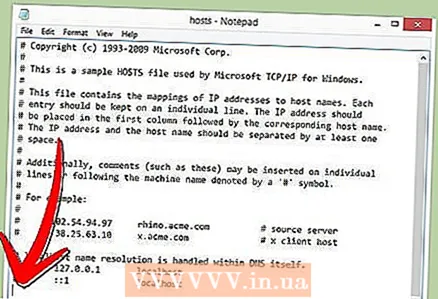
- Type 127.0.0.1 site name> and press Enter. Instead of site name> enter the address of the site you want to block (for example, facebook.com or ok.ru).
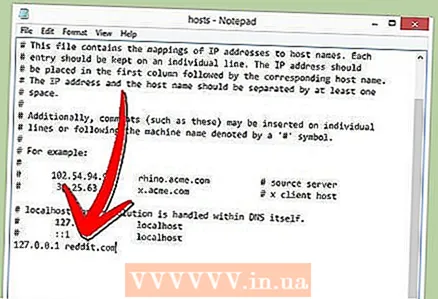
- On the next line, enter the same, but add "www." - the line should look like this - 127.0.0.1 www.facebook.com (www.ok.ru).

- This is worth doing for every website you add. If you know that it has other subdomains or foreign versions, block them too (for example, 127.0.0.1 m.facebook.com, 127.0.0.1 ok.ua).

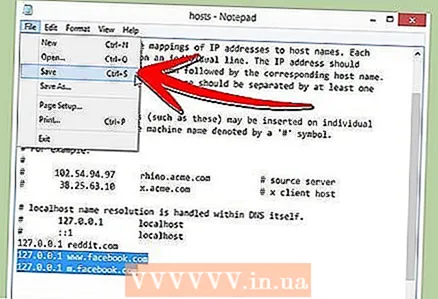
- Save the file. Do not change the name, type or location of the file! Restart your browser to apply the changes.
- The file is usually located in the path C: Windows System32 drivers etc and must be opened with notepad or another text editor.
- 2 The hosts file and Mac. The editing principle is the same. The file is opened through the "Terminal" with the command sudo nano / etc / hosts
- File editing is similar in Windows. after saving the changes, you need to update the DNS records. for this in the "Terminal" you need to enter the command dscacheutil -flushcache

- File editing is similar in Windows. after saving the changes, you need to update the DNS records. for this in the "Terminal" you need to enter the command dscacheutil -flushcache
- 3 The hosts file and Linux. The editing principle is the same. The file is opened with the command sudo gedit / etc / hosts via the command line. Editing content is similar to Windows.


