Author:
Ellen Moore
Date Of Creation:
18 January 2021
Update Date:
29 June 2024

Content
- Steps
- Method 1 of 3: Tune the horn
- Method 2 of 3: Changing the Pitch Based on Your Playing Technique
- Method 3 of 3: Take Care of Your Instrument
- Tips
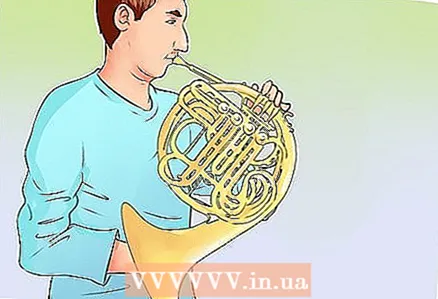
The French horn (French horn) is a very elegant and sophisticated instrument. The term "French horn" is actually not entirely correct, because in its modern form the French horn came to us from Germany. Musicians from all over the world continue to call the instrument French horn, although the name "horn" would be more correct. This instrument comes in many different types and models, which opens up a wide range of styles for musicians. Beginners usually prefer the single horn, it is less bulky and easier to play. More experienced players are more likely to choose the double horn.
Steps
Method 1 of 3: Tune the horn
 1 Find the engine. A single horn usually has only one main engine, it is not attached to the valve and is called the F engine. To tune it, remove the horn tube from the mouthpiece.
 - If a horn has more than one engine, it is most likely a double horn. So you need to tune the B-flat engine.
 2 Before you start playing the instrument, you should warm up. The warm-up should last about 3-5 minutes. At this point, you just need to blow. A cold instrument will not sound, so you need to warm it up and also practice at the same time. Therefore, in order to tune and prepare the instrument for playing, you need to play a little on it in a warm room. You can play in different sized rooms to appreciate the sound quality. Remember that cold air distorts sound, so try to play in a warm room. This way you will warm up the instrument and get used to it a little.
  3 Use the instrument settings and play the notes F (F) and C (C). In order to tune the melody to the orchestra or ensemble in which you are playing, all French horns must be played in sync. You can use an electric tuner, tuning fork, or even a well-tuned grand piano if you have a great ear for music!
 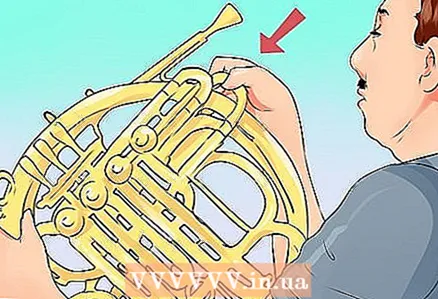 4 Listen to the melody to see if you are hitting the notes. If the main slider is in the correct position, the sounds will sound more "sharp", if not, the sounds will be more melodic. Listen to the melody and identify what sounds you hear.
 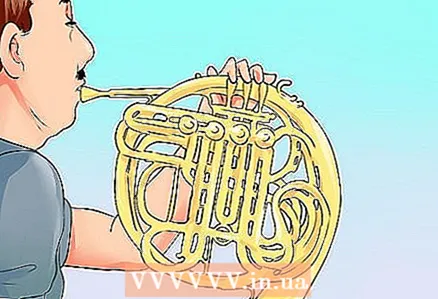 5 Play to hit the notes. If you hear a F or C note on the piano, play the appropriate note (the valve must be free).
  6 Keep your right hand near the funnel of the horn. If you are playing in an orchestra or participating in a performance, you need to get into the melody that other musicians are playing. Keep your hand at the funnel to play it safe.
 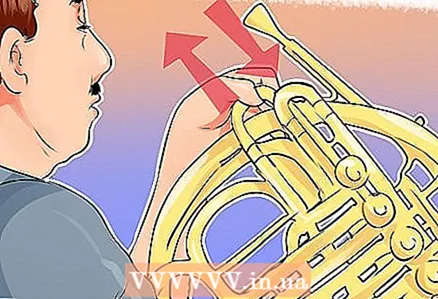 7 Adjust the instrument so that it falls within the F note. When you play a duet with a grand piano or other instrument, you will hear the sound one note below. Drag the sliders to adjust the sharpness of the tone. You may need practice to determine if you need to adjust the sharpness. At first, this difference seems small and completely imperceptible. If you do not adjust something, the air conduction will be disrupted, which means that the sound will be different.
  8 Tune the instrument in B flat. If you are playing the double horn, it is especially important to tune the sound and double check. Press your finger on the valve to “switch” to B flat. Play the F note, it will match the C note on the piano. Play between F and B flat. Move the main slider and tune the instrument to the note "B flat" in the same way as you tune the note "F".
  9 Tune the "closed" notes. You have now played sounds when the valve is open, but now you need to tune the instrument with the valve closed. For this, an electric tuner, a piano (if you have a good ear for music), and a tuning fork are best suited.
 - Play a mid-octave C (standard).
- Now play the C one quarter higher than the tuned mid-octave. For example, for the first valve, you need to play "F" above the "C" of the middle octave. It is much easier to compare notes with “C” mid-octave, then you will hear the intonation between the sounds and you can tell that one, for example, is an octave higher than the other.
- Adjust the valve for each note to minimize any inaccuracies. Push the valve back to make the sound "sharper". For a smoother sound, extend the valve.
- Adjust and test each valve. If you have a double horn, it will have six valves (three each on the fa side and the s side).
 10 Make sure you wrap your hand around the instrument without any problem. If you tune the instrument and the sounds are still too "sharp", you may need to provide wider coverage on the right side near the horn. Likewise, if you have tuned everything up and the sound is still too "flat", reduce the coverage.
  11 Mark your changes to the settings with a pencil. This should be done immediately after you have configured and adjusted the engines. This will give you a good idea of where each engine should be located. Be sure to compare the sound of your horn with other instruments.
 - Engine markers are especially useful when you need to clear the horn in the middle of a performance. Cleaning the instrument of condensation and saliva can usually spoil the initial settings a little. To fix this, you need to accurately mark the level of the valve and slider so that you can quickly fix the instrument. In addition, you can quickly return the engine to the desired location immediately after cleaning the tool.
 12 Be prepared to compromise. The tricky part of the French horn is that you cannot achieve perfect match in every note. You will need to adjust to the sounds, choosing the middle ground.
Method 2 of 3: Changing the Pitch Based on Your Playing Technique
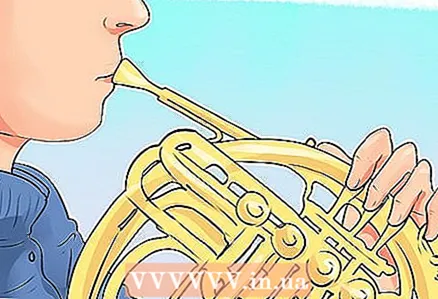 1 Change the position of the horn. Depending on this position of the horn, movements occur in the mouth, due to which air enters the horn. Control the flow of air through the device, you can lower it a little down, to the side for the perfect sound. You can position your tongue and lips in a specific way to achieve different pitches.
  2 Move your right hand to the bell. Remember that the sound also depends on the position of your hand; if you have small hands and a large bell, it may be difficult to find a hand position that covers the bell just enough to achieve a good tone. The combination of large arms and a small bell is also undesirable. Practice positioning your hand to adjust the pitch. The better you can adjust the position of your hand over the bell, the smoother the sound will be.
 - You can also use a special sleeve for additional insurance. This will ensure consistent and even coverage of the bell, and therefore help to achieve a good tone.
 3 Change the mouthpiece. There are different sizes and shapes of the mouthpiece, there are mouthpieces of greater or lesser thickness. A different mouthpiece will allow you to bring out new sounds or improve the quality of your playing.The size of the mouthpiece depends on the size of the mouth and, accordingly, the position of the mouth affects the sound quality. You can also pull out the mouthpiece and adjust it for yourself.
  4 Practice often to find the most comfortable position. Learn more about this instrument, listen to other musicians to develop your ear. Practice using the electronic tuner to check how accurately you can distinguish between notes and sounds. Don't look at the tuner first, but take notes. Then check with your tuner for a self-test. Then correct if you made a mistake and listen to how the instrument will sound now.
  5 Play in an ensemble. You must hear not only yourself, but also other musicians. You can adjust the tone to match the overall melody. When you play with others, it is much easier to adjust to the overall rhythm.
Method 3 of 3: Take Care of Your Instrument
 1 Do not eat or drink while playing. This is a complex and expensive instrument, and even minor damage can affect the sound quality. Therefore, you cannot eat or drink while playing. It is best to brush your teeth before you start playing to make sure no food debris gets into the horn.
  2 Watch the valves constantly. Keep the tool in good condition, especially watch out for moving parts. For oil valves, use a special lubricating oil (available from music stores), you can use oil for bearings and valve springs. Also, wipe the valves with lukewarm water once a month, then be sure to wipe them dry with a clean, soft cloth.
 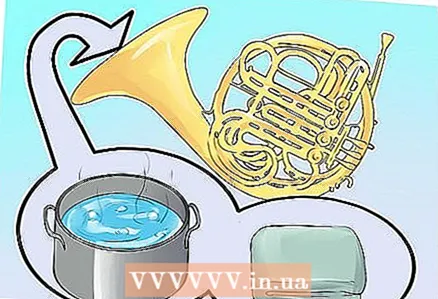 3 Clean the instrument regularly! Otherwise, the inside will be full of saliva and condensation. This can contribute to the rapid build-up of mold and other formations, which of course will affect the sound quality and durability of the instrument itself. Clean the inside of the instrument by periodically rinsing it with warm water. The water should be soapy to get rid of saliva. Then wipe the instrument thoroughly with a clean, dry cloth.
Tips
- With practice, you can change the tone of your game. The ear can get used to certain sounds, but to develop this skill, practice playing silently with only your fingers.
- If you play for a long time, the sound will deteriorate. Therefore, if you play for a long time, you need to constantly adjust the position of the instrument and try new playing techniques.
- Vocal lessons are another way to improve your ear for music. You can train your hearing to distinguish between different sounds and identify notes.


