Author:
Mark Sanchez
Date Of Creation:
4 January 2021
Update Date:
2 July 2024

Content
- Steps
- Part 1 of 3: Learning to Play Horseshoe Throw
- Part 2 of 3: How to hold a horseshoe
- Part 3 of 3: Improving Your Shot
- Tips
- Warnings
Many of us will find it difficult to find a real horseshoe now, but it is quite easy to find a set for the game "Throw a horseshoe", which includes U-shaped metal parts and pegs. That's all you need to play and all you have to do is find a flat spot in your yard and start playing.
Steps
Part 1 of 3: Learning to Play Horseshoe Throw
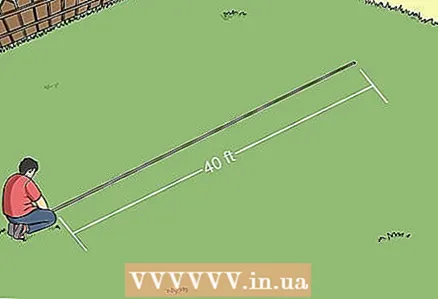 1 Find a long area with a flat surface. Use a tape measure on a relatively level surface that is at least 30 feet (9.1 m) long and preferably 40 feet (12.2 m). This will be your throwing field. 40 feet (12.2 m) is the longest distance used for horseshoe throwing and is most commonly used in tournaments, but if you are playing for fun you can use a shorter distance.
 - If there are children playing on the field, you may want to make the field 15 feet (4.6 m) long, so keep in mind that it is better to place the pegs next to one side than a curl across from each other so that the children do not accidentally hit each other. friend while playing.
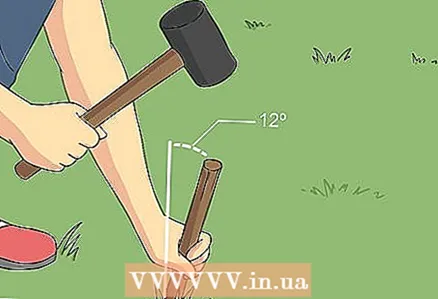 2 Drive two pegs into the ground. Use the hammer to drive the pegs into the ground, one at each end of the field. Tilt them approximately 12º towards each other. For a permanent field for the Horseshoe Throw game, use long, iron posts about 36 inches (91 cm) long and 1 inch (2.5 cm) in diameter. Or use any long pegs, ideally ones that leave 15 inches (38 cm) on the surface after being driven into the ground.
 - 12º is approximately 1/8 of the way from vertical to horizontal.
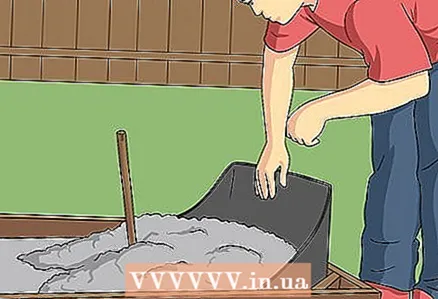 3 Improve the field (optional). You can skip this step and start playing right away, or use these general techniques to improve the stability and consistency of your pitch. If you want to minimize the bounce and bounce of the horseshoe, you can sprinkle a small amount of wet sand or wet clay around each peg. To keep the pegs firmly in place, dig a log with a peg hole in the ground.
 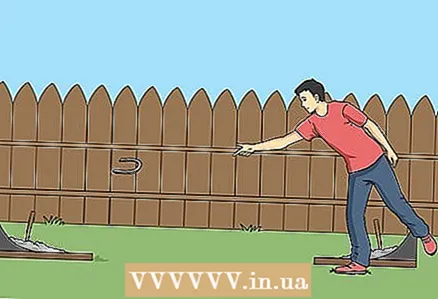 4 Choose a position for yourself. Typically, this game is played by two players or two teams, standing on opposite sides of the field at the pegs and throwing horseshoes to the opposite edge. During the tournament, men throw 37 feet (11.3 m) from the target, while women, players under 18 and people over 70 can choose a distance of 27 feet (8.2 m). If you win for your pleasure, then you can choose any distance convenient for you so that all players have the opportunity to shoot to the goal.
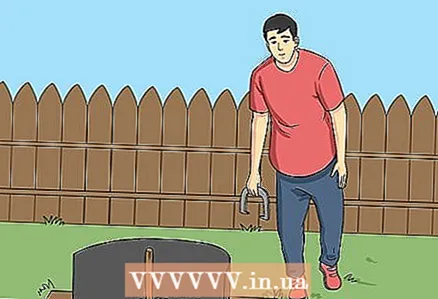
 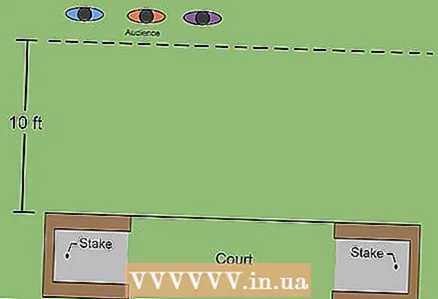 5 Clear the area around the target (peg). Horseshoes are heavy and dangerous. Before throwing, always make sure no one is within 10 feet (3 m) and everyone knows the game has started.
 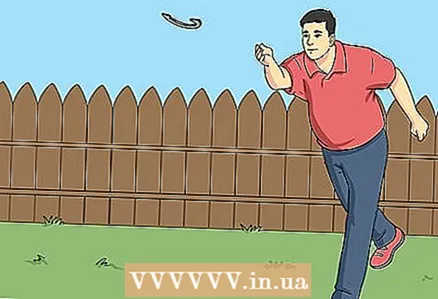 6 The first player throws 2 horseshoes. The first player throws two horseshoes, one at a time, trying to throw as close to the peg as possible. He then walks away from the field before the second player starts throwing.
 - Details regarding the throwing technique are described below.
 7 The second player throws horseshoes at the opposite peg. The second player stands to the peg, near which are the horseshoes thrown by the opponent. The player throws horseshoes towards the opposite peg.
 - During team play, players in each team take turns throwing horseshoes for their team.
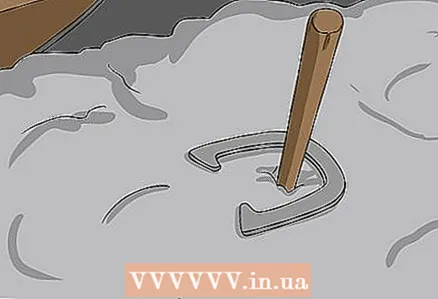
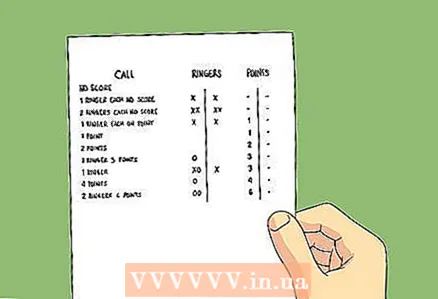 8 Keep track of the score. In one general point system, each player scores 1 point for each horseshoe that lies 6 inches (15 cm) from the peg and 3 points for “hitting” the horseshoe around the peg. Play up to 20, 40 or 50 points or any other number that you set in advance.
 - Also, use a more competitive scoring system. Award 1 point in each round to the player whose horseshoe is closest to the peg, or 2 points if one player threw both horseshoes closer to the goal than his opponent. For hitting the target, give the same 3 points, but if both players hit the target, then no points are awarded to anyone.
- Optionally, you can award 2 points instead of 1 for a horseshoe leaning against a peg.
Part 2 of 3: How to hold a horseshoe
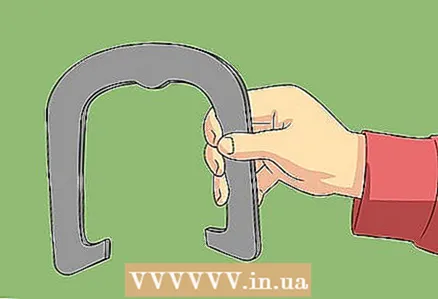 1 Try a 1¼ twist grip. This is the most popular grip among professional horseshoe throwers and is performed to rotate the horseshoe 1¼ in the air before landing on the peg. Hold the horseshoe directly in front of you with the horns facing to the left. Use your thumb to grab the horseshoe by the nearest horn. The index and middle fingers should go around the inside of the horn. Extend your pinky finger and press it against the horseshoe to balance your grip. The ring finger can be near the middle finger or the little finger, whichever suits you best.
 - If you are left-handed, hold the shoe so that it points to the right side.
- Individual horseshoe grips are very different.Start with your thumb in the center of the closest horn, then try moving it closer or further to the curve to find a comfortable position for you and increase the likelihood of an accurate throw.
- Do not wrap around the U-shaped curve of the horseshoe. According to the famous player Roy Smith, who wrote in 1946 that “this style is out of date” and also makes it difficult to control the shot.
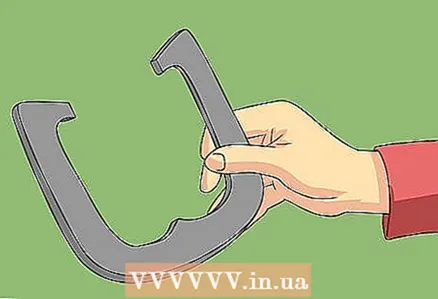 2 Try the wraparound grip. This grip is similar to the previous one, only the horseshoe horns are facing to the right. Place your fingers around the curve of the horseshoe, not around the horns. This grip requires the use of different muscles for the throw, which makes the task easier for some people and complicates for others. Try to throw with enough force and height enough to swing the horseshoe ¾ in the air so that it can hit the peg in front.
 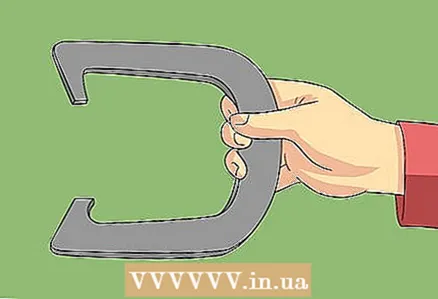 3 Try a flip roll. During this throw, the horseshoe spins "upside down" instead of staying in one position during flight. There are many variations of this grip, so feel free to experiment. The easiest place to start is by grabbing the horseshoe in the center of the curve, with your thumb up or down.
 - At 37 feet (4.5 m), this throw is considered less accurate, but many experts have been successful in this. This, in fact, can be more effective than the grips mentioned above when throwing at short distances.
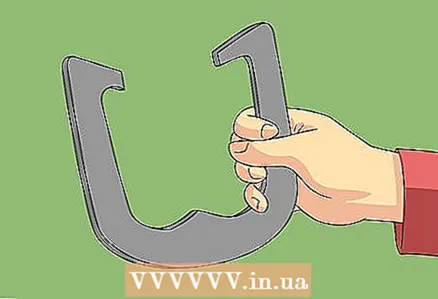 4 Hold the horseshoe firmly. You don't need to grip the shoe very tightly to keep your wrist from straining, but you should hold the shoe tight enough so it doesn't slip out of your hand too early. For starters, use a lighter shoe when exercising if your arm hurts. Use a lighter horseshoe to practice if your hand feels sore or painful.
Part 3 of 3: Improving Your Shot
 1 Learn to position yourself correctly. If you are right-handed, stand to the left of the peg. Stand up straight, but don't strain, or you can slouch slightly if that's more comfortable for you. Straighten your shoulders in front of the peg you are about to hit.
 - If you are left-handed, stand to the right of the peg.
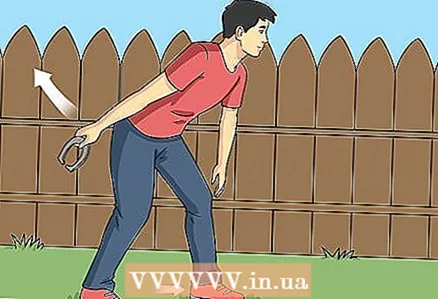 2 Swing while throwing. Take your shoulder and arm back from the horseshoe; in line with your body. Place your left foot forward as you throw. ... Keep your hands straight, and reduce wrist movements as much as possible, otherwise it will be difficult for you to control the throw. The rotation of the horseshoe can only be done if you move the horseshoe slightly in your hand during the swing.
 - Some players start the game slightly away from the throwing line to take a step or two forward before throwing. This technique helps to put more power into the throw, but it can take some time to practice the accuracy of the throw.
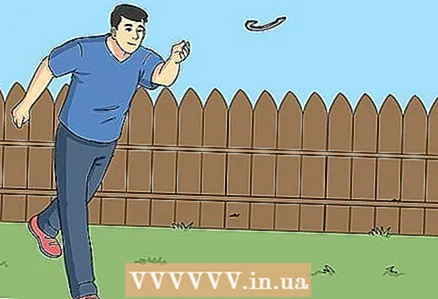
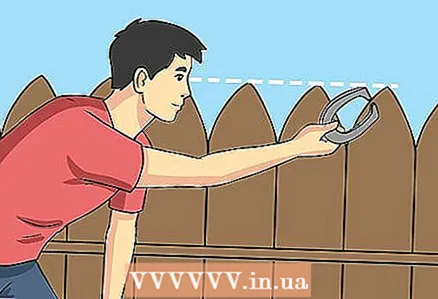 3 Make a pulling motion. Release the horseshoe when it is approximately at eye level. Avoid jerky movements and a weak throw with the help of a pulling motion, that is, after you release the horseshoe, move your hand along the trajectory over your head.
  4 Choose the correct trajectory. On a good throw, the horseshoe flies at a height of 7-10 feet (2.1-3 m) and then falls down at the peg at a 30-45 degree angle. When thrown, the horseshoe can land in front of the peg and slide over it. If you are going to participate in a tournament this is a bad habit as they use clay instead of sand in tournaments, but this is a good strategy for casual players.
 - A slight "wobble" of the horseshoe during flight will help it land properly if you are using a twist throw rather than a flip throw. Try changing the position of your thumb to change the amount of wobble
 5 Train your turns and throwing power. It will take you a while to figure out which grip is right for you and learn how to put a lot of power into the throw.Practice the release time and the number of turns of the horseshoe until the horseshoe constantly lands near the peg with the horns pointing towards it. Once you have reached the required number of revolutions and sufficient throwing power, you can continue training for accuracy and frequent hitting the target.
 - Decorating the horseshoe will make it easier to observe during the flight and will help you practice turns. Video footage of a horseshoe flight is another option.
Tips
- Do not score points per round until both players have thrown. If both players pass and get a winning score in one round, they can split the win or keep playing until someone gets two points.
- If you are not sure if someone has hit the target, place a ruler from one horseshoe horn to the other. If the ruler does not touch the peg and the peg is between the horseshoe horns, this is a throw to the target.
Warnings
- Never shoot until you are sure everyone is clear of the pegs and the space between the pegs. If a horseshoe hits someone, it can not only hurt, but also ensure a visit to the doctor.
- Wear closed shoes to protect your toes from the falling shoe.


