Author:
Helen Garcia
Date Of Creation:
21 April 2021
Update Date:
1 July 2024
Content
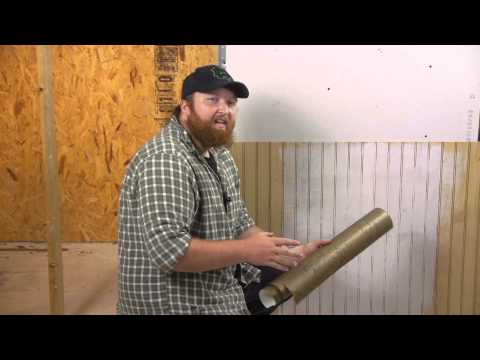
Wood paneling makes the room feel comfortable and is especially well suited for a study. However, there is little you can do with wood paneling to transform the look of a room, and after a while you will get tired of the monotonous look of the walls. The wood panel can be covered with wallpaper, so start looking for wallpaper and glue of your choice.
Steps
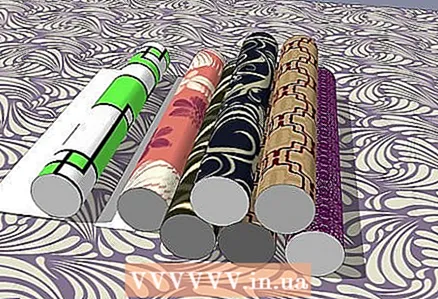 1 Buy wallpaper that will fit well. Your local wallpaper supplier can help you make the right choice. These wallpapers are thicker and usually have a textured surface to help hide imperfections in the panel underneath. This requires special glue.
  2 Clean the panel. Remove cobwebs and dust with a damp but not wet sponge. Do not use wax or oil based cleaners or polishes. If the wood surface is not smooth, remove any roughness.
  3 Prepare the panel. Carefully remove any trim strips that you can reattach after wallpapering. But this is not necessary if you are using quality paper.
 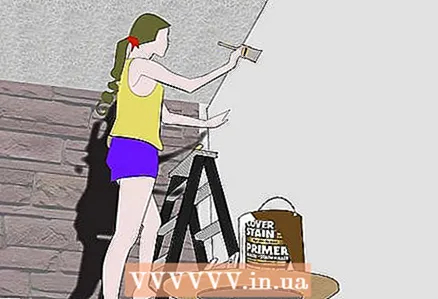 4 Wood panel primer. A special primer is included with the wallpaper.
 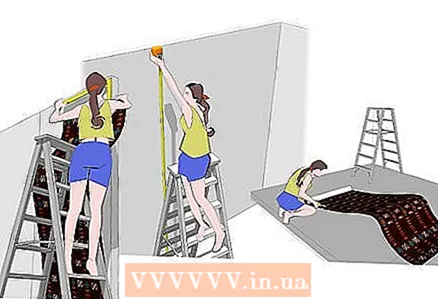 5 Start at the outside corner. Make sure the corner is straight. Use a regular plumb bob. Measure the height of the walls. Cut the first strip of paper a little longer than necessary. Then you will bend it.
  6 Apply glue to the back of the paper. Saturate the paper with glue, but not too much. You can use a specially purchased tray or container. For some types of wallpaper, you can use a spray bottle or a damp sponge. Place the pieces of wallpaper with the glued side to the wall and glue them vertically from top to bottom. Smooth the wallpaper on the wall with a dry brush or towel. Don't leave a single wrinkle. With the same movements, remove air bubbles to the edges of the paper. Cut and glue the wallpaper as described above. Continue until you reach the first strip of paper. If it is not possible to dock the wallpaper perfectly evenly, then it is better to overlap them a little than to leave a gap between them.
  7 We combine the pattern. Make sure the drawing matches before cutting the second piece of paper. Otherwise, you should cut off a few extra centimeters to match the pattern. When finished, replace the trim strips and release the sealed holes.
Tips
- Open all openings, switches and sockets that were covered with wallpaper. You can do this with plastic coated scissors.
- Hang the liner perpendicular the first piece of paper, and work from the ceiling down to the floor. This technique will help eliminate the possibility of paper overlapping in the seam area.
- There are technically no wall coverings that are specifically designed for wood paneling. However, there is a thing called "liner" that will help in this situation. It is a thick felt-like product that is packaged in rolls like most wall coverings. It is, in most cases, white or cream in color. Note that the more imperfections on the panel, the thicker the liner should be. It often needs to be ordered in advance, as most cladding sellers will not keep the liner in stock - especially the super-dense panel liner. After using the liner, you can successfully glue any wall covering.
- The liners are not pre-glued, so you need regular or extra strong glue. I recommend using a paint roller to apply the adhesive to the liner. As you untwist a few centimeters of the liner, you will notice its natural ability to curl on its own. From that moment on, it does not matter where to apply the glue - "in front" or "behind", but simply lubricate the side in which it is twisted. The liner does not require "waiting", so you can glue it to the wall immediately after applying the glue. And pre-glued liners are better suited to hide minor wall imperfections.
- After gluing the liner, give it 24 hours to dry. Then prime the liner with a high quality primer such as Shieldz Primer. Don't skip this step as the liner will absorb the adhesive and the primer will ensure good adhesion between the liner and the wall covering. Let the primer dry for 24 hours. Then glue the wallpaper as you normally would.
Warnings
- If possible, turn off the electricity in your home.
- When opening switches or sockets, make sure that the scissors do not touch the wires, as there is a danger of electric shock. Make sure children are away from electrical outlets.
What do you need
- Primer
- Paint roller
- Wallpaper
- Water
- Scissors
- Sharp knife
- Dry brush or towel
- A good cup of coffee to prevent dehydration while you work
- Screwdriver to remove switches and sockets
- Crowbar to remove skirting boards
- A small hammer to install the skirting boards in place
- A great work surface for cutting and preparing wallpaper comes from an inexpensive door available from hardware centers. Even if you're short on time, a good work surface will help you get up and running faster. They are usually about 80 cm wide and 215 cm high. These doors are very lightweight.You can use the trestles for convenience, just cover them with a soft cover to avoid scratches.
- It is difficult to cut an even piece of cover without using aids. Therefore, I use a 120 cm long metal ruler. This is great for helping to cut the finish evenly.
- Disposable blades are great for slicing. They are very sharp and inexpensive. Although there are special holders, you can simply hold the blade in your hand. Buy a 100-piece box and use one per roll. Never cut the cover. This is a sure sign that the blade is dull. Why spoil a whole sheet of cover while saving 50 kopecks per blade? This is one of the biggest mistakes beginners make - not using a sharp blade.
- 30 cm wallpaper smoothing brush - usually with 1.5 cm long bristles.
- 15cm Folding Knife - Use this to trim wall coverings near floors, ceilings, or trim for an even cut.


