Author:
Frank Hunt
Date Of Creation:
16 March 2021
Update Date:
1 July 2024

Content
- To step
- Part 1 of 3: Soaking the pinecones
- Part 2 of 3: Baking the pinecones
- Part 3 of 3: Finishing the pinecones
- Tips
- Warnings
- Necessities
Hardly anything is more beautiful than the rustic charm of decorations and ornaments for which pine cones have been used. You don't have to go to a hobby store to buy supplies, however. Usually you can find pine cones that have fallen to the ground in your garden, a park near you or in another place with trees. Unfortunately, pine cones that you find in nature are often dirty and have small insects on them, which can cause them to decompose more quickly. However, cleaning them and letting them dry can make them last longer. If pine cones really want to last, you can preserve them by applying lacquer, paint or wax.
To step
Part 1 of 3: Soaking the pinecones
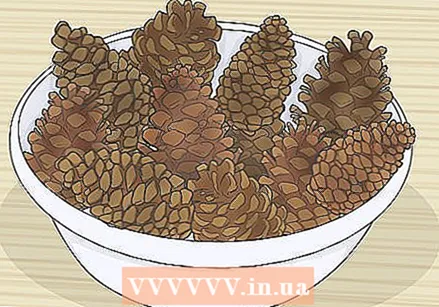 Collect some pine cones. You can use both opened and closed pine cones. Closed pinecones open when they dry out during baking.
 - Pine cones from the store are already clean and ready to use.
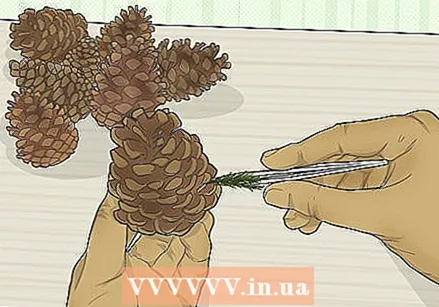 Get all the dirt out of the pinecones. Remove debris such as seeds, moss and pine needles. You can do this with tweezers or a brush. However, you don't have to be very careful because soaking the pinecones will also get them clean.
 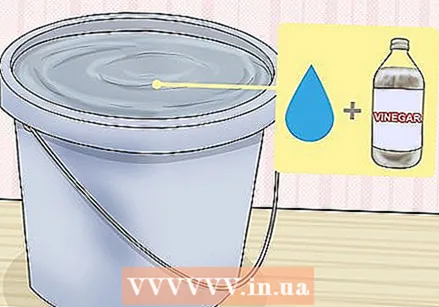 Prepare a mixture of water and vinegar. Fill a sink, tub, or bucket with two parts water and one part white vinegar. How much water and vinegar you use depends on how many pinecones you want to soak and the size of the container you are using.
 - You can use a mixture of 4 liters of water and 1 teaspoon of mild dish soap if you prefer.
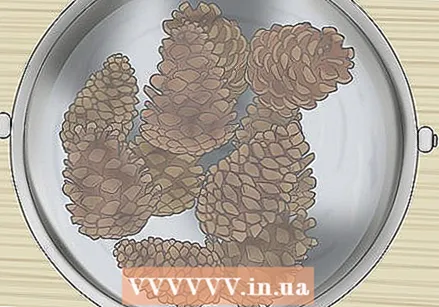 Let the pinecones soak for 20 to 30 minutes. Make sure the pinecones are completely submerged during the soaking process. If they float, place a wet, heavy towel, pan lid, or plate on top to lower them underwater. The pinecones can close during soaking. Don't worry as they will open again when dry.
 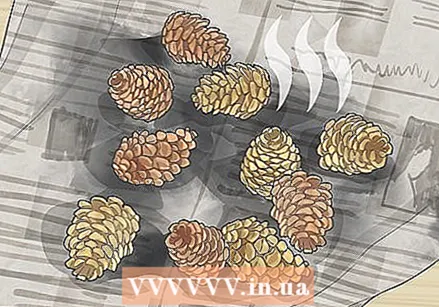 Place the pinecones on newspaper and let them dry overnight. Make sure to leave them in a well-ventilated area, as they allow for better air circulation. If you don't have newspaper, use paper bags or an old towel.
Part 2 of 3: Baking the pinecones
 Preheat your oven to 90 to 120 ° C. The oven does not need to be very hot. You will just need to heat the pinecones a bit to help dry them completely so that they open again after soaking.
 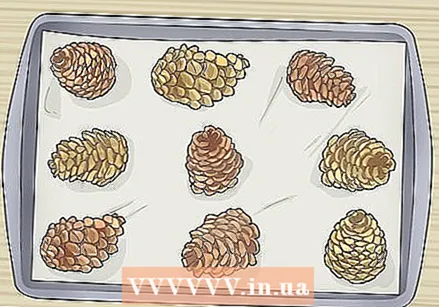 Place the pinecones on a baking tray lined with parchment paper. If you don't have baking paper, you can also use aluminum foil. Leave some space between the cones so that the warm air can flow better between the cones and they have enough space to open up.
  Fry the pinecones until they open. This can take from half an hour to two hours. However, check the pinecones regularly so they don't catch fire. They are ready when they shine and open completely.
 - You can also let the cones air dry if you'd like to let them open again. However, it can take two to three days for them to open this way. Baking is therefore a good idea if you don't have much time.
 Place the pinecones on an iron drying rack. Use oven gloves, tongs, or even a soup ladle to do this. Carefully remove the pinecones from the baking tray as they will break very quickly.
 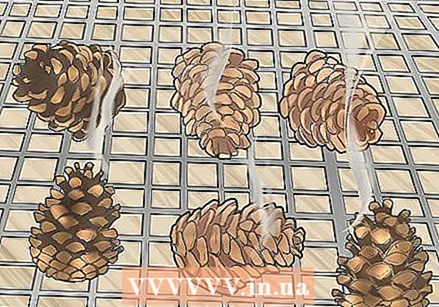 Let the pinecones cool for at least 10 minutes. When they have cooled down you can paint them, place them somewhere as decoration or finish them further. The pinecones will have a glossy coating, which is just melted juice. This layer acts as a natural preservative. If you want to treat the cones even further to preserve them, you can paint them.
Part 3 of 3: Finishing the pinecones
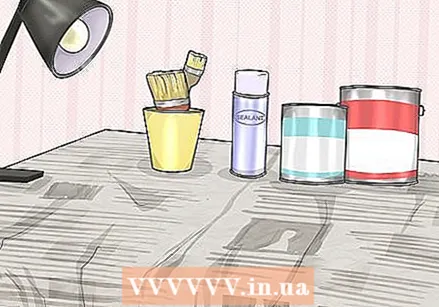 Prepare your workplace and decide how to finish the pinecones. Cover your counter or table with newspaper, whether you're spraying or brushing lacquer on the pinecones or dipping them in lacquer. It is better to work outside if you use spray paint. When you have prepared your workplace, you can get started with the means of your choice.
  Spray the pinecones if you want to finish them quickly and easily. Choose a spray paint that does not turn yellow. Place the pinecones on their sides and spray an even coat of lacquer on them. Let the pinecones dry for 10 minutes, then flip them over and spray lacquer on the other side. Let the polish dry for at least half an hour before applying another coat.
 - You can buy spray paint with a variety of finishes, such as matte paint, satin paint, and high-gloss paint. Choose the type of paint that you like best. With matte lacquer you give the pine cones the most natural look.
- If you don't have spray paint at home, you can try using hairspray.
 Use boat paint if you want something durable. Buy boat paint at a hardware store or paint store. Put on a pair of disposable gloves and hold the pinecones by the tip. Apply the lacquer to the pinecones with an inexpensive, hard, disposable brush. However, do not iron the underside just yet. Let the lacquer dry for half an hour. Then hold the pine cones by the sides and brush lacquer on the bottom and the tip. Let the pinecones dry on their side.
 - You can apply several coats of boat varnish, but always let the previous coat dry completely.
- You can also tie a string to the top of the pinecones and dip the pinecones into the lacquer. Remove the pinecones from the lacquer and let the excess lacquer drip off. Hang the pinecones on the strings to dry.
 Dip the pinecones in paint or lacquer if you want to cover them with a thicker coat. Wrap string or wire around the top of the pinecones. Dip the pinecones in a can of paint or lacquer. Take out the pinecones and hold them over the can for about a minute to let the excess paint or varnish drip off. Hang the pinecones on the strings or pieces of wire to let them dry.
 - Place newspaper or a paint tray under the pinecones to catch any paint or varnish that drips from the pinecones.
- Keep in mind that the pinecones may close again if you use this method.
- Dilute the paint or varnish with water if it is too thick. Use 4 parts of paint or varnish to 1 part of water.
 Dip the pinecones in beeswax instead of lacquer or paint. Melt a piece of beeswax in a slow cooker. Use enough beeswax to fully submerge the pinecones. Tie a piece of string around the tip of the pinecones and dip them in the melted wax that way. Take out the pinecones and immerse them directly in a bucket of cold water. You may have to repeat this step several times to apply an even coat of beeswax.
 - Heat the wax for 2 to 3 hours in a slow cooker set on a high setting, or until the wax is completely melted. If you don't have a slow cooker, you can also melt the beeswax in a hot water bath on the stove.
- Let the wax set for at least 3 minutes before setting out the pinecones.
- The more often you dip the pinecones in the wax, the clearer the wax coating will become. You may get yellow or white pinecones.
Tips
- Allow the lacquer to dry and cure completely before using the pinecones or placing them anywhere for decoration. Read the directions on the package to find out exactly what the drying time is and how to let the painted item dry.
- Most store-bought pine cones have already been cleaned, treated and preserved against pests.
- Use your preserved pinecones to make a wreath or fill a vase.
- Tie a string around small pinecones and use them as ornaments.
- Place large pine cones on a mantelpiece or table for decoration.
Warnings
- Keep painted pinecones away from heat and open flames. Spray paint is highly flammable.
- Do not leave the pinecones unattended in the oven. They can quickly heat up and catch fire.
Necessities
- Pine cones
- Water
- White vinegar
- Bucket
- Baking tray
- Aluminum foil or baking paper
- Spray paint or boat paint
- Disposable plastic gloves (if using boat paint)
- Inexpensive disposable brush (if you use boat paint)
- Slow cooker and beeswax (if you want to submerge the pinecones)


