Author:
Alice Brown
Date Of Creation:
24 May 2021
Update Date:
1 July 2024
Content
- Steps
- Part 1 of 5: Open System Preferences
- Part 2 of 5: Find and Open Trackpad Settings
- Part 3 of 5: Change Trackpad Settings
- Part 4 of 5: Customize Scroll and Zoom Options
- Part 5 of 5: Changing the Mouse Setting
The trackpad on Apple laptops takes some getting used to, as it differs from the touchpads on other laptops (there are no buttons, no markings, it is calibrated differently).
Steps
Part 1 of 5: Open System Preferences
 1 There are two ways to open the system settings, which contain the trackpad and mouse settings:
 2 At the bottom of the screen, click on the three gears icon. A window with system settings will open.
 - Or click the magnifying glass icon in the upper right corner of the screen (next to the clock), or press Command + Space.
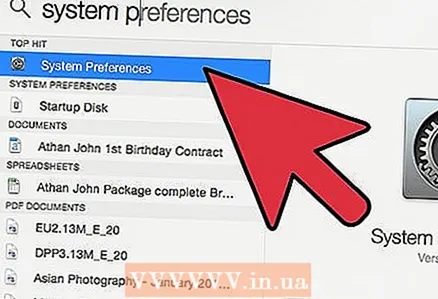 3 In the window that opens, enter "System Preferences". The system preferences icon will appear in the Top Hit section or in the Applications section. Click on the system preferences icon to open them.
 - The System Preferences window is divided into sections, each of which includes utility icons to make it easier to find them. Sections: Personal, Hardware, Internet & Wireless, System, Other.
Part 2 of 5: Find and Open Trackpad Settings
 1 The trackpad settings are located in the Hardware section. It's the sixth icon from the left, a gray rectangle that resembles a trackpad.
 - If you don't want to look for the touchpad settings in the System Preferences window, click on the magnifying glass icon in the upper right corner of the screen and type “Trackpad” in the window that opens.
- In the system settings, to the right of each option that can be turned on or off, there is a video explaining how to use that option. Hover over the video to view it.
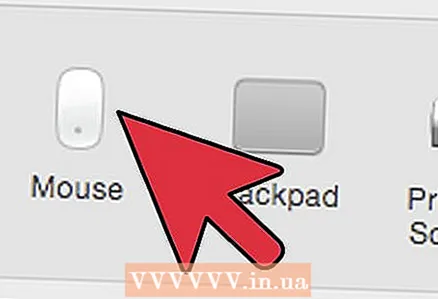 2 Mouse settings are located in the Hardware section of the System Preferences window. It's the fifth icon from the left, and looks like a computer mouse.
 - If you don't want to look for your mouse settings in the System Preferences window, click on the magnifying glass in the upper right corner of the screen and type “Mouse” in the window that opens.
Part 3 of 5: Change Trackpad Settings
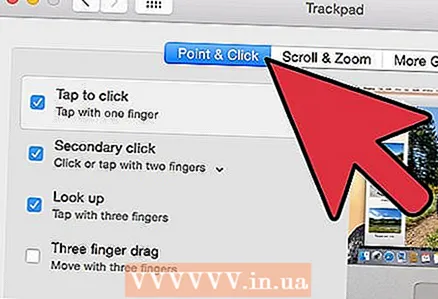 1 In the Trackpad Preferences window, click the Point & Click tab. This tab includes four options and a slider for changing the cursor speed.
 - You can use the trackpad on your MacBook Pro in two ways: press and touch it. Pressing corresponds to pressing a button; touching is similar to clicking on the touch screen. If you want to select touch, check the first option (check the blue checkbox next to this option).
- The second option is Secondary Click.This click is similar to clicking the right mouse button. You can use the default settings (two-finger tap) or choose a different option from the drop-down menu. The video on the right will show you how to use this option.
- The "Look Up" option is responsible for determining the meaning of the selected word. Hovering over a word and clicking the trackpad with three fingers will open a description of the word's meaning.
- The "Three-finger drag" option is responsible for quickly moving open windows. If you decide to use this option, place the cursor in the window you want to move.
- Change the speed at which the cursor moves using the slider. Make the cursor move slower or faster than your fingers. Test several travel speeds and choose the most optimal one.
Part 4 of 5: Customize Scroll and Zoom Options
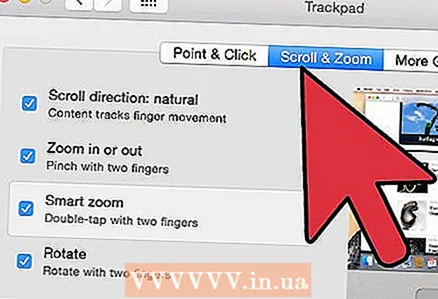 1 In the Trackpad Preferences window, click the Scroll & Zoom tab. This tab includes four options (check the box to enable an option, and uncheck it to disable it). These are the most famous options in Apple devices, as they are also present in iOS.
 - The first option is “Scroll direction: natural”. Specifies scrolling using the trackpad rather than the scroll bar on the screen.
- By default, scrolling is done with your fingers. Place two fingers on the trackpad and slide them up / down to scroll down / up the page. If you turn off this option, the direction of movement will be reversed.
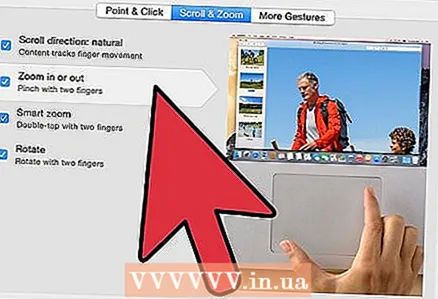 2 The second option is “Zoom in or out”. To zoom in, place two folded fingers on the trackpad and spread them apart. Pinch your fingers together to zoom out.
 - The third option is “Smart zoom”. Just double-click the trackpad with two fingers to zoom in / out. You can zoom in / out more efficiently by folding your fingers on the trackpad.
- The Rotate option is typically used when editing an image to rotate it with finger movements on the trackpad. Place two fingers on the trackpad and rotate them to rotate the pattern to the right or left.
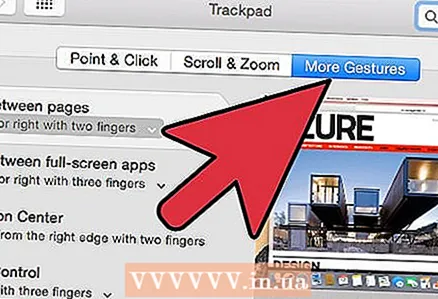 3 In the Trackpad Preferences window, click the More Gestures tab. This tab includes many options for tweaking the trackpad, such as navigating through pages, navigating between full-screen apps, displaying system items (Action Center, Mission Control, Launch Pad, Desktop).
 - Use the "App Expose" option to view the windows of all running applications. To do this, use three or four fingers; sometimes use your thumb when you fold or spread your fingers (Action Center only requires two fingers).
- Some of the options include sub-options with which you can customize your finger gestures. It is recommended that you watch the video for each option so that you can understand its purpose and decide whether to enable this option or not.
Part 5 of 5: Changing the Mouse Setting
 1 In the mouse settings window, you can change the scrolling direction. By default, the mouse scrolls pages like this - when you move the mouse wheel "towards you", you will scroll down the page; moving the mouse wheel "away from you" will scroll the page up.
 - Disable this option if you want to change the direction of scrolling.
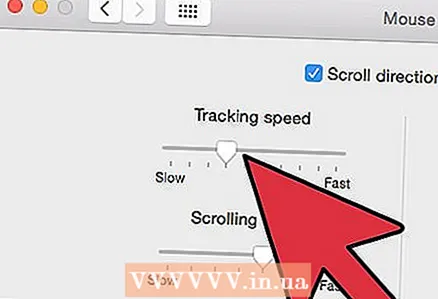
- You should have changed the cursor speed in the trackpad settings, but you can also adjust it in the mouse settings window (also using the slider). Test several travel speeds and choose the most optimal one.
- You can also change the speed at which your fingers scroll through the pages. Open a page with a scroll bar so you can test the scrolling speed.
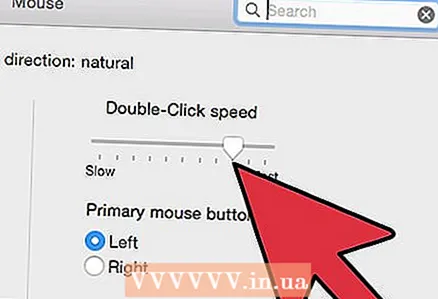 2 Adjust the speed for single and double clicks. The slower you click, the slower you can click icons to open documents or launch applications.
 - It is recommended not to change the primary mouse button (by default, this is the left button). If you change it to the right button, you will need to right-click (not left) to open documents or launch applications.
- All changes made are saved automatically. To exit System Preferences, go to the toolbar (at the top left of the screen next to the Apple icon) and select System Preferences - Quit System Preferences.


