Author:
Sara Rhodes
Date Of Creation:
10 February 2021
Update Date:
28 June 2024

Content
- Steps
- Part 1 of 3: Mix the dye
- Part 2 of 3: Paint the thing
- Part 3 of 3: Wash and dry your dyed fabrics
- Tips
- Warnings
- What do you need
Rit Fabric Dye is a versatile dye that can be used to dye most natural fabrics as well as materials such as paper, wood, rope, and even nylon-based plastics. Because Rit comes in a mix and color, it's a breeze to use. Just choose a shade, pour the appropriate amount into a container of hot water and dip the object you want to paint there for 10-30 minutes. After a few washes, the item will still have a new bright look, and you will not have to worry about it fading or shedding for a long time.
Steps
Part 1 of 3: Mix the dye
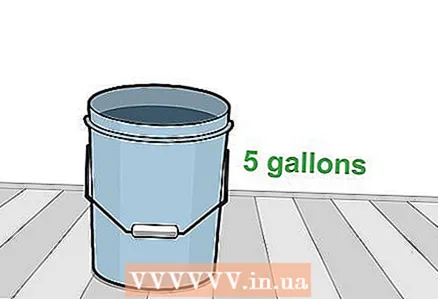 1 Choose a container in which you will dye. Use a 20L plastic bucket or bowl to work with vibrant colors without messing around. It is also possible to paint things in the sink, as long as it is made of stainless steel. Whichever container you choose, it should be large enough so that you can pour a few liters of water into it and place the object to be painted.
 - Do not use Rit stain in white porcelain or fiberglass sinks, as it can leave permanent stains.
 2 Cover your work surface. Place a few sheets of newspaper or some old towels directly under the paint container. They will act as a protective barrier to keep colorant from spilling onto the floor, countertop, or any other surface. Take a few extra minutes to get ready to save yourself the time-consuming cleaning process.
 - Always wear gloves when handling dye to avoid getting your hands dirty.
 3 Fill the container with hot water. For this to work well, the water temperature should ideally be around 60 ° C (hot enough to emit steam). The high temperature will soften the fibers of the fabric and help them absorb the dye.
 - Dye manufacturer Rit recommends using 11 L of water for about every 450 g of fabric to be dyed.
- If the tap water is not so hot, heat a few liters in a kettle and pour into a staining container.
 4 Measure out the correct amount of dye. For best results, use about half a bottle of liquid dye or a whole box of powder for 450 g of cloth. Use less dye if you want to dye just one T-shirt or a pair of underwear, and more if it's a thick sweater or a few jeans.
 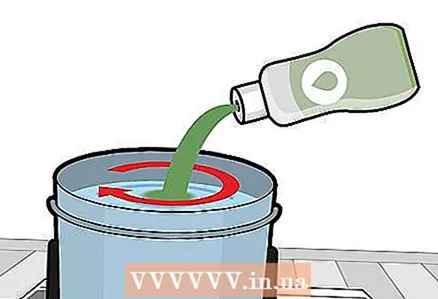 5 Stir the dye in the water. Liquid colorant can be poured directly into water. For Rit Powder Dye, dissolve the entire pack in 2 cups (480 ml) hot water, then slowly add the mixture to the container until you achieve the desired color depth. Stir the dye until it is completely dissolved.
 - Shake the dye well before pouring it out to mix thoroughly.
- Stir the water with a stainless steel spoon or similar.
 6 Add salt or vinegar for an even color. If the item to be dyed is made of cotton, dissolve 1 cup (300 g) salt in 2 cups (480 ml) hot water and add to the dyeing container. For wool, silk, or nylon, use 1 cup (240 ml) distilled white vinegar. Stir the water in the container again to dissolve all the ingredients.
 - Some fabrics are somewhat dye-resistant. Salt or vinegar will help soften the fabric for an even color.
Part 2 of 3: Paint the thing
 1 Dye only a freshly washed garment. Wash the garment in warm water and an anti-stain detergent, then dry on a low temperature. Precleaning will remove any foreign material from the material that might interfere with staining.
 - Never try to dye dirty clothes.Dirt and greasy build-up can prevent the dye from penetrating into certain areas of the fabric, as a result of which it will not stain evenly, but will be full of streaks or stains.
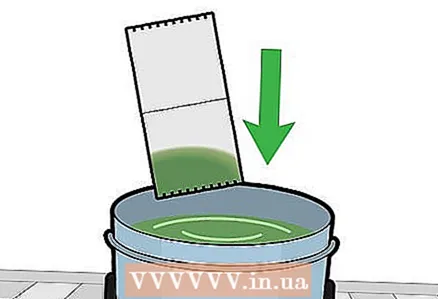 2 Test the dye on a paper towel. Dip a corner of a paper towel into the solution and check the color. If you are satisfied with the result, proceed to the next step. If not, add the dye a little at a time.
 - Test the color again on another corner of the paper towel and repeat as many times as necessary to get the desired color.
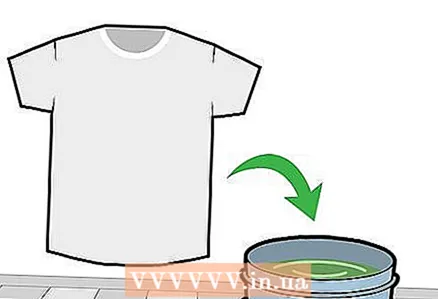 3 Submerge the item in a container of dye. In order not to splatter everything with paint, lower it slowly. During the dyeing process, the thing must be under water all the time.
 - Stretch the item as much as possible before submerging it in the water. Wrinkles can interfere with uniform dyeing of the fabric fibers.
 4 Stir the water with the item immersed in it for 10-30 minutes. Move the thing constantly in the solution so that it affects all its parts. The longer the garment is in the dye container, the richer the final color will be. 10 minutes should be enough to improve the color a little. If you want to completely repaint the thing, it will take about half an hour.
 - Use a pair of tongs to make it easier for you to interfere. The main thing is not to hold onto the fabric all the time in the same place, otherwise the dye will not penetrate there.
- Note that a wet object may appear darker than it actually is.
 5 Take out the painted item. When you are satisfied with the appearance of the item, grab one corner with tongs and remove it from the container with dye. Allow excess solution to drain into a container, and then try to squeeze out as much dye as possible by hand before moving the dyed item anywhere.
 - To avoid leaving colored drip marks all over your home, paint near the place where you will rinse the garment.
Part 3 of 3: Wash and dry your dyed fabrics
 1 Rinse the item immediately. Run it under warm running water to rinse off excess dye. Lower the temperature of the water gradually to cool the garment. Continue rinsing it in cold water until it runs clean.
 - Lowering the temperature gradually will allow the color to set after you wash off the remaining dye.
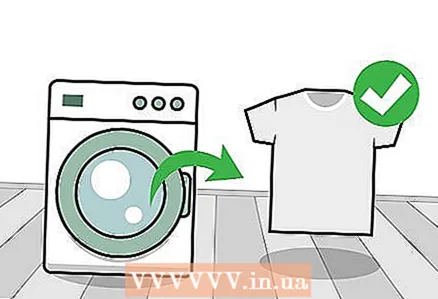
 2 Laundry the item in the washing machine. Wash your dyed garment in cold water and a mild detergent. Along with it, place an old towel in the drum so that it absorbs the washed dye. The first few times, wash items of different colors separately from each other so that they do not shed on each other.
 - Some fabrics may fade slightly after several washes.
- Use detergents for colored fabrics and fabric softeners to maintain the appearance of dyed garments.
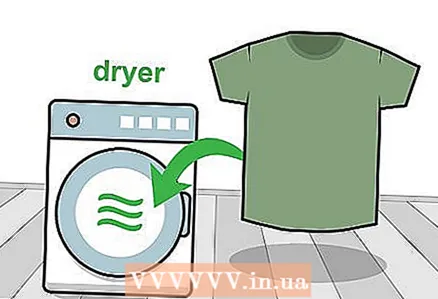 3 Dry the item thoroughly before putting it on. The high temperature in the dryer will dry out the fibers, fixing the new color. As with washing, put an old towel in the machine along with the item in case the item fades a little. After washing and drying for the first time, you can start washing the dyed clothing as usual.
 - When you take the item out of the dryer, you can wear it!
 4 Hand wash and dry delicate items. For less durable materials, such as wool, silk, and lace, wash in a sink or basin of clean, lukewarm water. Add some detergent to clean and repair the fabric. Gently squeeze out excess water, then hang each item separately and air dry.
 - Garments washed by hand can take up to 24 hours to dry completely.
- Place a bucket or an old towel underneath the items you have hung to dry to keep drips from falling onto the floor.
Tips
- As a rule, dyeing on soft light-colored fabrics gives the best results.
- When finished, be sure to thoroughly clean the container and other accessories.Use bleach if necessary to remove stubborn stains.
- Only wash dyed clothing with clothing of a similar color.
- Try mixing dyes to create new colors and combinations. Show your imagination!
Warnings
- Make every effort to avoid spills and splashes. If the paint accidentally gets into the wrong place, you will be tortured to remove the stains.
- Take a close look at the ingredient list on the bottle label if you think you may be allergic to Rit.
- Painting multi-colored objects is not an easy task, since it is not always possible to predict how a particular color will react to a dye.
What do you need
- Large capacity, stain resistant
- Hot water
- Rit Fabric Dye (Liquid or Powder)
- Salt (for cotton clothes)
- Distilled white vinegar (for wool, silk, or nylon)
- Metal spoon or tongs
- Mild laundry detergent
- Latex gloves
- Paper towel (for color test)


