Author:
William Ramirez
Date Of Creation:
16 September 2021
Update Date:
1 July 2024
Content
- Steps
- Part 1 of 3: Specify the location of the business
- Part 2 of 3: Verify Ownership of the Company
- Part 3 of 3: Create Your Google+ Business Page
Google Maps is used by millions of small businesses around the world and customers use the map every day to find them. To add your business to Google Map, create a Google My Business account and verify that you own or work for the business. When your business information is updated in Google My Business, the new business information appears in Google Maps, Google Search, and Google Earth. Your current and potential customers can easily find information about the company, learn about the services provided and write reviews that will help the company grow and gain trust.
Steps
Part 1 of 3: Specify the location of the business
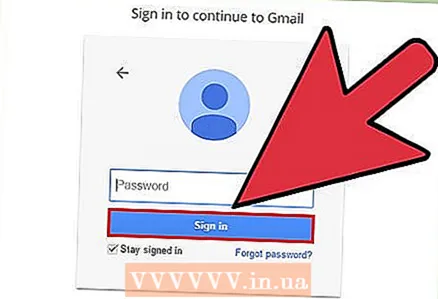 1 Determine if you have a Google account. It is not necessary to use the gmail.com mailing address for this. You can sign in to Google with almost any email address. To work with Google My Business, your Google account must be linked to the location you want to add or change. If you don't have a Google account associated with your business, create one. This account will be linked to the created Google My Business dashboard.
 - If you do not have a Google account, go to www.google.com, click "Sign in", then "More" and finally "Create an account". Create an account following the instructions.
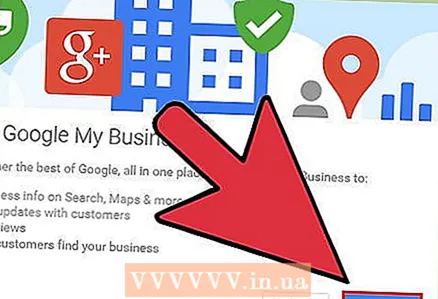
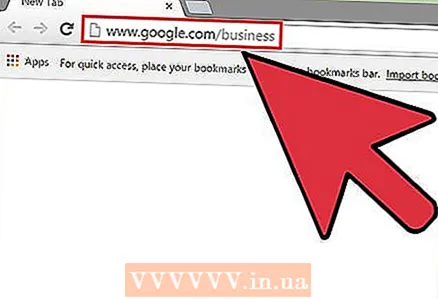 2 Follow this link: https://www.google.ru/intl/ru_by/business/ to open the Google My Business page Click on the green Start button below. Once you set up a business on Google, your customers can find the right information about where you are, your phone number, opening hours, photos, and the services the company provides. It will also allow customers to leave reviews and rate your business, as well as read the news you publish.
 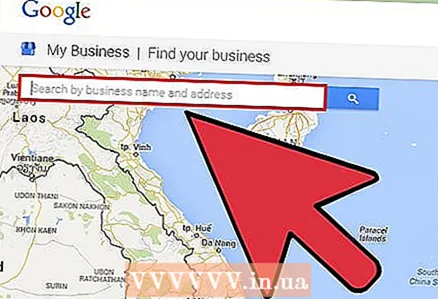 3 Enter your business name and address in the search box to find it on Google Maps.
- Recheck the address and phone number to make sure they match your business.
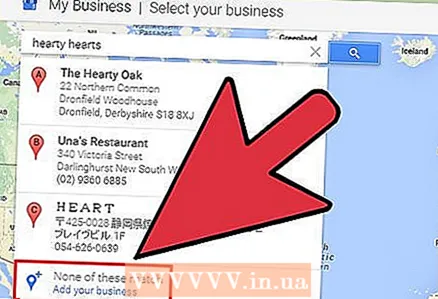 4 Click on the blue Add Company link if the company does not appear in the Find My Company search results. If Google has not included your business in the SERPs, you will have to enter additional information about your business.
 - Click on the category your company falls under. For example, "Lawyer Services". The category is very important for Google, as it is used by this search engine to classify businesses. It should also be noted the following - despite the fact that Google allows you to select several categories, it is still better to opt for one. Having multiple categories will not improve your company's ranking.
- Fill in exactly your location information, including business address, phone number, and the category your business falls under, such as bakery.
- Do not forget to check the “Yes, does” box on the “Does your company serve customers at other addresses?” Page, if so. Then specify the area of service by entering the city name or the zip code of the region you serve.
Part 2 of 3: Verify Ownership of the Company
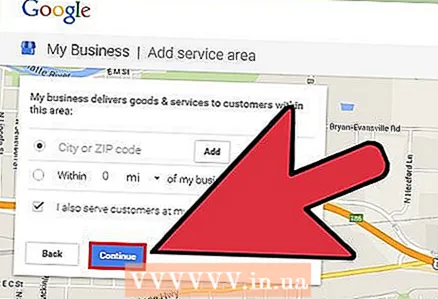 1 Check the box to confirm and click "Continue". This step is required to confirm that you have full authority to provide Google with your business information. By clicking on the "Continue" button, you also agree to all terms and conditions. From a legal point of view, Google must certify that you are the rightful owner or authorized employee of the company.
 - If you are unsure if you have the right to change your business information on Google, please discuss the matter with the owner or director of the company before proceeding.
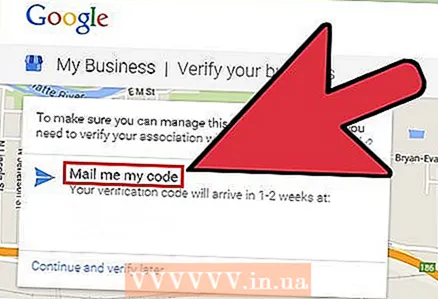 2 Click on "Call me now" or "Confirm by mail". Google will send you a code confirming that you are indeed entitled to run the company. Google will give you a six-digit code by phone or mail. There are also other ways to verify, for example if you are the registered owner of the site in the search console or if you have an email address with the same domain as the company.
 - The easiest way to confirm your participation in the company is by phone. When Google calls, write down the verification code that will be given to you.
- If you choose to confirm by email, you will have to wait 1–2 weeks before the company information is published on Google Maps. In addition, the code sent to you will only be valid for 30 days. Once you receive the code, enter it into your Google My Business dashboard.
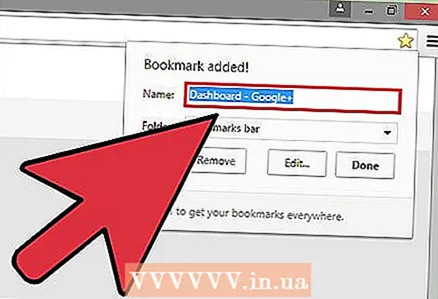 3 Bookmark the page before leaving your company dashboard to Google My Business. In order to be able to log into the panel again in the future, you will need to log into your account. Open a bookmark or follow this link https://www.google.ru/intl/ru_by/business/, and you will automatically be taken to your control panel.
 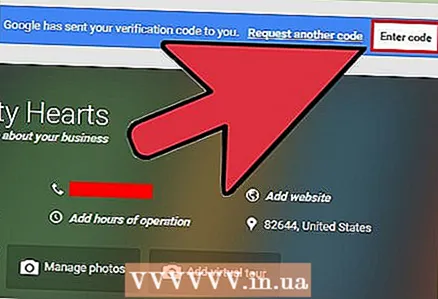 4 Click on the "Enter code" field at the top of the control panel. The Enter Code field is located in the blue box at the top of the page. It's to the right of the “Google sent you a verification code” message. Enter the 6-digit code in the field and click Submit.
Part 3 of 3: Create Your Google+ Business Page
Note: Google+ ended April 2, 2019 for regular Google accounts, but support will continue for G Suite accounts.
 1 Explore your business dashboard. This information will help you quickly become familiar with the platform. Explore the platform's features to maximize your company's presence on Google.
 - Do not sign out of your Google account while using Google My Business. Signing in to other accounts will sign out of your Google My Business account.
- If you accidentally leave the company dashboard, return to bookmarks or enter https://www.google.ru/intl/ru_by/business/.
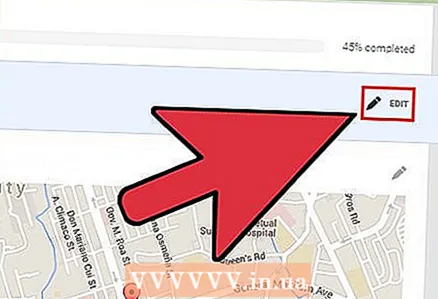
 2 Change your company information. There is an "Edit" button at the top of the control panel and to the right of the company name. Click on it. Modify your company information so that customers can learn more about your business and see some of the photos.
 - Add your profile picture. Upload quality company photos, add opening hours, and write a short company introduction. Choose your photos wisely to highlight all the positive qualities of the company. Make sure your photos look professional, and to make them even more useful, optimize them with georeferenced metadata that authenticates your location.
- Take the time to clearly describe your business. Write professionally and try to make a good impression on your current and potential clients.
- If writing isn't your forte, have a friend or coworker review your description before posting it to Google My Business.
 3 Click on the "Edit" button to change the basic information about your business. If your contact information changes in the future, return to your Google My Business dashboard and update your details.
 - Don't forget that to sign in to Google My Business, you need to sign in to your Google account and follow this link: https://www.google.ru/intl/ru_by/business/. Click on your company and you will find yourself in the control panel.
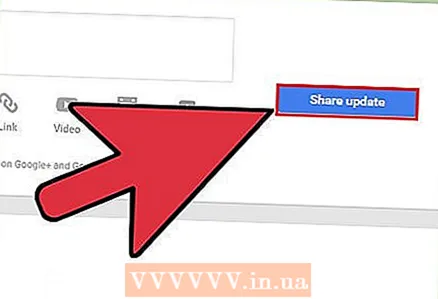 4 Share with your customers what's going on with your company. If you want to advertise an event or just provide clients with information about your company, use the "Create an advertisement" function.
 - Open your business dashboard, click on the "Create ad" icon, then select the desired option to share your ad. It can be text, photo, video, link, or event. Once you've selected or created an ad, click on the blue Publish button to report what's happening with your company.
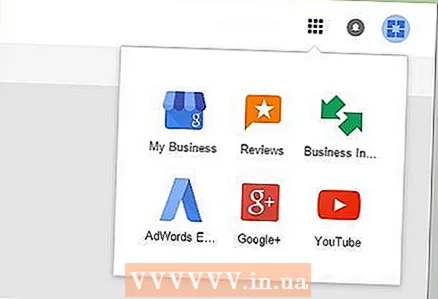 5 Explore other dashboard features in Google My Business. Features like Details, Testimonials, and AdWords Express can help you market your business, connect with customers, and develop your presence in the community.


