Author:
Marcus Baldwin
Date Of Creation:
13 June 2021
Update Date:
1 July 2024

Content
Usually mosaics are made from pieces of tile or glass. Paper mosaics are a great school project to do in your visual arts class. Paper mosaic is an activity invented for children. It enhances and develops children's creativity and imagination.
Steps
 1 Using a pencil, easily draw the image on a piece of paper, do not shade it and add details to it. Just create a draft of the image.
 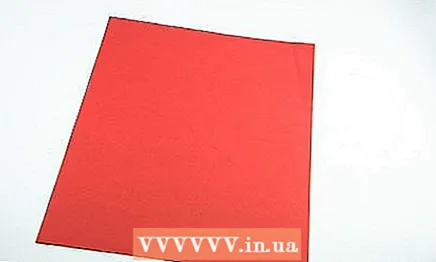 2 You will need colored paper. You can use special thick colored paper or cardboard. You can buy it at a stationery store.
 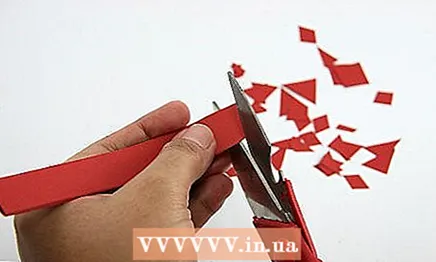 3 Cut a piece of paper by cutting it into small pieces. Cut the paper into small square pieces or triangles. Shapes can be made in any shape.
 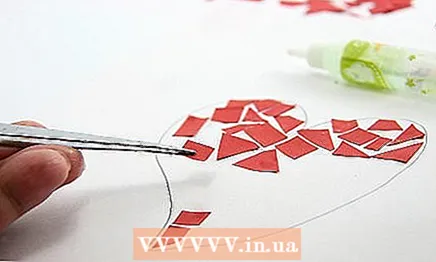 4 Glue the cut pieces of paper onto the sketched images on the sheet. Leave a small gap between each cut out piece to create a mosaic effect. They should be close enough to each other, some may even intersect.
 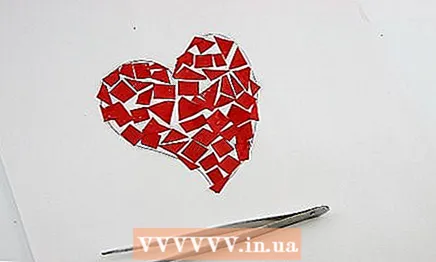 5 Let the glue dry. You can glue the paper onto a thick piece of cardboard or even a wooden board.
 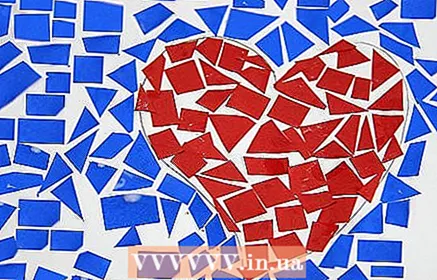 6 Ready.
Tips
- You can create a mosaic from rice, paper, candy, and any other items.
- You can use black or tinted paper.
- You can use figurines of various sizes and shapes to create a mosaic.
- You can make a mosaic that looks like a tiger or a fountain, for example. If you don't want to make a specific image, you can make an abstract mosaic.
- Think about what exactly you want to do.Show your imagination.
- Look at the picture of the mosaics for inspiration.
Warnings
- Be careful with the super glue, don't stick your fingers together.
- Be careful when using scissors.
What do you need
- Cardboard or colored paper
- Scissors
- Glue
- Pencil
- Paper


