Author:
Sara Rhodes
Date Of Creation:
16 February 2021
Update Date:
1 July 2024

Content
- Steps
- Part 1 of 3: Preparing to Cite Sources
- Part 2 of 3: Referring to the source while writing the work
- Part 3 of 3: Creating a Cited Works Page
- You will need
Microsoft Word has a range of automation features that make it easy to write reports and other educational assignments and research papers. One of the most useful of these features is maintaining a list of sources and links. By learning how to enter sources, you can automatically create a list of cited sources at the end of your work.
Steps
Part 1 of 3: Preparing to Cite Sources
 1 Check with your supervisor what style he prefers to see cited sources. The most common styles are the American Psychological Association (APA), Modern Language Association (MLA) styles, and the Turabian and Chicago styles.
  2 Gather important information about all of your sources. This includes information about authors, titles of works, page numbers, publishers, edition, place of publication, date of publication and access time.
 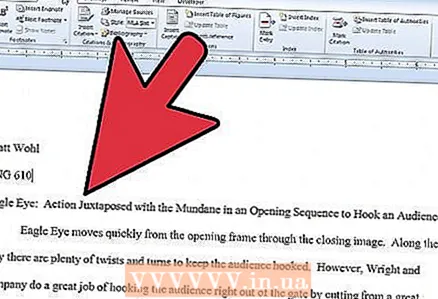 3 Check the version of Microsoft Word you are using. In each version, the section for inserting links to sources is located in a different place. In most versions, it is located on the References tab under Document Elements or Document Settings.
 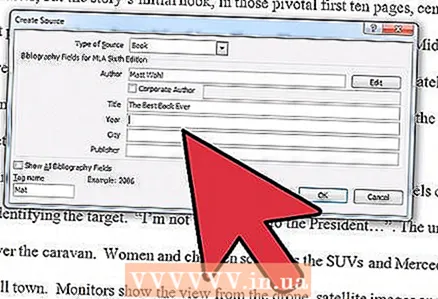 4 On the References tab, in the References & Bibliography group, click the arrow next to Style. Select a style from the drop-down list, for example “MLA”.
Part 2 of 3: Referring to the source while writing the work
 1 Type the information you want to refer to in the Word document. Place your cursor at the end of a sentence when you're ready to cite a source.
 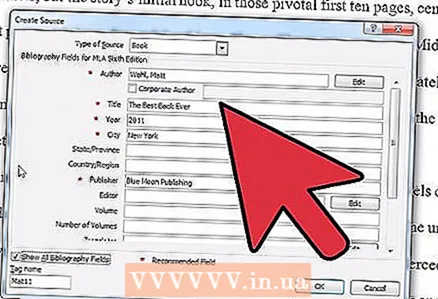 2 Return to the Links tab at the top of the page. Click Manage Sources and the plus sign in the Links dialog box to add a new source. If you are using an earlier version of Word than 2011, you will need to click "Insert Link" and select "Add New Source"
  3 Complete all fields in the Create Source dialog box. Fields recommended for your selected layout style are marked with an asterisk.
 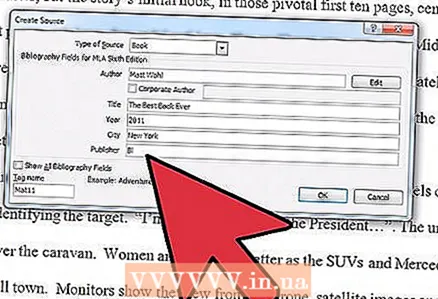 4 When finished, click “Ok”. The source is added to the Source List.
  5 Access to a list of sources if you continue to cite the source in your work. Whenever you want to specify the source of certain information, you can either select from the list of sources or add a new source to the list. Click “Change Link” to use the same source, but change the page number.
 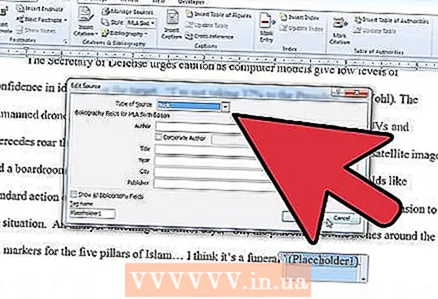 6 When finished, add all the cited sources to the list. Alternatively, you can use the Insert Footnote or Insert Endnote button on the References tab to add notes to each page.
Part 3 of 3: Creating a Cited Works Page
 1 When you finish writing your work, click the "References" button. Choose between “References” and “Works Cited”. Your instructor should have indicated what kind of list to specify.
 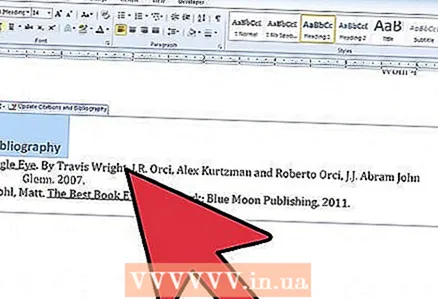 2 Click the Quoted Works button. A bibliography will be added to the sheet at the end of your work. This object is different from text, rather it is similar to tables and pictures in work.
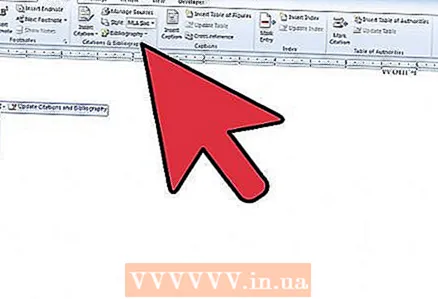
 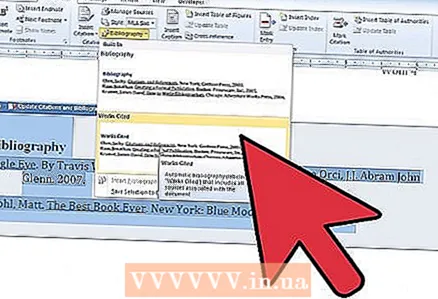 3 Update the References Cited object if you have changed the sources in your document. Click the down arrow next to the word “References”. Select “Update References & Bibliography”.
 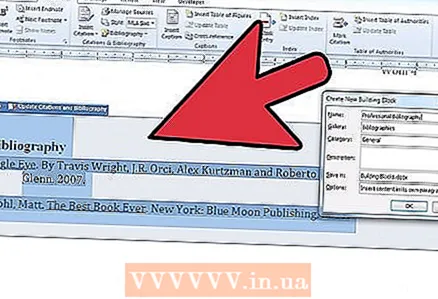 4 Save your document often.
You will need
- Mouse


