Author:
Joan Hall
Date Of Creation:
27 July 2021
Update Date:
1 July 2024
Content
- Steps
- Method 1 of 2: How to create a startup account
- Method 2 of 2: How to Renew Your Paid Subscription Using Game Currency
World of Warcraft (WoW) is one of the most popular online games in the world, and now anyone can play it for free for an unlimited amount of time. Your free account will be limited, but you can explore the game world as much as you like. If you are already an experienced player, you can buy game time directly from Blizzard with in-game currency to keep playing WoW without spending real money.
Steps
Method 1 of 2: How to create a startup account
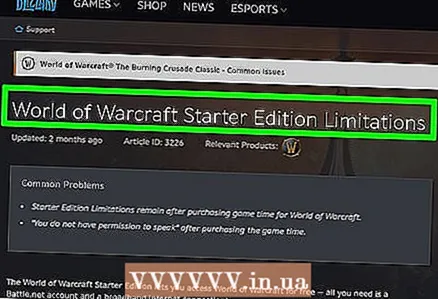 1 Find out what options a free account has. With a free account, you will be able to raise your character's level to 20 (out of a possible 120 levels), as well as continue the game after reaching this level (you will not receive additional experience points). Also, you can only earn 10 gold. In addition, your options for communication with other players will be limited, and you will not be able to join guilds.
 - When the subscription expires, the account is automatically switched to free mode, meaning you will have the same restrictions, although your character can still join the same guild as the rest of your characters. You won't have access to all of your characters over level 20, but you can still create new characters.
- A Starter Account will allow you to play as long as you need to to decide if you enjoy playing World of Warcraft.
 2 Go to the WoW - Battle.net account creation page. Follow this link https://eu.battle.net/account/creation/ru/if you live in Russia. In any case, you can always go to the site battle.net and find the account creation page for your country of residence.
 - If you already have a Battle.net account, you can immediately sign in and download the World of Warcraft game.
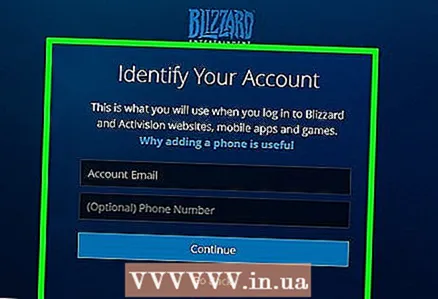 3 Fill out the account creation form. Be sure to provide a valid email address so that you can verify your account later. You don't need a bank card to create a free account. When you fill out the form, click on the "Play for free" button.
  4 Click on "Download Game" to start downloading the WoW game files. If you accidentally closed your browser or you need to download the files again, you will find the download link here eu.battle.net/account/download/index.xml.
 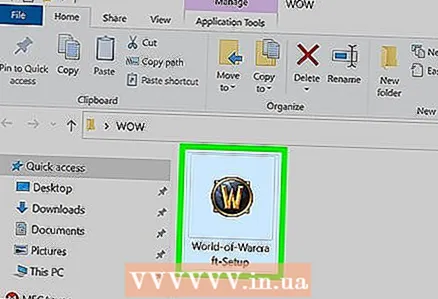 5 Run the installation wizard. The WoW installer file is very small, so the download should complete in a few seconds. Once the download is complete, open the program to install the Battle.net app.
 - Battle.net is the launcher for WoW and other Blizzard games.
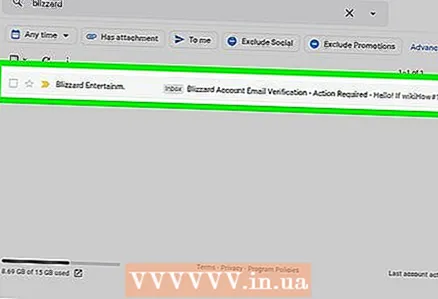 6 Verify your Battle.net account while installing the software. The email address that you entered in the account creation form should receive an email with a link to verify your account. Follow this link from the email to verify your Battle.net account.
 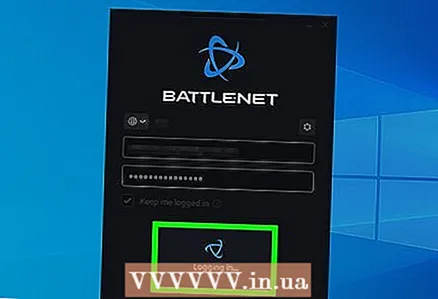 7 Log into your Battle.net account using the credentials you just created. You will be prompted to start installing the game. Click on "Start Installation" to start downloading the game files.
 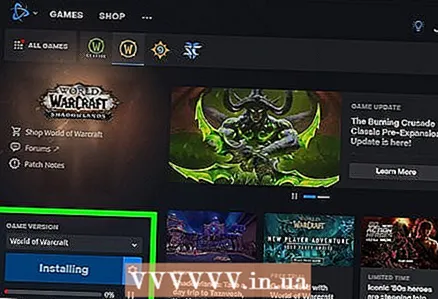 8 Wait for WoW to download and install. This is a large game (about 70GB), so it will take a decent amount of time to download, even on a fast connection.
 - Also make sure in advance that you have enough disk space to install the game. Read our article on how to free up disk space.
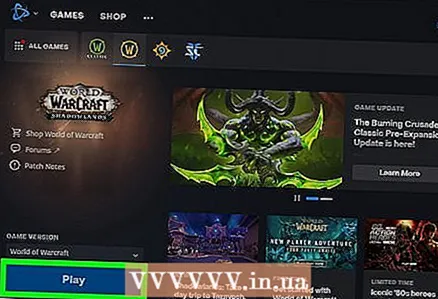 9 Start playing. Once WoW is downloaded to your computer, you can launch the game through the Battle.net app and start playing. To start your adventure, you need to select a server and create a character.
 - New players should avoid RP (Role-Playing) and PVP (Player Vs. Player) servers until they get used to the game mechanics.
- Read on for our tips on how to get started and how to get the most out of your game.
Method 2 of 2: How to Renew Your Paid Subscription Using Game Currency
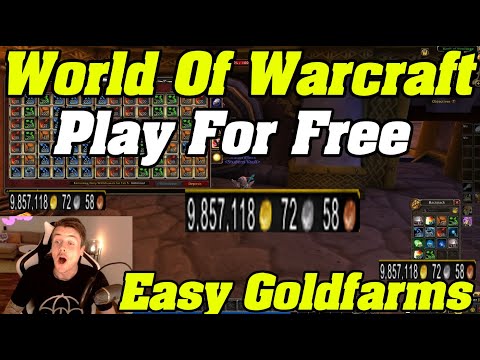
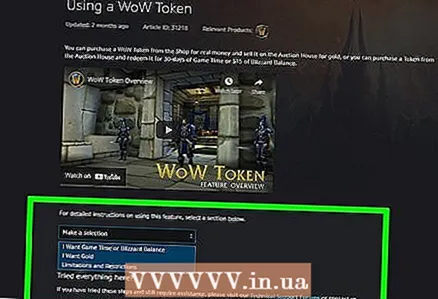 1 Find out the procedure. On April 6, 2015, an update was released that introduced tokens (tokens) to WoW. These are items that players can exchange for a 30-day WoW subscription. Tokens can be bought for real money and then sold at the in-game auction for in-game currency. This way you will be able to buy in-game time for the in-game currency that your character earned in the game.
 - Since Free Subscribers do not have access to the in-game auction and WoW Tokens are very expensive, this method does not apply to Starter Accounts. To access the auction and be able to earn enough in-game money to purchase tokens, you must be a paid subscriber.
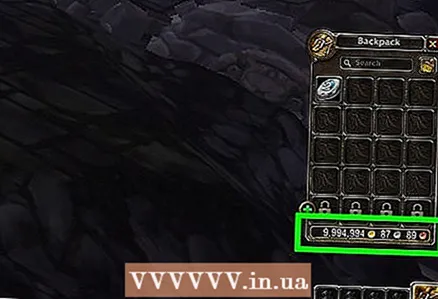 2 Earn enough play money. When tokens were just introduced in WoW, they cost about 200-300 thousand gold coins at the auction (depending on the server). Now prices are set by players and change depending on supply and demand. WoW Tokens remain very expensive anyway, so you need to find an abundant source of in-game money somewhere so you can buy them every month.
 - If you effectively "farm" the game currency, you can earn about 1000-2000 gold coins per hour. This means that you can afford to buy a WoW token after about a few weeks of playing.
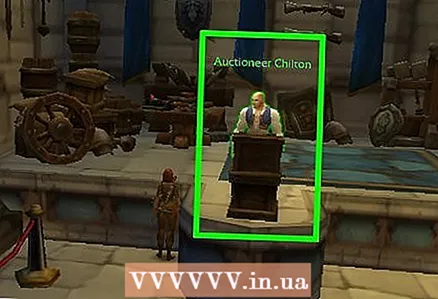 3 Go to the in-game auction. You can buy WoW tokens at the auction with your play money. Access to the auction is available in all major cities in the world of World of Warcraft, and many cities have multiple auction sites.
 - Auction lots are available to the entire player's faction, so you will have access to the same lots on any auction site.
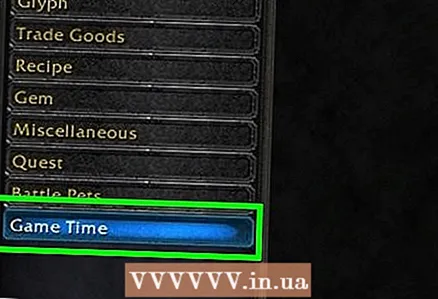 4 Select the "Playing Time" category. All active WoW Token lots are listed here.
 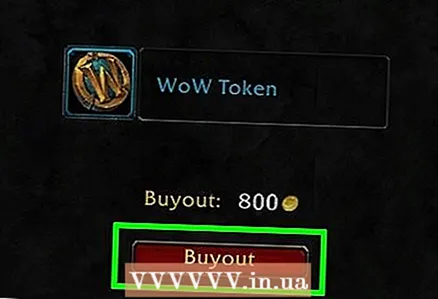 5 Place your bet or redeem your token immediately. The token will arrive in your mailbox. Click on the token in the mailbox message to add it to your inventory.
 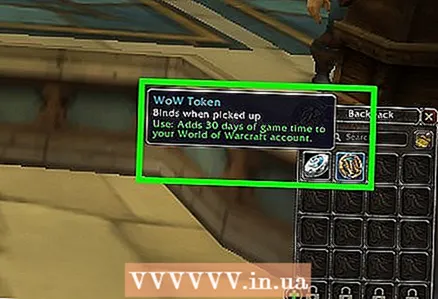 6 Right click on the token in your inventory. Click on the "30 days of game time" button to confirm your wish to renew your subscription. Your current subscription will add 30 days. You will see the new subscription renewal date in the dialog box. Finally, click on "Accept" to confirm your actions again.
 - A confirmation email that the transaction was successful will be sent to the email address associated with your Battle.net account.


