Author:
Louise Ward
Date Of Creation:
10 February 2021
Update Date:
2 July 2024

Content
This wikiHow teaches you how to delete app data on iPhone or iPad. To delete all app data, we need to remove the app from our phone and reinstall through the store. If you want to free up phone memory, you can also manually delete data from Messages, Email, Photos, web browser and some other data-intensive applications.
Steps
Part 1 of 8: Delete and reinstall the app
(Setting). Click the silver two gears icon to open the Settings menu.

Click General (General). The option is next to the gray icon with a gear.
Click iPhone Storage (IPhone Memory) or iPad Storage (IPad Memory). The total memory in use and the amount of space that each application is currently occupying on your iPhone / iPad will appear.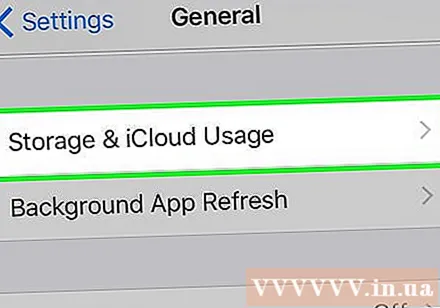
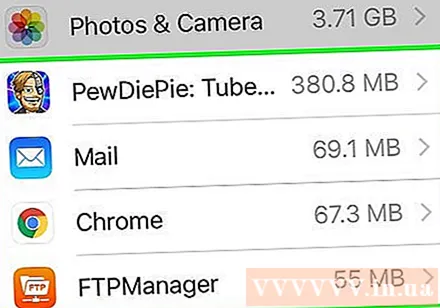
Scroll down and tap an app. All apps installed on your iPhone / iPad are listed at the bottom of the iPhone / iPad Storage menu. Tap the app for which you want to delete data.- The amount of memory that an app is using is displayed on the right side of the app. Look for the apps that take up the most memory you no longer use.
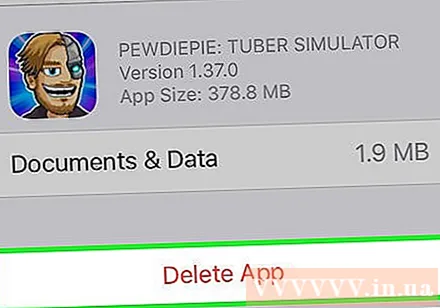
Click Delete App (Delete app). This red text is at the bottom of the screen. A confirmation menu will pop up asking if you want to remove the app.- Or you can click Offload App (Reduce application load) to remove the app, and keep documents and related data for that app in case you want to reinstall with saved info.
Click Delete App. This red text is in the lower right corner of the confirmation dialog that pops up. The application and all related documents and data will be deleted.
Reinstall the app from the App Store. This process will reinstall a completely new app with no documents and data that the app previously saved. advertisement
Part 2 of 8: Clear Safari browsing data
Open the Settings app. The app is greyed out with a gear icon (⚙️) and is usually located on the Home screen.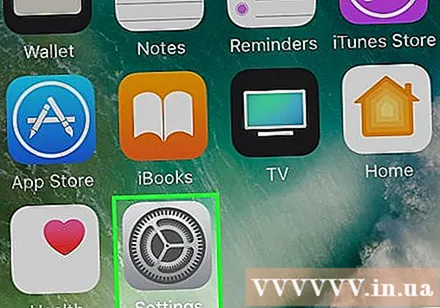
Scroll down and tap Safari. The option is next to the blue compass icon.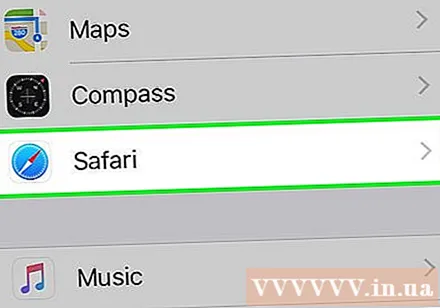
Scroll down and tap Clear History and Website Data (Clear website and history data). This option is near the bottom of the menu.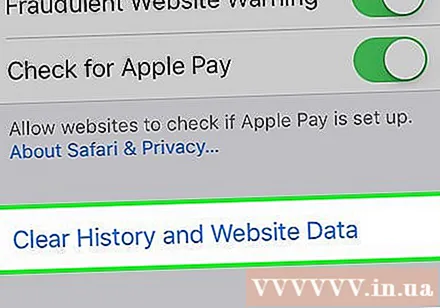
Click Clear History and Data. The stored page data and website history will be deleted from the device. advertisement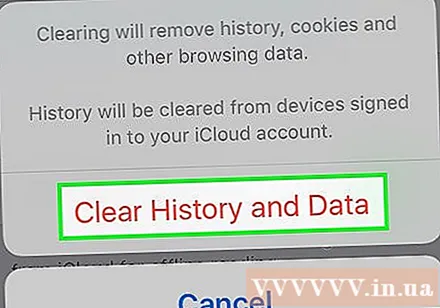
Part 3 of 8: Delete message data
Open the Messages app. The app is green with a white text bubble, which you can usually find on your Home screen.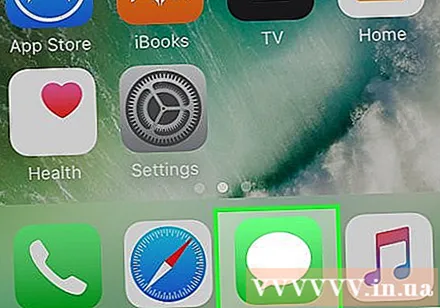
- If the app opens a chat, tap the "Back" (<) arrow in the upper left corner of the screen.
Click Edit (Edit) in the upper left corner of the screen.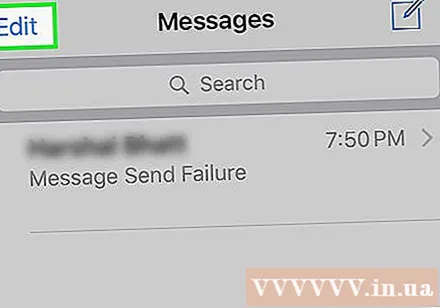
Tap the buttons next to the conversation you want to delete. These buttons are on the left side of the screen and will turn blue when you select a conversation.
- Chats can take up a lot of space, especially if the messages contain a lot of multimedia such as pictures or videos.
Click Delete (Delete) in the lower right corner. All selected chats are deleted from the device. advertisement
Part 4 of 8: Delete downloaded music and videos
Open the Settings app. The app is greyed out with a gear icon (⚙️) and is usually located on the Home screen.
Scroll down and tap General. This option is near the top of the screen, next to a gray gear icon (⚙️).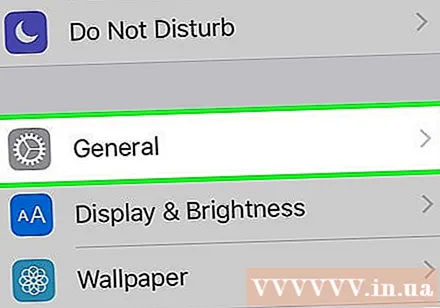
Click Storage & iCloud Usage (Store & Use iCloud). This option is near the bottom of the screen.
Click Manage Storage (Memory Management). This option is in the "STORAGE" section.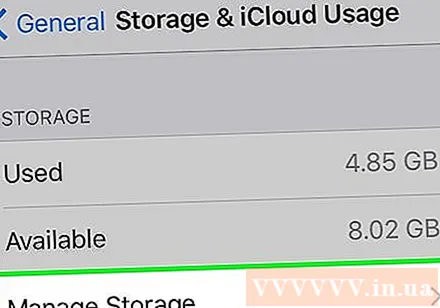
- A list of applications will appear on the screen in order of memory capacity. At the top of the list is the apps that take up the most memory.
Click on the option television next to the video screen icon.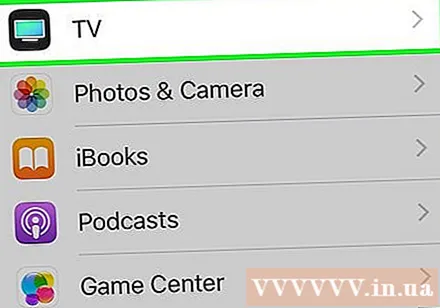
Click Edit in the upper right corner of the screen.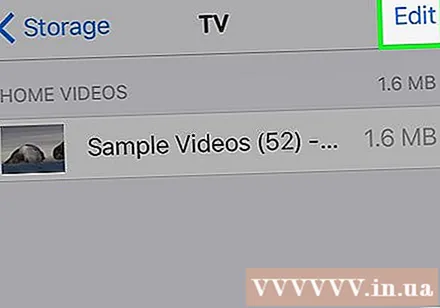
Tap the ⛔ icon next to any video you want to delete.
Press the button Delete red is on the right side of the screen.
- Deleted videos can be copied back to the device using the iTunes desktop app, or re-downloaded via the TV app if you purchased videos from the iTunes Store.
Click Done (Done) in the upper right corner of the screen.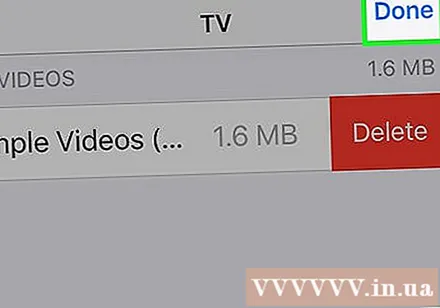
Click Storage in the upper left corner of the screen.
Click Music next to the note icon.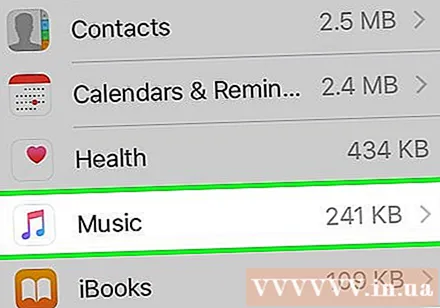
Click Edit in the upper right corner of the screen.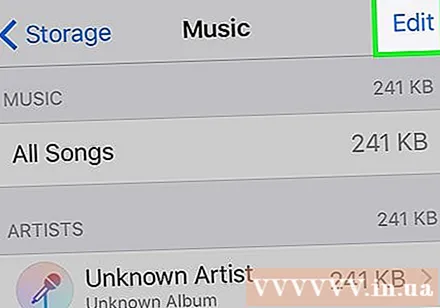
Click the ⛔ icon next to any song you want to delete.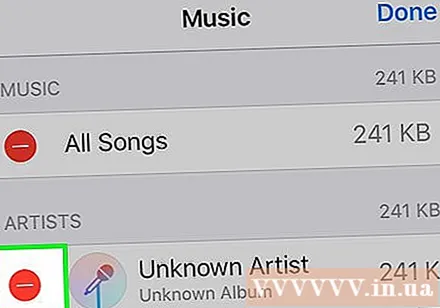
Press the button Delete red is on the right side of the screen.
- Deleted songs can be copied back to the device using iTunes on a computer, or re-downloaded through the Music app if you buy songs from the iTunes Store.
Click Done in the upper right corner of the screen. advertisement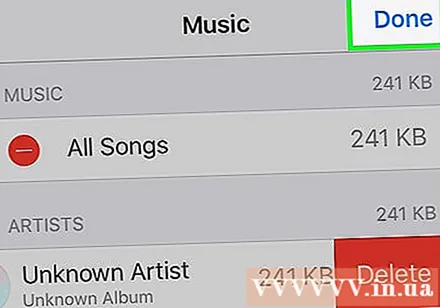
Part 5 of 8: Deleting photos
Open the Photos app on your device. The app is white with a multicolored pinwheel icon, which you can usually find on your Home screen.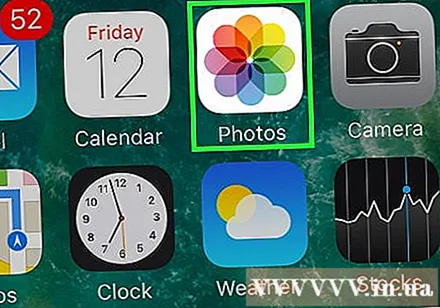
Click on the card Albums in the lower right corner of the screen.
- If the Photos app opens an image, gallery or moment, first press the "Back" button in the upper left corner of the screen.
Click on the "Camera Roll" album. This album is in the upper-left side of the current page. All images on the device will be stored in this album.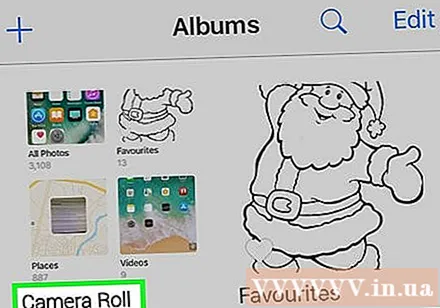
- If your phone has iCloud Photo Library enabled, the album will be named "All Photos".
Click Select (Select) in the upper right corner of the screen.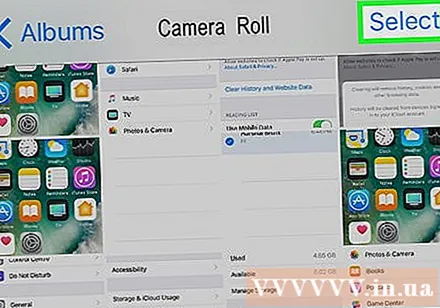
Tap each photo you want to delete. Each photo you click will be selected and a white check mark on a blue background will appear in the lower right corner of the image thumbnail.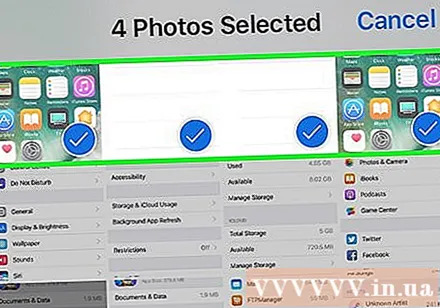
- If you want to delete all the photos on your iPhone, you can quickly select them all instead of tapping them one by one.
Click the trash can icon in the lower right corner of the screen.
Click Delete Photos (Delete photos). This action button will pop up at the bottom of the screen. After you tap it, photos selected from the "Camera Roll" album (and any other album to which they belong) will be moved to the "Recently Deleted" album.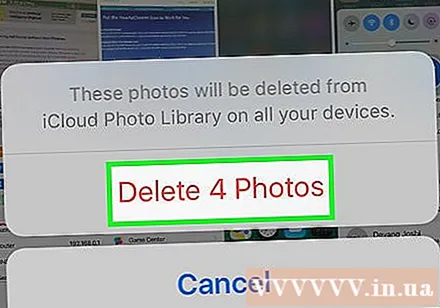
- If you only delete one photo the action button will be "Delete Photo".
Click the "Back" button in the top left corner of the screen.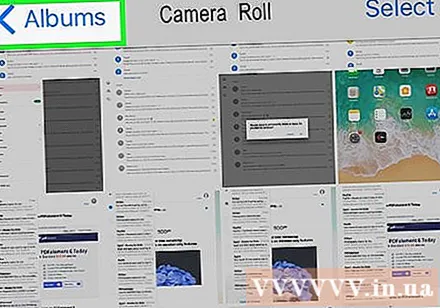
Scroll down and tap the album Recently Deleted on the right side of the screen. This is the folder that stores all the photos and albums that you deleted in the last 30 days, after this step they will disappear forever from your iPhone.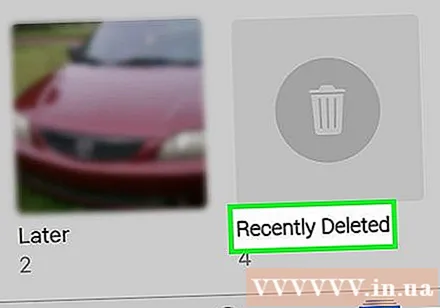
Click Select in the upper right corner of the screen.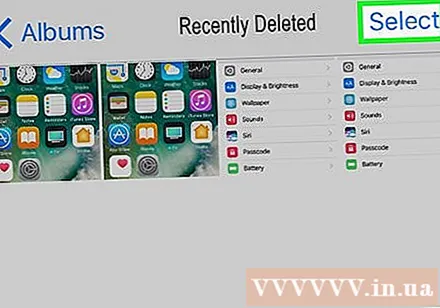
Click Delete All (Delete All) in the lower left corner of the screen.
Click Delete Photos at the bottom of the screen. Photos will be permanently deleted from "Recently Deleted" folder on iPhone.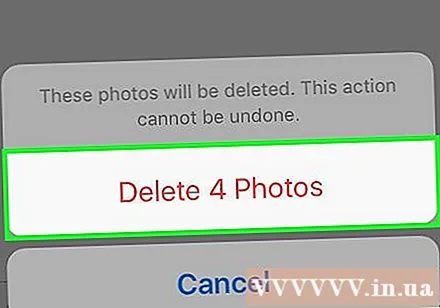
- If you only delete one photo the action button will be "Delete Photo".
Part 6 of 8: Delete junk mail and old mail
Open the Mail app. The application is blue, inside is an envelope icon sealed in white.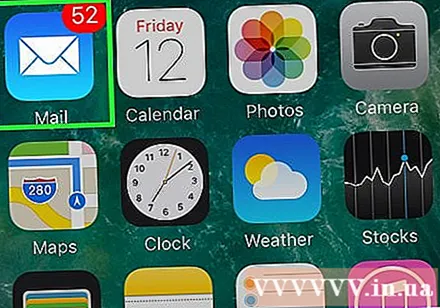
- If the "Mailboxes" screen does not open, you need to click Mailboxes in the upper left corner of the screen.
Click Trash (Trash can). This option is next to the trash can icon.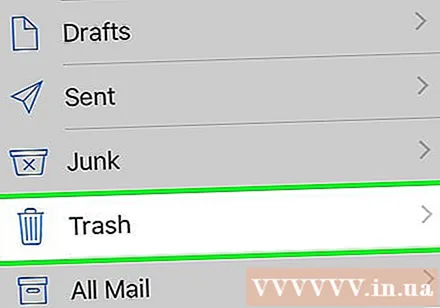
Click Edit in the upper right corner of the screen.
Click Delete All in the lower right corner of the screen.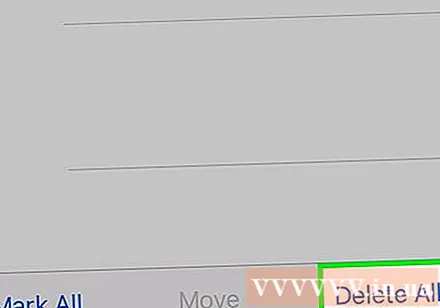
Click Delete All. All emails (with internal attachments) that you deleted in the Mail app will disappear completely from your device.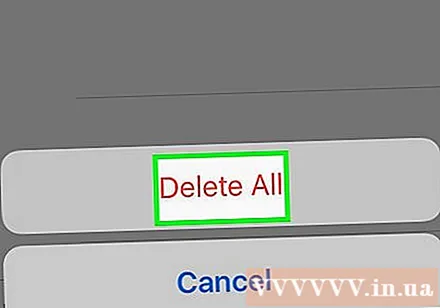
Click Mailboxes in the upper left corner of the screen.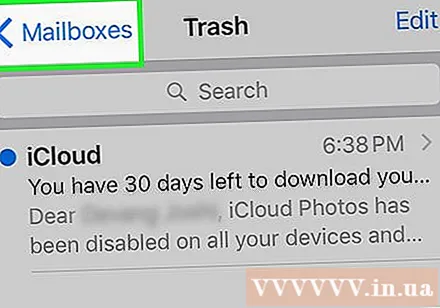
Click Junk (Spam). This option is next to a green trash icon with an "x."
Click Edit in the upper right corner of the screen.
Click Delete All in the lower right corner of the screen.
Click Delete All. All junk emails (with attachments) in the Mail app are deleted from the device.
- If you use an alternate email server (such as Gmail), proceed with an app-specific process to delete deleted and spam emails.
Part 7 of 8: Delete voicemail
Open the Phone app. The app is green with a white phone icon, you can usually find it on the Home screen.
Click Voice mail (Voicemail) in the lower right corner of the screen.
Click Edit in the upper right corner of the screen.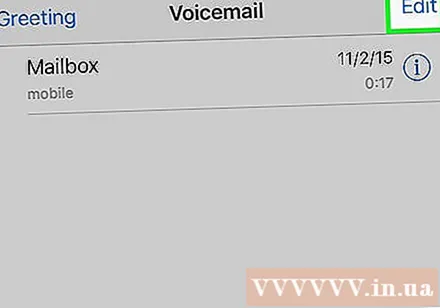
Click the buttons next to the voicemail you want to delete. These buttons are located on the left side of the screen and will turn blue when you select voicemail.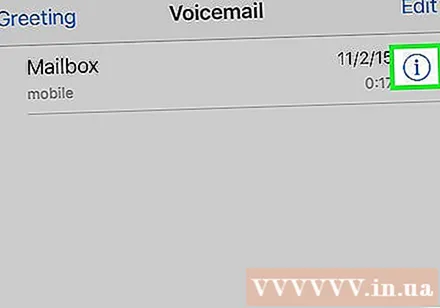
Click Delete in the lower right corner. All voicemails you selected will be deleted from the device. advertisement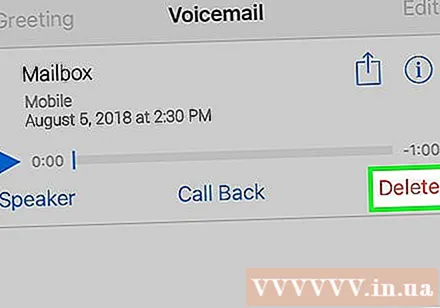
Part 8 of 8: Clear Chrome browsing data
Open the Chrome app. The app is white with red, yellow, blue, and green aperture icons.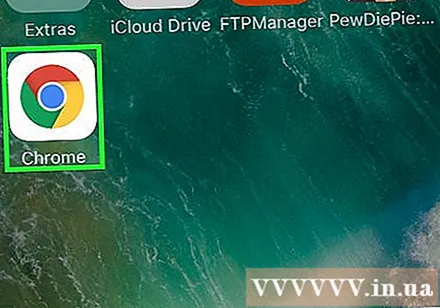
- Chrome is a Google browser that you can download from the App Store; This application is not pre-installed on iPhone.
Click on the icon ⋮ in the upper right corner of the screen.
Click on the option Settings near the bottom of the menu.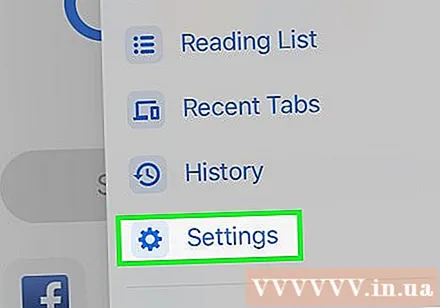
Click Privacy (Private). This option is in the "Advanced" section of the menu.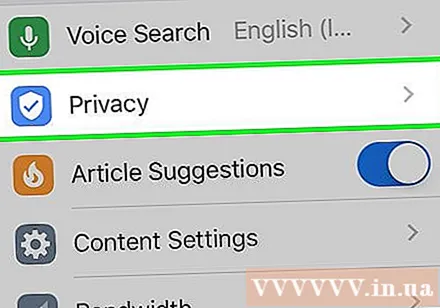
Click Clear Browsing Data at the bottom of the menu.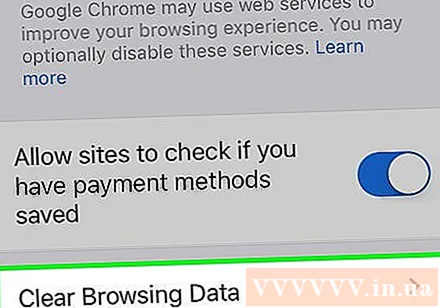
Tap the type of data you want to delete.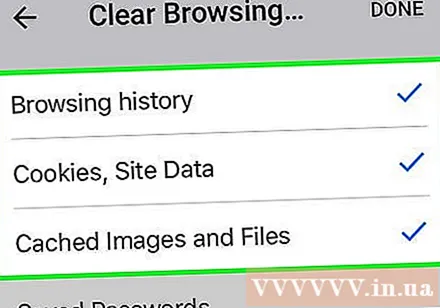
- Click Browsing History to delete the history of pages you have visited.
- Click Cookies, Site Data (Website data, cookies) to delete website information stored on the device.
- Click Cached Images and Files (Cached images and files) to clear the data stored on the device for Chrome to open the website faster.
- Click Saved Passwords (Saved Passwords) to remove passwords that Chrome has saved on the device.
- Click Autofill Data (Autofill data) to remove information such as addresses and phone numbers that Chrome uses to automatically fill web forms.
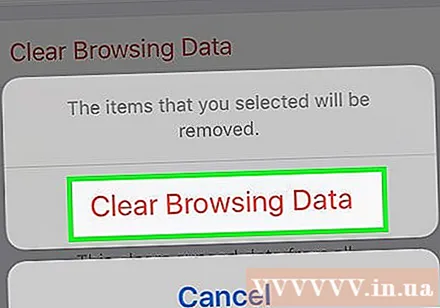
Click Clear Browsing Data. This red button is just below the data types you've selected.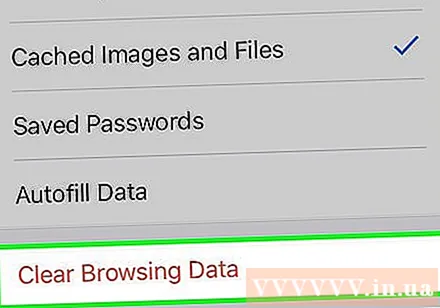
Click Clear Browsing Data. The Chrome data you selected will be deleted from the device. advertisement