Author:
Louise Ward
Date Of Creation:
9 February 2021
Update Date:
1 July 2024
Content
There are times when you need to send many files at once via email, want to put all your old photos together in one place to save computer memory or need to keep some important documents secure from curious people. The solution for you is to create a ZIP file (compressed file). ZIP files help you save memory, manage large numbers of files or keep confidential documents more secure. Today's article will guide you how to create compressed files on Windows and Mac OS X.
Steps
Method 1 of 3: On Windows operating systems
Create a directory. The fastest way to create an archive is to gather all the files and / or folders you want to compress into one large folder. Then, proceed to create a ZIP file from that directory.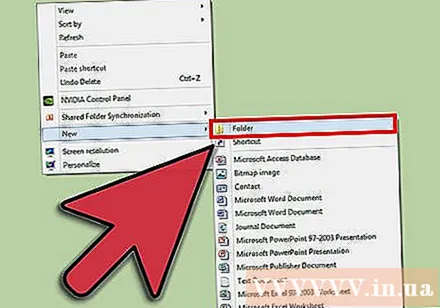
- Rename the root directory to the name you want to give the ZIP file.

Right click on the folder just created. Move the mouse pointer to the option "Send to", a submenu will appear. Select "Compressed (zipped) folder" from the submenu.- Similarly, you can select multiple files at once and then right-click on one of them and do the same. The result will create a ZIP file containing all selected files, this file contains the name of the file that you right-clicked to manipulate.

Wait until the compressed folder is created. The time of the process depends on the number of files you compress. A progress bar will appear while files are added. Once done, the ZIP file will be in the same location as the root directory. advertisement
Method 2 of 3: On Mac OS X operating systems
Create a directory. The fastest way to create an archive is to gather all the files and / or folders you want to compress into one large folder. Then, proceed to create a ZIP file from that directory.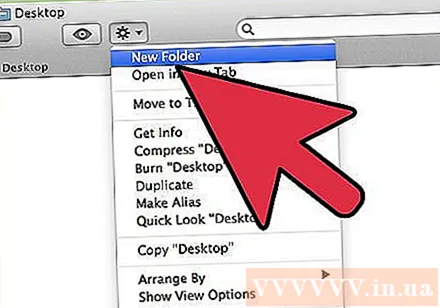
- Rename the root directory to the name you want to give the ZIP file.

Right click on the folder just created and choose "Compress" to compress the folder into a ZIP file. The archive will be in the same location as the root directory.- Similarly, you can also select multiple files at the same time, right-click on one of them and do the same. The result will create an archive called "Archive.zip", which contains all of the files you have selected.
Method 3 of 3: Set password to protect ZIP file
Download a data compression program to your computer. For some newer versions of Windows operating system, you cannot password protect a ZIP file without installing additional software. To create a protected ZIP file is not too complicated, you can download for free or purchase data compression software available on the internet. The most popular programs are: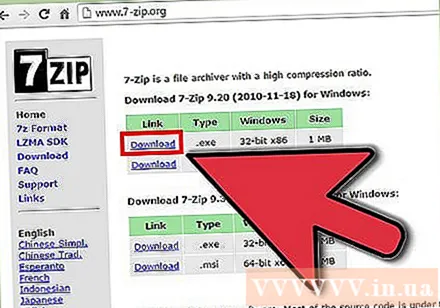
- 7-Zip
- IZArc
- PeaZip
Create archive file. Use data compression software to create a new ZIP file by adding the file you need to compress. During this process, the program will give you the option to enter the password for the archive (if desired). You will need to use this password to access the archive in the future.
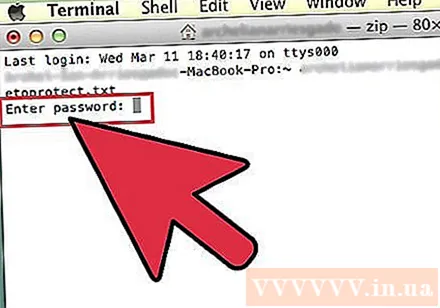
Set a password to protect ZIP files in OS X. To do this, you can use the Terminal application without having to download any other programs. First, gather all the files to be compressed into a separate folder, then rename the folder to the name you want to give the ZIP file.
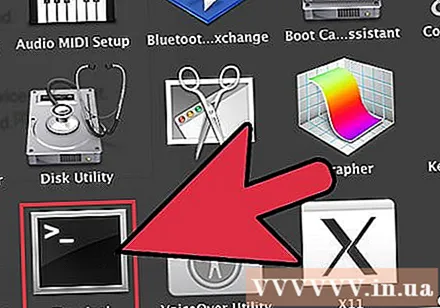
- Launch the Terminal by accessing the Utilities folder located in your Applications folder.
- Navigate to the folder location to compress.

- Type the command:
zip –er.zip /* 
- Set up password. You will have to enter your password twice to confirm it. After you finish importing, the ZIP file will be created.
- Launch the Terminal by accessing the Utilities folder located in your Applications folder.
Advice
- Hold down Ctrl (Control) to select multiple files in Windows Explorer window or Folder Navigation dialog box in WinZip.


