Author:
Lewis Jackson
Date Of Creation:
6 May 2021
Update Date:
1 July 2024

Content
This wikiHow teaches you how to create a calendar on Google Docs - the Vietnamese version is Google Docs. To create a calendar, you can use a table (table) manually, or use Google's built-in templates.
Steps
Method 1 of 2: Use a table
Open the Google Docs page. Go to https://docs.google.com/document/. If you're signed in with your Google account, the Google Docs page will open.
- If you aren't logged into your Google account, you'll need to enter your Google email address and password first.

Click Blank to the left of the "Start a new document" drop-down menu near the top of the page. A new Google document template will open.
Enter the month's name. Type in the name of the month you are currently scheduling, then tap ↵ Enter. So the month name will be above the calendar.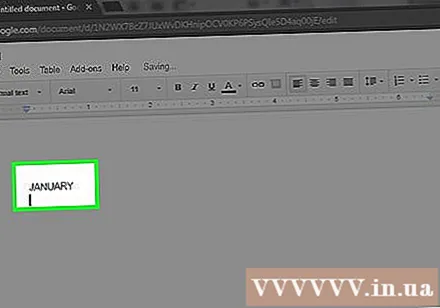
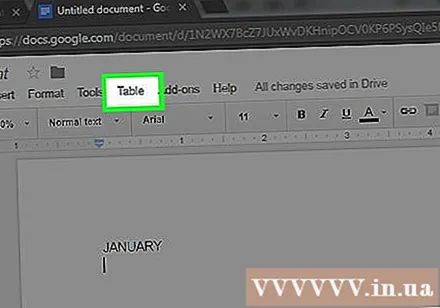
Click the card Table at the top left of the page. A drop-down menu will appear.
Choose Insert table (Insert Table) is at the top of the menu Table. A window with a cube grid will pop up.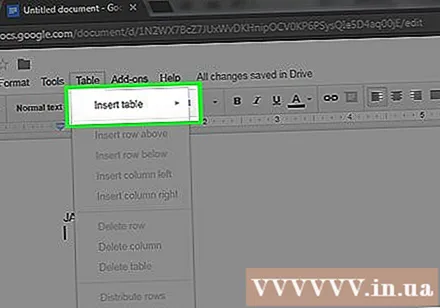
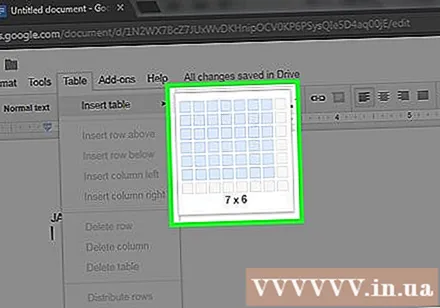
Create a 7x6 table. Hover your mouse pointer to select the seven shapes at the top of the pop-up window, then move the cursor down at least six cells. After you have a 7x6 blue cube grid, click to insert the board.- The grid starts with 5x5 cells and will expand as you move the mouse pointer.
- Depending on the month, you will sometimes need seven rows instead of six (for example, if the first day of the month is Thursday, Friday or Saturday).
Enter the names of the days of the week. In the top row of the calendar, type the names of the days of the week.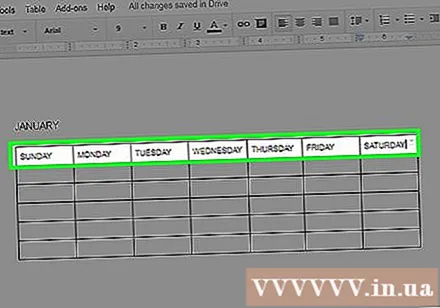
- For example, you can type "Sunday" in the box above, on the left, "Monday" in the box right to the right and so on.
Add dates. Type the number of days for each cell.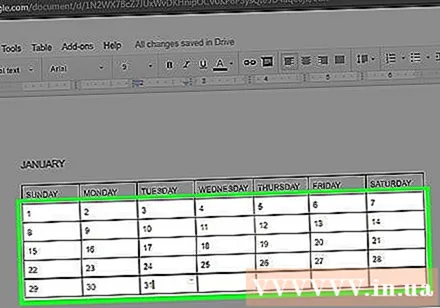
Adjust calendar size. Click and drag the horizontal, black line at the bottom of the calendar downwards to extend the last line, then repeat with the other rows in the calendar. This will make sure the fields on the calendar are large enough to fill in information.
- Adjusting the calendar size will also ensure that the number is always in the upper left corner in the corresponding cell.
Repeat for the remaining months. Once you have inserted the table for the remaining 11 months, you will have one table for each month of the year.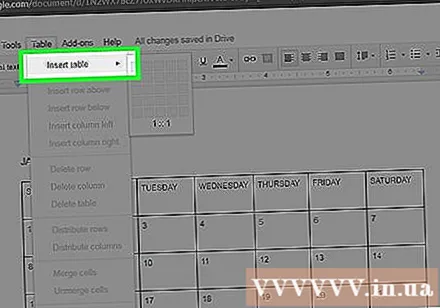
Customize the calendar to your liking. Modify as you need to complete the calendar. Some of the popular options include: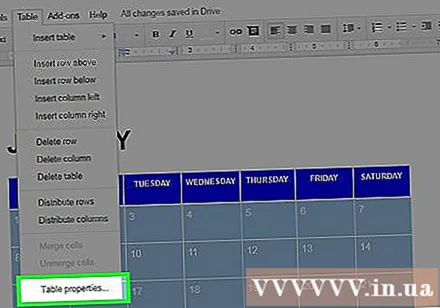
- Use bold, italic, or underline for calendar fonts.
- Change fonts and sizes for weeks or other aspects of the calendar.
- Change the colors of individual cells, columns, or rows by selecting the custom object and then clicking Table, choose Table properties (Table properties) and value change Cell background color (Cell background color).
Close document. When done, you can close the tab or calendar window. You should be able to reopen the calendar in the Docs page as well as from the Google Drive page. advertisement
Method 2 of 2: Use the sample library
Open the Google Docs page. Go to https://docs.google.com/document/. If you're signed in with your Google account, the Google Docs page will open.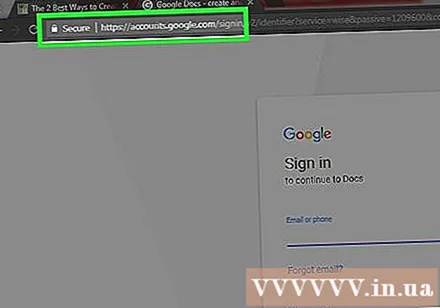
- If you aren't logged into your Google account, you'll need to enter your Google email address and password first.
Click Blank on the left side the "Start a new document" option near the top of the page. A new Google document template will open.
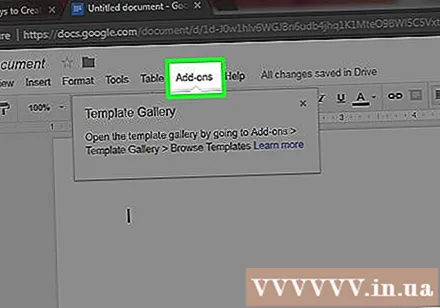
Click the card Add-ons (Add-ons) in a row of tabs above a blank document. A drop-down menu will appear.
Click Get add-ons ... (Download add-ons) near the top of the drop-down menu.
Type template gallery go to the search bar in the upper right corner of the Add-Ons window and click ↵ Enter.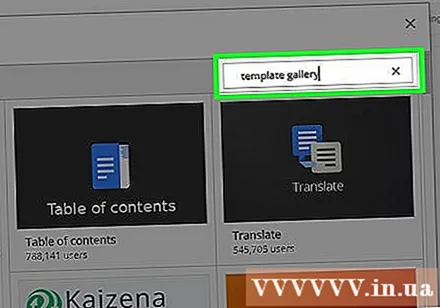
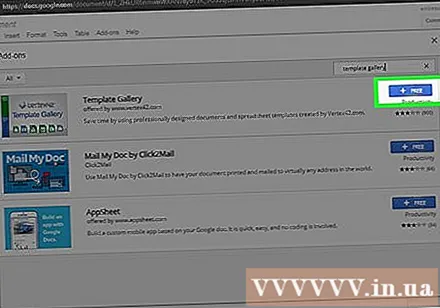
Find the "Template Gallery" widget and click + FREE (+ FREE). You should see Template Gallery at the top of the search page; after clicking + FREE On the right, the utility will begin to be installed.
Select Google account. Click the account of your choice in the pop-up window. If you only sign in with one Google account, you can skip this step.
Click ALLOW (ALLOWED) when prompted. Template Gallery will be installed.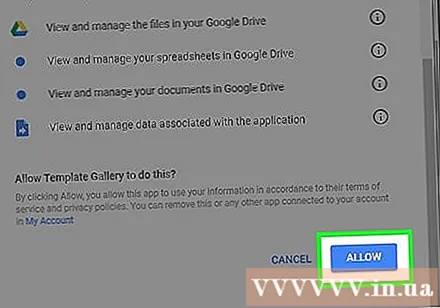
Click Add-ons Again. A drop-down menu will appear, including Template Gallery.
Choose Template Gallery. A submenu will pop up.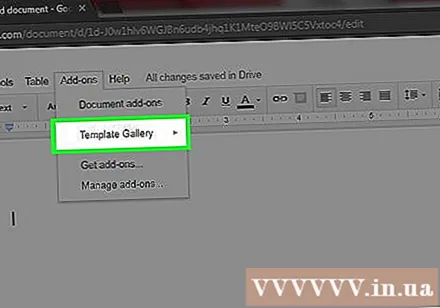
Click Browse templates (Browse for templates) is at the top of the submenu.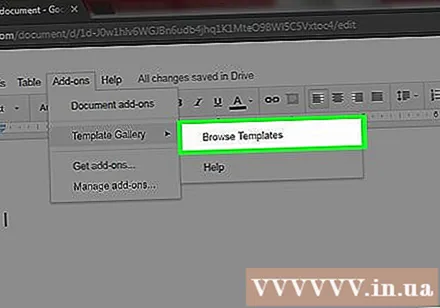
Click Calendars (Calendar) to the right of the Templates window.
Select a calendar template. Click the desired calendar template. The sample calendar page will open.
Click Copy to Google Drive (Copied to Google Drive) on the right side of the template page. The calendar document will be added to Google Drive.
Click Open file (Open file) at the same position as the button Copy to Google Drive Last. The sample calendar will open.
Review the calendar. The template you choose will use the current year and generate a 12-month year calendar for you to add information.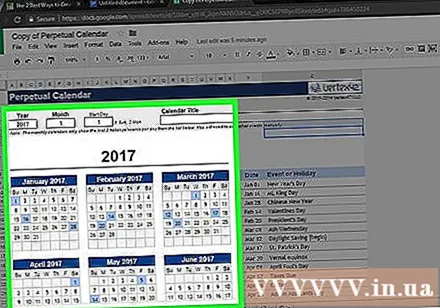
- You can access this calendar at any time by opening it from Google Drive.
Advice
- You can also use Google Sheets (Google Sheets) - the document version of Microsoft Excel - to create a calendar.


