Author:
John Stephens
Date Of Creation:
25 January 2021
Update Date:
2 July 2024

Content
There are two different ways to add numbers to a column automatically. The surest way to add ranges automatically to an Excel one is by using functions ROW. This method will ensure that the cells display the correct number even when the line is added or deleted. The second way (without typing a formula) is to use the Fill feature, which is easier but when you delete the line the number range will be missing.Let's learn how to automatically number rows, or enter consecutive numbers in columns.
Steps
Method 1 of 2: Automatic line numbering
Click on the first cell where the range will begin. This method shows how each cell in a column displays its corresponding row number. This is recommended if rows are frequently added or deleted from the worksheet.
- To create a basic consecutive row of numbers (or other data like day of the week or month of the year), see How to Fill Columns with consecutive numbers.
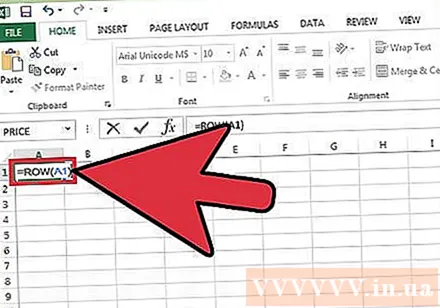
Import = ROW (A1) into cell (if this is cell A1). If it is another cell, you need to replace it accordingly.- For example, if you are typing in cell B5, type = ROW (B5).
Press ↵ Enter. The cell line number will appear. If you have entered = ROW (A1), cell A1 will display the number 1. Also if you enter = ROW (B5), cell B5 will show the number 5.
- To start at 1 on any line where you want the number to start, count the number of lines above the current cell, and then subtract the result in the function.
- For example, if you enter = ROW (B5) and want to display the number 1 in this cell, change the function to = ROW (B5) -4, because B4 counts down the 4 lines as B1.
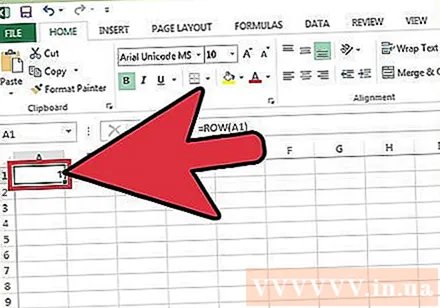
Select the cell containing the first number in the series.
Move the mouse pointer to the frame in the lower right corner of the selected cell. This black note is called the Fill Handle. The mouse pointer will turn into a drag icon when it is just above the Fill Handle.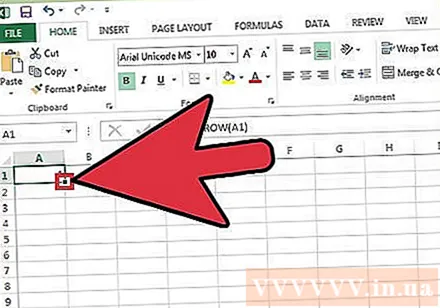
- If you cannot find the fill handle, navigate to the File> Options> Advanced tab and check the box for "Enable fill handle and cell drag-and-drop" (Enable the Fill Handle and drag - drop cell feature)
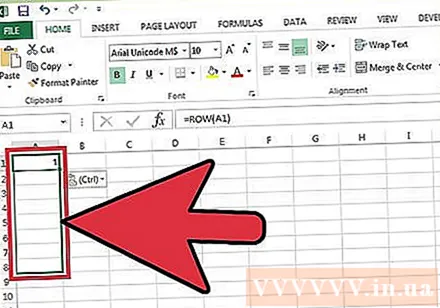
Drag the Fill Handle down to the last cell in the range. Each cell in the column will display its corresponding row number.- If you delete rows in this range, the cell number is automatically corrected based on the new line number.
Method 2 of 2: Fill consecutive numbers in the column
Click on the first cell where the range will begin. This method will guide you on how to add consecutive series of numbers to cells in column.
- If you do this but then delete a row, you will need to redo the steps to renumber the entire column. If you think you will change data lines often, you should apply the Automatic Numbering method above.
Enter the first number in the range in the cell. For example, if you number from top to bottom in a column, type 1 in the first box.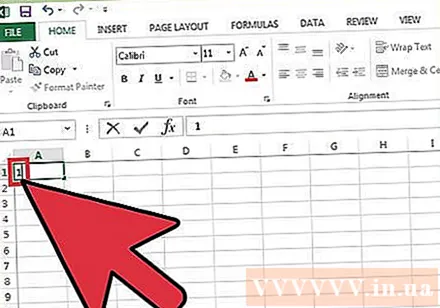
- You don't have to start at 1. Your sequence of numbers can start from any ordinal number, maybe even a different format (such as even numbers, multiples of 5, etc.) .
- Excel also supports other "numbering" styles, including dates, seasons, and days of the week. For example, when you enter the weekdays in the column, the first cell will display as “Monday”.
Click the next cell in the template. This is the cell directly below the current cell.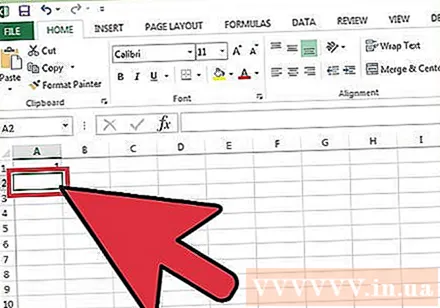
Enter the second number of the sequence to create the pattern. For consecutive numbering (like 1, 2, 3, and so on), enter 2 here.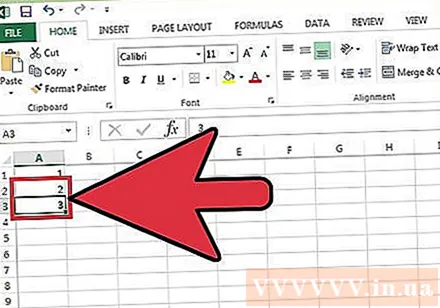
- If you want the next two numbers to be 10, 20, 30, 40, and so on, then the next two numbers in the sequence you need to enter is 10 and 20.
- If you are typing by day of the week, type the next day of the week in the box.
Click and drag to select all cells. When you release the mouse button, the imported cells will be highlighted.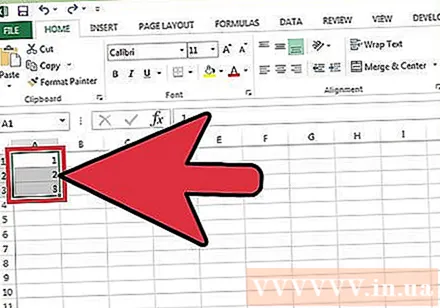
Move the mouse pointer to the small frame in the lower right corner of the selected area. This frame is called the Fill Handle. The mouse pointer will turn into a drag icon when it is just above the Fill Handle.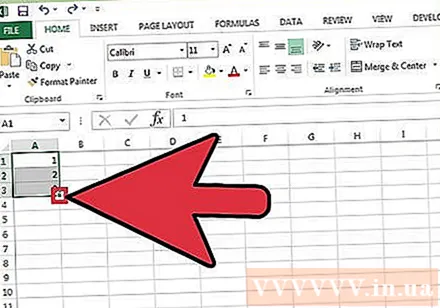
- If you can't find the Fill Handle, go to File> Options> Advanced and check the box "Enable fill handle and cell drag-and-drop."
Click and drag the Fill Handle down to the last cell in the number range. After you release the mouse button, the cells in the column will be numbered according to the pattern you set up in the first two cells. advertisement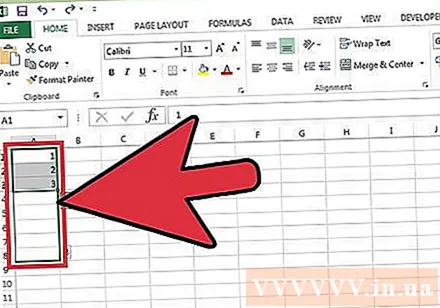
Advice
- Microsoft offers a free online version of Excel as part of Microsoft Office Online.
- You can also open and edit spreadsheets in Google Sheets.
Warning
- Make sure that the "Alert before overwriting cells" option is checked in the Advanced tab of Excel Options. This will help prevent data entry errors and limit the need to recreate other functions or data.


