Author:
John Stephens
Date Of Creation:
28 January 2021
Update Date:
1 July 2024
Content
WikiHow today teaches you how to add bullet points to text in Adobe Photoshop.
Steps
Method 1 of 2: Type the period
Open up a Photoshop file. Double-click the blue application with text Ps, then click on the action File In the menu bar, select Open ...(Open). Continue to select the file and click Open.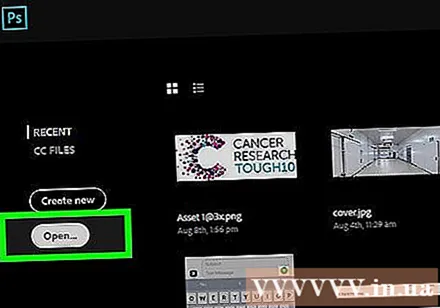
- To create a new document, click New… (New) in the drop-down menu File.

Click the Type tool with the text icon T, is located in the taskbar on the left side of the screen.
Click a text frame. You need to click where you want the bullet point.
- If you don't have a text frame, you need to drag and drop the Type tool to create a text box, then click where you want the bullet to be placed.
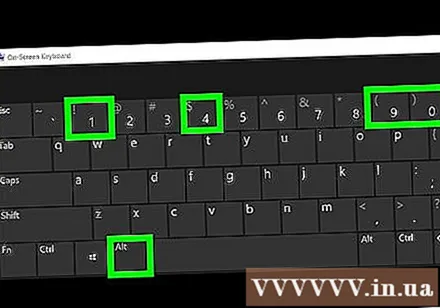
Enter a bullet point.- On a Windows computer, press Alt+0+1+4+9.
- On a Mac computer, press ⌥ Option+8.
- Or, you can copy and paste this dot: •
Method 2 of 2: Use Wingdings

Open up a Photoshop file. Double-click the blue application with text Ps, then click File in the menu bar, select Open .... Continue to select the file and click Open.- To create a new document, click New… in the drop-down menu File.
Click the Type tool with the text icon T, is located in the taskbar on the left side of the screen.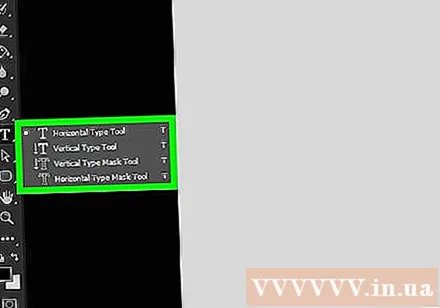

Click where you want the bullet to be placed.- If you don't have a text frame, you need to drag and drop the Type tool to create a text box, then click where you want the bullet to be placed.
Press L.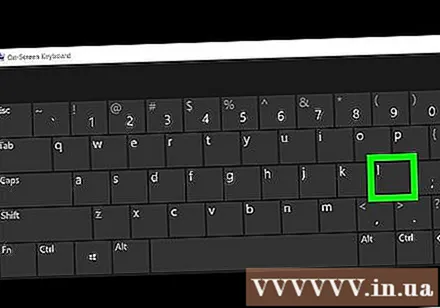
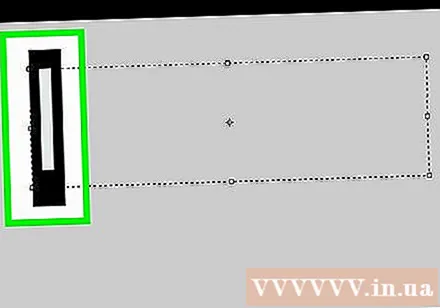
Highlight the number "l" you just typed.
Double-click the font name in the upper left corner of the Photoshop screen.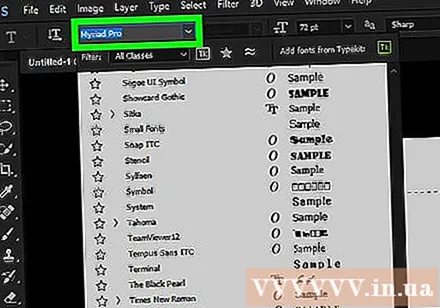
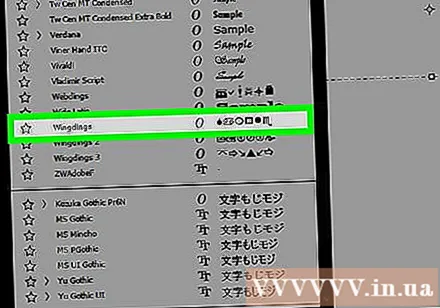
Type wingdings and press ↵ Enter. The number "l" will become a bullet point.- Or, you can copy and paste this dot: •


