Author:
Peter Berry
Date Of Creation:
13 February 2021
Update Date:
1 July 2024
Content
In this article, wikiHow teaches you how to create a LAN (Local Area Network), allowing computers and connected devices to chat and access the internet.
Steps
Part 1 of 3: Identify the network you need
Count the number of computers to connect. When installing a LAN, you need to know the number of computers connected to the network via Ethernet. This will determine the number of ports needed.
- If the number of computers that need to be wired is 4 or less, just use a router. If you have more than 4 machines, you need a switch to extend the number of ports available on the router.
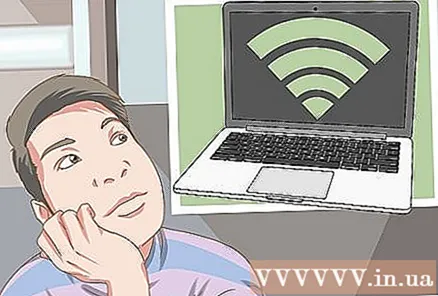
Decide whether to create a wireless network or not. If you want your device to connect wirelessly, you'll need a router that can broadcast wireless networks. Most routers on the market have this capability.- The switch does not allow wireless devices to be connected, can only be used in wired LANs, or extends the number of ports available on the router.
Decide whether the devices on the network can access the internet. If you want all of the connected devices to be able to access the internet, you'll need a router to handle the connection. If no network connection is required, simply use a switch.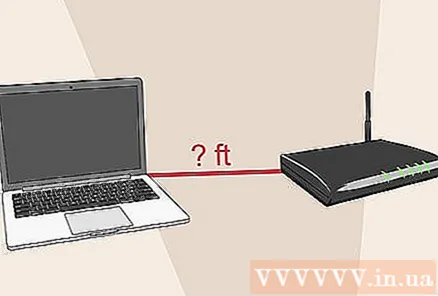
Calculate the distance between wired devices. This is not a problem in homes, but the network cable cannot be longer than 100 m. If you want to connect wires longer than 100 m, you need to use a switch as an intermediary.
Consider future needs. If you already use the entire port, you should consider extending the port so you can connect more devices in the future. advertisement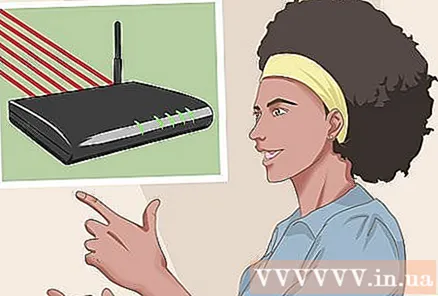
Part 2 of 3: Basic LAN setup
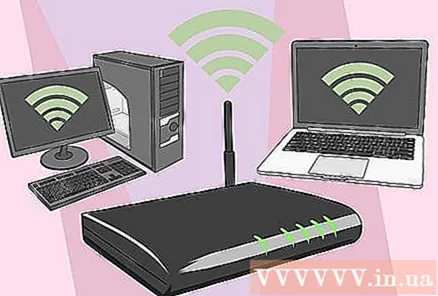
Prepare the hardware devices. To create a LAN, you need a router or switch acting as the hub of the network. These devices will route the information to the appropriate computers.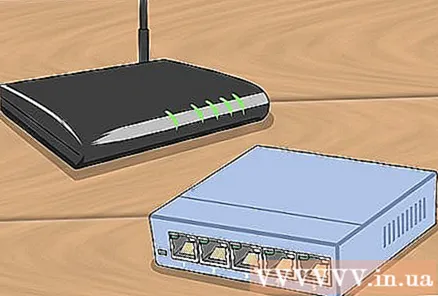
- Router will automatically assign IP addresses to each device on the network. This is necessary if you want to share your internet connection with connected devices. It is recommended that you set up the network with your router even if you do not intend to share the internet connection.
- Switches is the simpler version of the router. It allows connected devices to communicate with each other, but does not automatically assign IP addresses and does not share an internet connection. The switch is best suited when used to extend the number of LAN ports available in the network, as it can be connected to a router.
Set up the router. You don't need complicated setup on a basic LAN. Just plug in power, close to the modem if you want to share internet connection.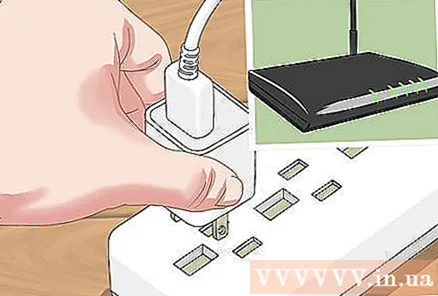
Connect the modem to the router (if needed). If you plan to share your internet connection via modem, connect the modem to the WAN / INTERNET port on your router. This port is usually a different color from the other ports.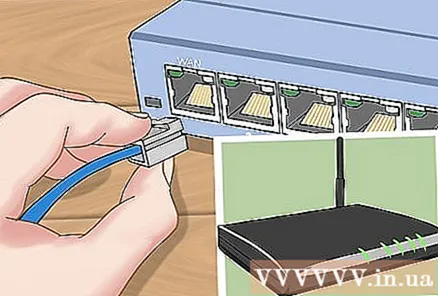
Connect the switch to the router (if necessary). If you are using the switch to extend the port on your router, you will need to plug an Ethernet cable into any LAN port on the router and switch. This is how to extend the network to all LAN ports on the switch.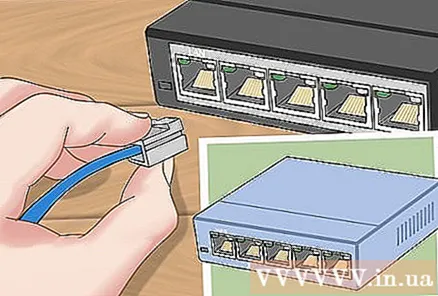
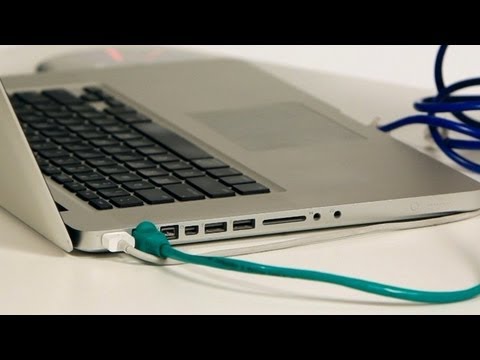
Connect the computer to the LAN port. Use an Ethernet cable to connect each computer to the LAN port on the router or switch. You do not need to care about the order in which the ports are connected.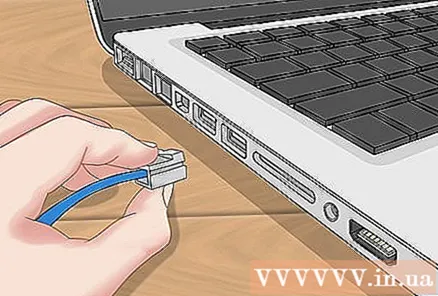
- Ethernet cables cannot transmit data correctly if the length is more than 100 m.
Set up a computer as a DHCP server if using the switch. If you only use your switch as a network hub, set up a computer as a DHCP (Dynamic Host Configuration Protocol) server so that all computers on the network can easily receive addresses. IP.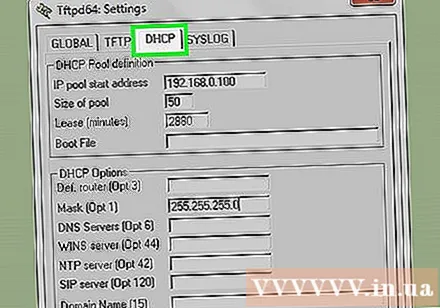
- You can quickly create a DHCP server on your computer by installing the middleware utility.
- The rest of the computers on the network will automatically receive an IP address when the server is running, as long as it is set up as such.
Test the network on each computer. After computers receive IP addresses, the computers can talk to each other over the network. If you use the router to share the internet, each computer can access the internet.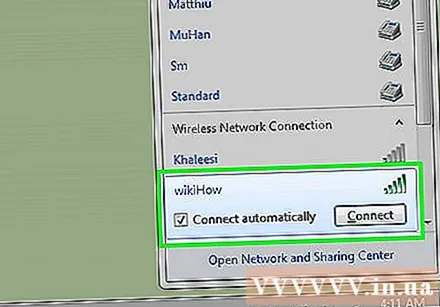
Set up printer and file sharing. After setting up the network, you cannot see the data on other computers unless those computers have file sharing enabled. You can set up sharing files, folders, drives, printers with devices on the network so that anyone on the network or only certain users can access the data. advertisement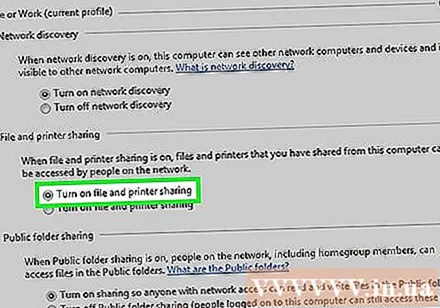
Part 3 of 3: Setting up a wireless network
Set up the router. When setting up your wireless network router, there are a few things to keep in mind:
- For easy troubleshooting, it's a good idea to place the router near the modem.
- It is recommended that you place the router in a central location to maximize the coverage.
- You need to connect a computer to the router via an Ethernet cable during the installation process.
Connect the computer to one of the LAN ports on the router. You will use your computer's web browser to configure your router's wireless network.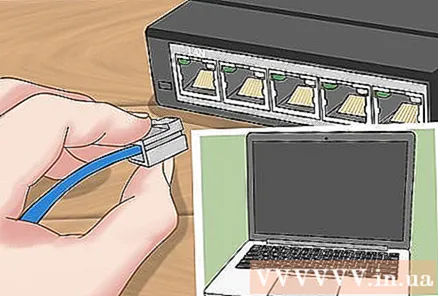
Open a web browser on your computer. You can use any browser.
Enter the IP address of the router. You can see the printed IP address on the bottom of the router, or in the accompanying documentation. If you can't find it, you can try the following: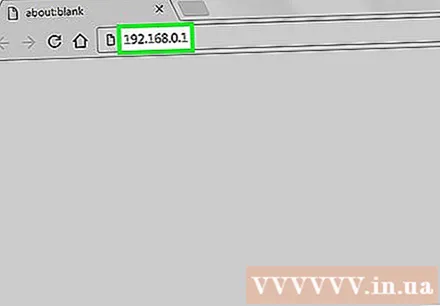
- Windows - right-click the Network button in the system tray → click Open Network and Sharing Center → click the Ethernet link → click Details → Find the Default Gateway section to see the IP address of your router.
- Mac - click the Apple menu and select System Preferences → click Network → click Ethernet connection → look for the Router section to view the IP address.
Login to the administrator account. You are required to log in to your router account. The default login information depends on the product model you use, however the username is usually "admin" and the password is "admin", "password" or left blank.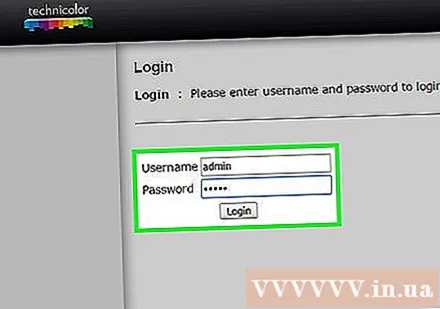
- You can look up your modem type at https://portforward.com/router-password/ to find the default login information.
Open the item Wireless (Wireless) in the router settings. The location and terminology of this section will vary on each router.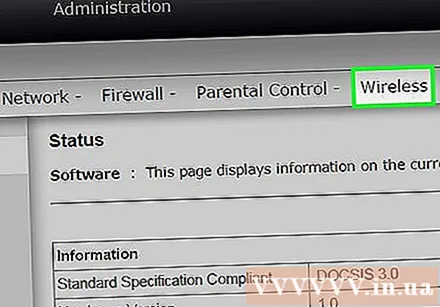
Change the network name in the field SSID or "Network name". This is the name displayed in the list of available networks.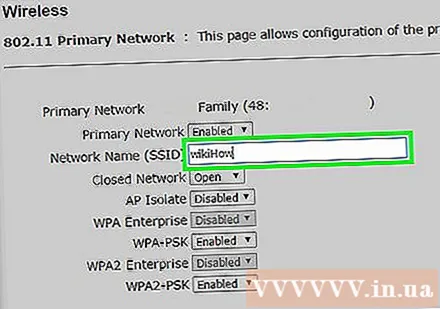
Choose a security standard WPA2-Personal. This is the best security standard on routers. Avoid using WPA and WEP unless you have to connect older, incompatible devices.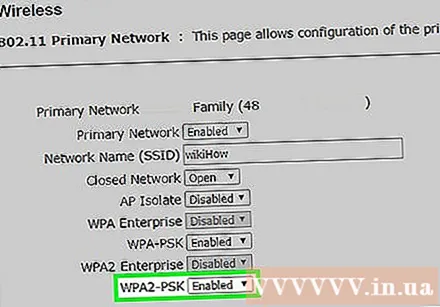
Create strong passwords. This is the password used to connect to the network. This field may be named "Pre-Shared Key".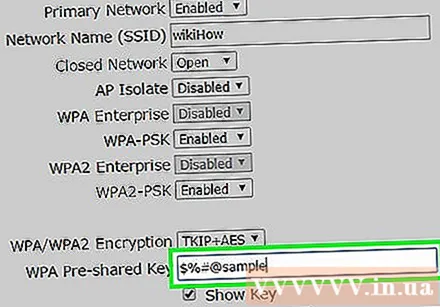
Don't forget to activate the wireless network. Depending on the router you use, you may need to check the box or click a button at the top of the Wireless menu to activate the wireless network.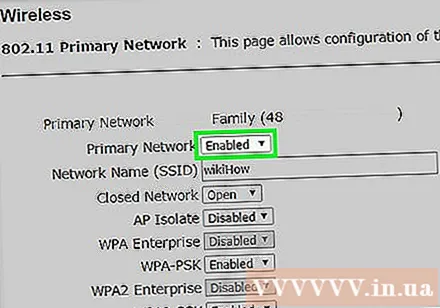
Click the button Save (Save) or Apply (Apply). This is the operation of saving changes on the router.
Wait for the router to restart. You will have to wait a few minutes for the router to reboot and network.
Connect the wireless device to the wireless network. Once you have a network, you'll see the network name displayed in the list of available networks on the wireless devices in range. When connecting to the network, users are asked to enter the password you just set.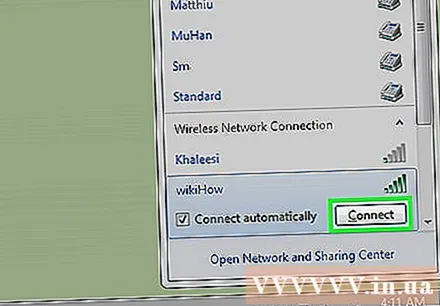
- The computer connected to the router via Ethernet does not need to enter the password.


