Author:
Randy Alexander
Date Of Creation:
25 April 2021
Update Date:
1 July 2024
Content
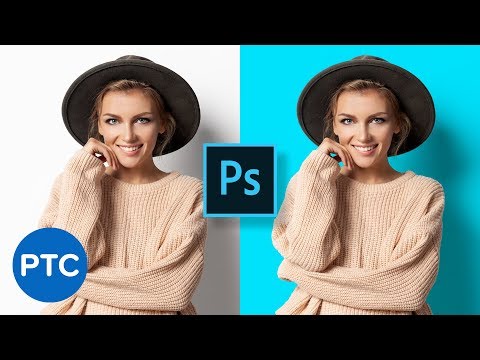
This wikiHow teaches you how to adjust background colors in a new and available Adobe Photoshop file.
Steps
Method 1 of 4: In a new file
Open Adobe Photoshop. The application is blue with the word "Ps inside."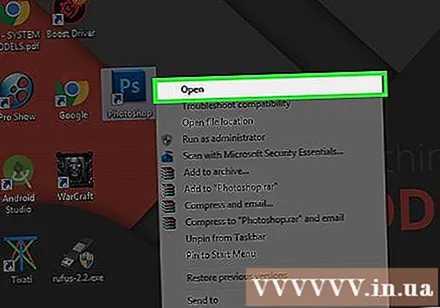
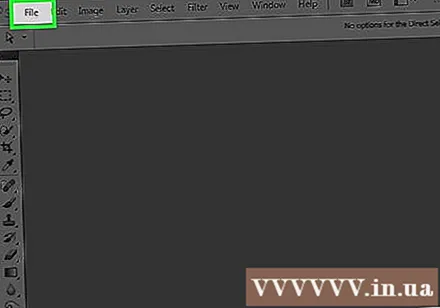
Click File is to the left of the menu bar at the top of the screen.
Click New… (New…) is near the top of the drop-down menu.
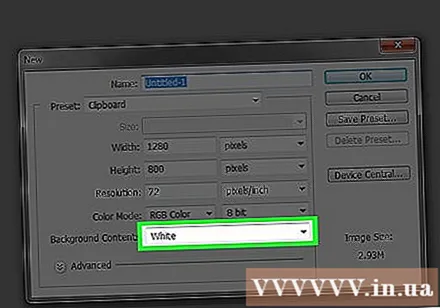
Click the "Background Contents:" drop-down menu.’ (Background Content). The task is located near the middle of the dialog box.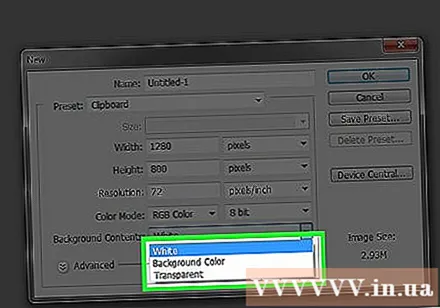
Choose a background color. Click one of the following colors:- Transparent for a transparent (colorless) background color.
- White if you want white background.
- Background Color (Background Color) if you want to use the available colors.
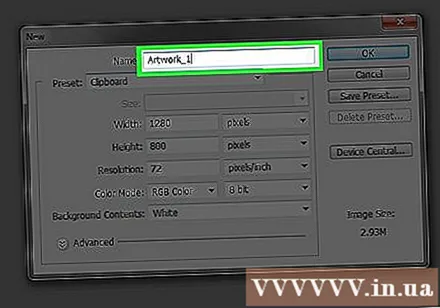
Put the file name in the data area "Name:’ top of the dialog box.
Click the button OK in the upper right corner of the dialog box. advertisement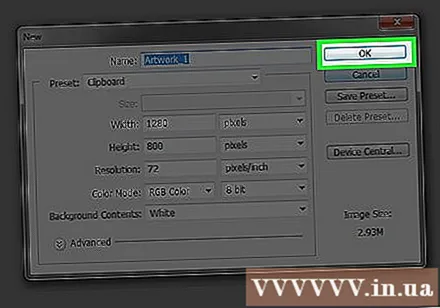
Method 2 of 4: In the background layer

Open Adobe Photoshop. The application is blue with the word "Ps inside."
Open the photo you want to edit. Press CTRL + O (Windows) good ⌘ + O (Mac), select the desired photo file and click the button Open (Open) in the lower right corner of the dialog box.
Click the card Windows is in the menu bar at the top of the screen.
Click Layers (Class). The "Layers" option window will appear in the lower right corner of the photoshop window.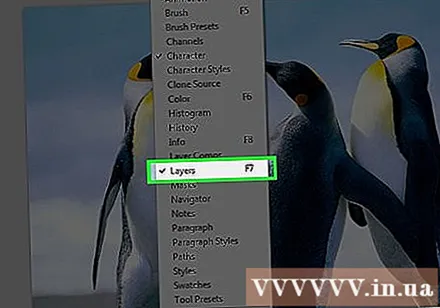
Click Layer to the left of the menu bar at the top of the screen.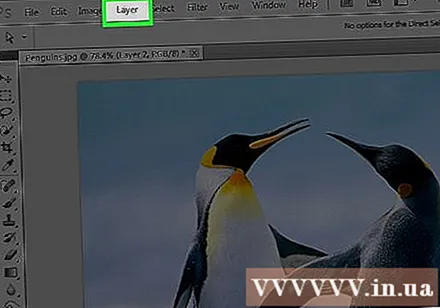
Click New Fill Layer (New Overlay) is near the top of the menu.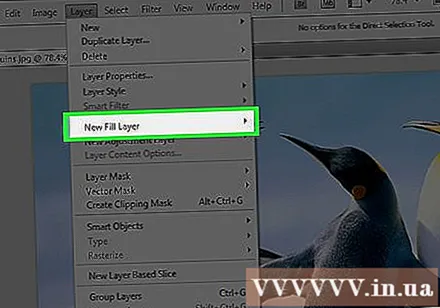
Click Solid Color ... (Same color).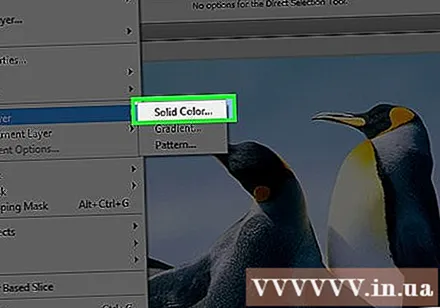
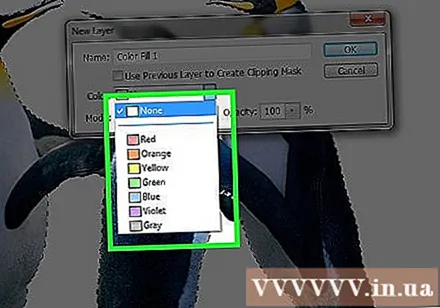
Click the "Color:" drop-down menu.’ (Color).
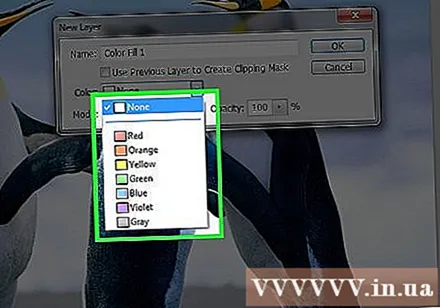
Click a color. Select the color you want to use as the background.
Click OK.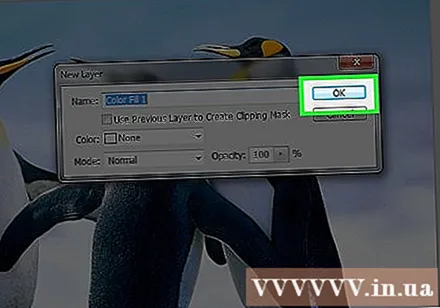
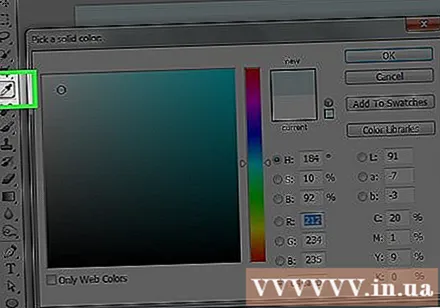
Improve your color choices. Use the color picker to adjust the hue of the colors you like.
Click OK.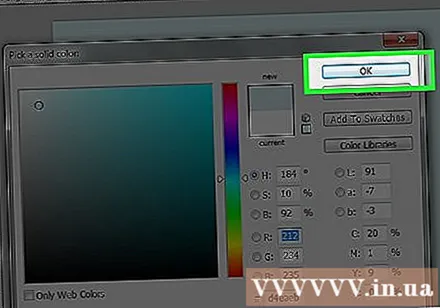
Click and hold the mouse on the new layer. The "Layers" window will appear at the bottom right of the window.
Drag and drop the new layer right below the layer labeled "Background".
- Click if the new layer is still not highlighted.
Click Layer menu bar at the top left of the screen.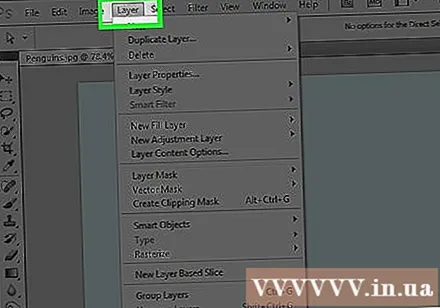
Scroll down and click Merge Down (Merge Down) is near the bottom of the "Layer" menu.
- The base layer will carry the color of your choice
Method 3 of 4: In the Photoshop workspace
Open Adobe Photoshop. The application is blue with the word "Ps inside."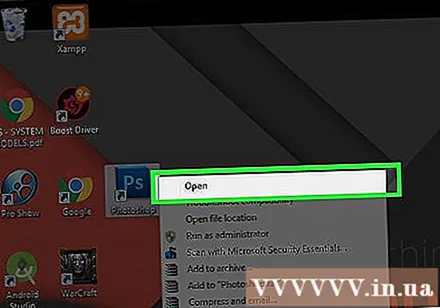
Open the photo you want to edit. Press CTRL + O (Windows computer) good ⌘ + O (Mac computer), select the desired photo file and click the button Open in the lower right corner of the dialog box.
A Photoshop workspace or workspace is a dark outline around an image in a Photoshop window. Right-click (on Windows) or press Ctrl and click (on Mac) on the workspace.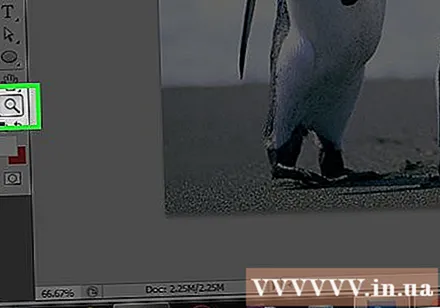
- You may need to zoom in to see the workspace. Press CTRL + - (Windows) good ⌘ + - (Mac).
Choose your colors. If the available options do not please you, click Select Custom Color (Choose Custom Colors), then choose the color you like and click OK. advertisement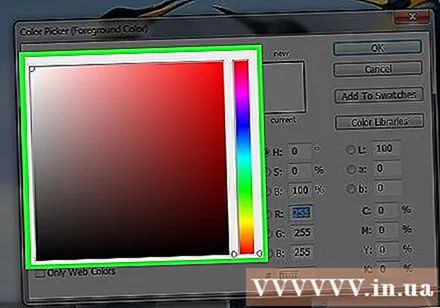
Method 4 of 4: In an image
Open Adobe Photoshop. The application is blue with the word "Ps inside."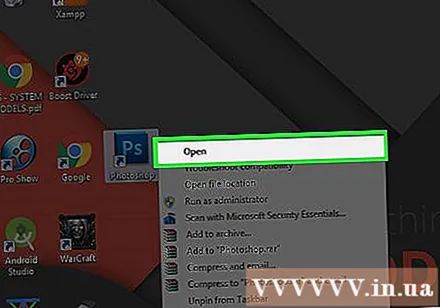
Open the photo you want to edit. Press CTRL + O (Windows computer) good ⌘ + O (Mac computer), select the desired photo file and click the button Open in the lower right corner of the dialog box.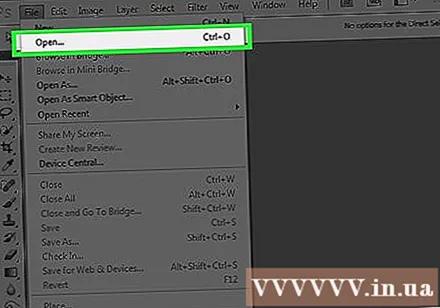
Click the Quick Selection tool. This action is near the top of the tools menu, looking like a brush with a circle of dots around the tip of the pen.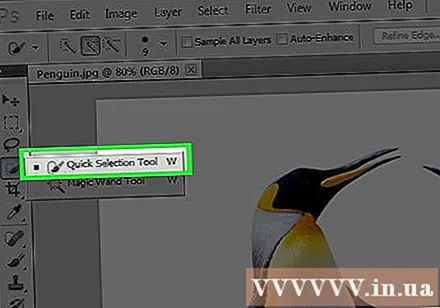
- If you see a tool that looks like a magic wand, click and hold the mouse button a bit. When you release the mouse button, a drop-down menu with available tools will appear. Click the Quick Selection tool.
Place the mouse pointer at the top of the close-up image. Click and drag through the main part of the image.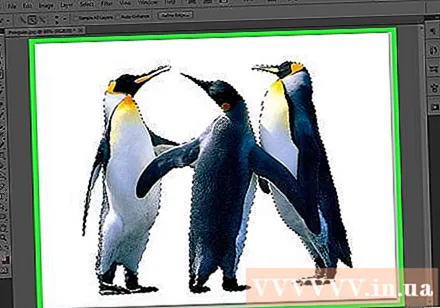
- If the image has a lot of detail, click and drag small selections instead of trying to drag through the entire image.
- Once you have selected a part of the image, click at the bottom of the selection box and drag further to enlarge the selection.
- Continue until there is a dotted line around the outline of the close-up image.
- If the Quick Selection tool highlights an area outside of the image, click the "Subtract from Selection" brush in the upper left corner of the window. This tool looks like Quick Selection, but adds a "minus sign" (-) next to it.
Click Refine Edge (Border Enhancement) at the top of the window.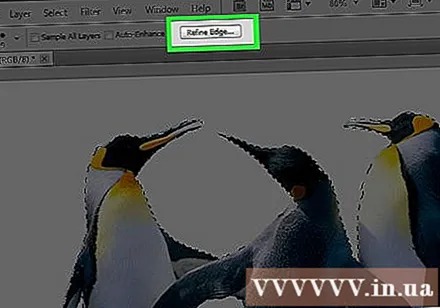
Check the box "Smart Radius" (Smart Radius) is located in the "Edge Detection" section of the dialog box.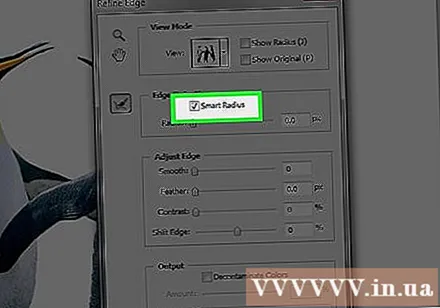
Customize the radius runner to the left or right. Pay attention to the change in the image.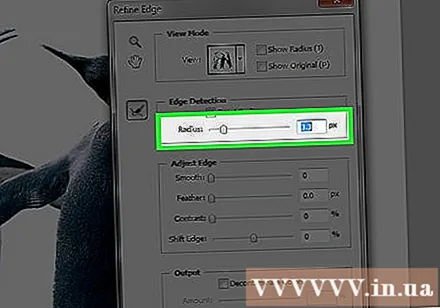
- When the edge of the image reaches a satisfying level, click OK.
Right-click or press Ctrl and click on the background. A drop-down menu will appear.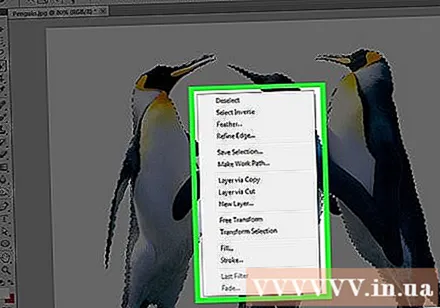
Click Select Inverse (Selective Invert) near the top of the menu.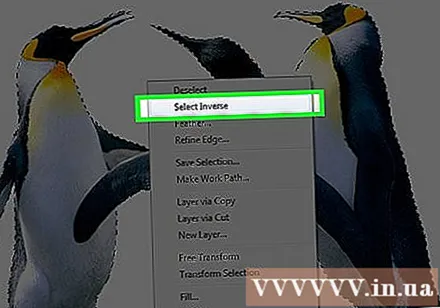
Click Layer menu bar at the top left of the screen.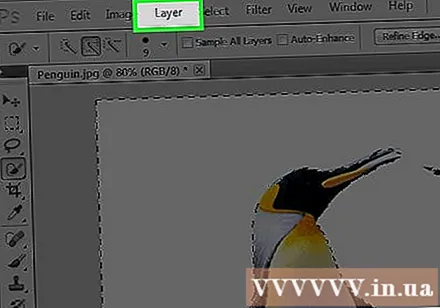
Click New Fill Layer near the top of the menu.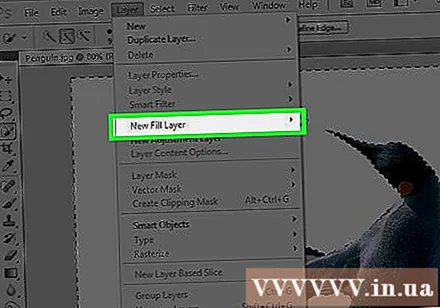
Click Solid Color ....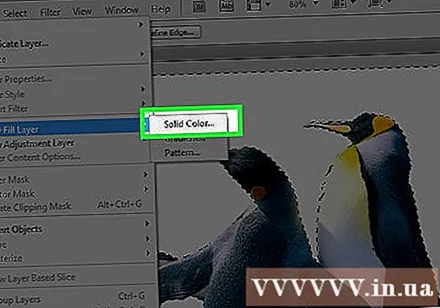
Click the "Color:" drop-down menu.’.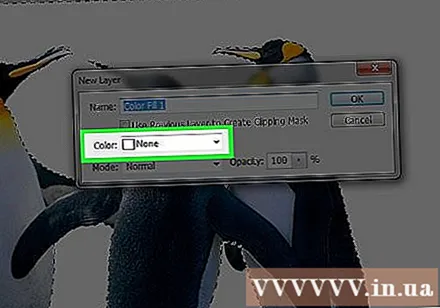
Click a color. Select the color you want to use as the background.
Click OK.
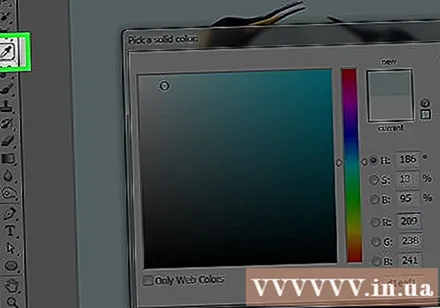
Improve your color choices. Use the color picker to adjust the hue of the colors you like.
Click OK. The backdrop will be in the color of your choice.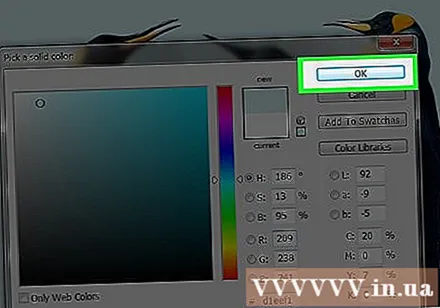
- Click File in the menu bar and select Save (Save) or Save As ... (Save As ...) from the drop-down menu to save the changes.


