Author:
John Stephens
Date Of Creation:
27 January 2021
Update Date:
1 July 2024

Content
Although the process of arranging small office items is also quite simple, you do not always know where the items are still piled up on the table and scattered everywhere. This article will give you some ideas for getting started with organizing effectively.
Steps
Read through the article and decide what you need by choosing the idea that's right for you. Take advantage of time such as lunch, before school or work, on holidays, depending on where you want to arrange. Also, bring together the items you need from all over the house or the things you've bought.

Put all kinds of stationery in front of you. Decide which items to keep and which to throw away. Elimination work is an important part of keeping what you really need.
Find containers that don't cost much. Try going to a place like a flat-price store or at a stationery store during off season. Look for multi-purpose containers that you might not have thought of as they are not on the stationary shelves.
- Bathroom containers with no hooks are a great option. Buy six containers and classify them into each category (eg pens, highlighter pens, pencils, clips, elastic bands, erasers and smaller items, it's up to you to sort them out). Then write down each type's name and label it. You can also use chalkboard paint for grading.
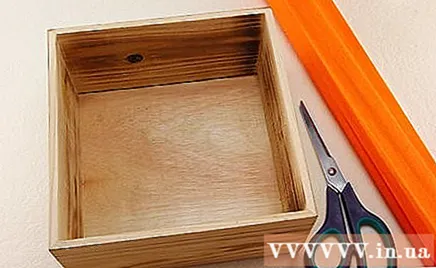
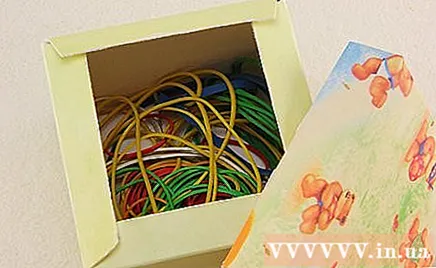
Use your artistic flair. Turning an ordinary thing into a good thing is always a pleasure, and you also have something unique of your own.- Find a box and relatively stiff cardboard (preferably a wooden box, but any simple box of any size and with a lid will work. If it's a wooden box you can skip the next step. next)
- Cover the box and the lid with recycled paper.
- Paint the box and lid with paint that matches the material of the box.
- While you wait for the box to dry, paint over the cardboard. It may take some time for the paint to dry, so you may have to do the rest the next day.
- Continue when the paint is dry. Place the cardboard inside the box to form a cell and fix it in the most convenient way like glue or sticky clay. Cut to the right size and shape for the box. Do the same thing depending on the number of cells you want to form in the box.
- Personalize the box with pictures, stickers, etc. or leave it as it is.
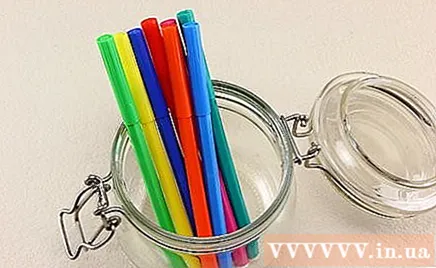
Use a food container. Find out if you have a few food jars somewhere around the house (large ones are best). This is a quick option but can give your desk / office a unique look.- Label the contents of the bottle with the names of the contents.
- Decorate or color the jar with whatever you want.
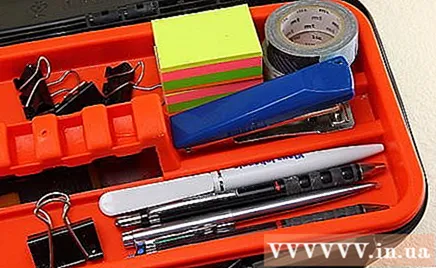
Use a tool box. Tool boxes are sometimes quite expensive, but you can buy them for a cheaper price if you look around or wait until the sale season when you are about to get back to school or during the off season at the outdoor equipment stores and go fishing.
Use a clear shoebox to hold items. Put decorative paper on the back of the bag and label the front to name the items inside.
Use small, small, decorative gift boxes to hold pins, elastic bands, and paper clips. Stock up on boxes for every sale.
Wrap the avocado container with a strip of foam paper (a soft, stretchy paper for crafting). Put glitter and label on the front, label the contents inside. advertisement
Advice
- The above are just a few suggestions, you should be creative and let your soul go back to your childhood to create cute funny items.


