Author:
Louise Ward
Date Of Creation:
4 February 2021
Update Date:
28 June 2024
Content
Net Send is a command line tool on Windows XP that is used to send messages to other users and computers on the local network. On Windows Vista, Net Send was replaced by a command-line tool with a similar syntax and function, msg.exe. Net Send cannot send messages from a Windows XP computer to a computer using a later version of Windows.
Steps
Method 1 of 2: On Windows XP
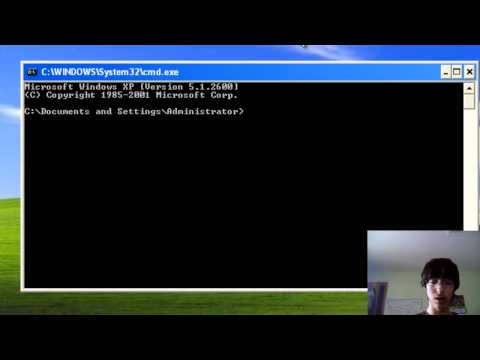
Open Command Prompt. You can use the command to send messages to other computers on the network. This command is entered through the Command Prompt. You can open Command Prompt from the Start menu or click ⊞ Win+R then enter "cmd".
- If you are using Windows Vista, 7, 8, 8.1 or 10 then see the next section. The command is no longer integrated in Windows Vista or later and has been replaced by a command with a similar functionality.

Start the command. Import net send then press space. Information will be added at the end of the command to specify the content and destination of the message.
Define to whom you will send the message. There are several different ways you can apply to send messages to specific users or to entire groups:- net send name - You can enter the name of the user or computer on the network to send the message to a specific audience. If the username has spaces, enclose it in quotation marks (for example, net send "Le Thao").
- net send * - This command will send messages to all users on the current domain or workgroup.
- net send / domain:name This command will send messages to people in the workgroup or specific domain.
- net send / users - This command will send the message to all users currently connected to the server.

Add a message. Enter the message you want to send after specifying the recipient. Your message can contain up to 128 characters.- For example: net send "Le Thao" See you in 10 minutes.
Send Message. After composing the message, press ↵ Enter to send. Subjects will receive the message in the Windows dialog box, as long as they are logged on and connected to the network. advertisement
Method 2 of 2: On Windows Vista and later
Check to see if your version of Windows supports the command. After stopping command integration, Windows replaced it with a command with many similar functions. Unfortunately, the command is only available on Professional and Enterprise editions of Windows. If you're on Home edition, you'll need to upgrade to Professional or Enterprise to use the command.
- You can see the version of Windows you are using by pressing ⊞ Win+Pause or right-click "Computer" and select "Properties". Your version of Windows should appear under "Windows edition".
Open Command Prompt. Similarly, the command is executed from the Command Prompt. You can press the key ⊞ Win and enter "cmd" to open the program, or apply other options depending on your current version of Windows.
- Windows 7 and Vista - Open the Command Prompt from the Start menu.
- On Windows 8.1 and 10 - Right-click the Start button and choose "Command Prompt".
- On Windows 8 - Press ⊞ Win+X then select "Command Prompt".
Start the command. Import msg then press Space. Then add the destination information as well as the message content at the end of the command.
Define who will receive the message. The command has a number of route options that are different from the previous one:
- msg username - Enter a username in the network to send a message to that user.
- msg session - Enter the name of the specific session you want to message to.
- msg sessionID - Enter the number of the specific session you want to send the message to.
- msg @filename - Enter the name of the file containing the list of usernames, sessions and / or number of sessions to which you want to send messages. This way works with a list of departments.
- msg * - This command will send messages to those who are on the server.
Specify the recipient's server to which you want to send the message (optional). If you want to message someone on another server, enter the server info after the recipient information. If you do not specify a server, the message will be sent on the current server.
- msg * / server:servername
Set a time limit (optional). You can add impression seconds for time-limited information. The time setting is added after the server info (if available).
- msg * / time:seconds (example: 5 minutes time limit would be 300 seconds)
Add your message. After setting all options, you can add the text of the message at the end of the command. You can also press ↵ Enter Without entering a message, the system will prompt you to enter the message on its own line.
- For example:msg @salesteam / server: EASTBRANCH / time: 600 Congratulations all of you for enjoying your details!
Send Message. Press ↵ Enter to send a message. The other user will receive the message immediately.
- The command is designed to send messages to terminal users, not necessarily to other Windows computers on the same network.
Troubleshoot. There are a few errors that you may encounter when using the command:
- - If you get this message, it means that the version of Windows you are using doesn't support the command. You need to upgrade to Professional version to execute this command.
- or - There was a problem sending the message. Some users have fixed this issue by opening Registry Editor on the recipient's computer (run "regedit" to open it), going to the path "HKEY_LOCAL_MACHINE SYSTEM CurrentControlSet Control Terminal Server "and change" AllowRemoteRPC "from" 0 "to" 1 ".


