Author:
Laura McKinney
Date Of Creation:
10 August 2021
Update Date:
1 July 2024

Content
This wikiHow teaches you how to play an audio CD on Windows and Mac computers.
Steps
Part 1 of 4: Playing CDs on Windows
Press the Eject button on the player. This button is usually located on the bottom right of the front of the drive.

Put the CD in the tray with the label facing up.
Close the tray by pushing in or pressing Eject again. The engine will automatically close the drive (except the spring loaded drive on the notebook).

Click Select to choose what happens with audio CDs (Choose action with CD). If the message doesn't appear on the screen, you may already have pre-selected the action when the CD was inserted.- If you want to change the program that automatically runs when the CD is inserted, you can do so in the Control Panel.

Click Play audio CD (Play CD audio). You will see one or more installed programs that can play the CD shown below. Windows Media Player is the program that comes pre-installed on all Windows operating systems.
Start Windows Media Player if AutoPlay does not appear. If nothing has happened since you inserted the disc, open Windows Media Player yourself.
- Press ⊞ Win and type "windows media player."
- Click Windows Media Player in the list.
Double-click the audio CD in the left menu. The disc will start to play, you will see the tracks appear in the middle of the window.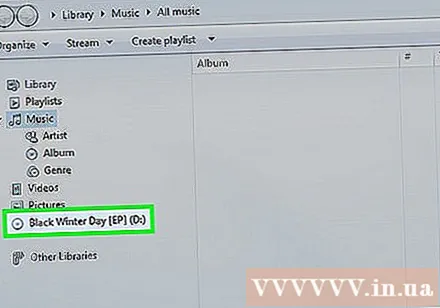
Click and drag the Volume slider in Windows Media Player to adjust the CD volume when playing. Note that this slider is unrelated to the system volume. You need to make sure that the system volume is set to enough listening before adjusting the volume of Windows Media Player. advertisement
Part 2 of 4: Adjusting Windows AutoPlay Settings
Open Control Panel. The process differs between Windows 8 and 10 vs Windows 7 and earlier:
- Windows 6 and 10 - Right-click the Start button and select "Control Panel."
- Windows 7 and earlier - Click the Start button and choose "Control Panel" from the Start menu.
Click an option AutoPlay. If you don't see this option, click the "View by" menu in the upper-right corner and select either "Large icons" or "Small icons".
Scroll down the item CDs.
Click the drop-down menu Audio CD.
Click the action you want when the CD is inserted.
Click the drop-down menu Enhanced audio CD (Advanced CD audio).
Click the action you want for the enhanced CD sound.
Click the button Save (Save). The actions you choose will be set as the default settings when the CD is inserted into the computer. advertisement
Part 3 of 4: Playing CDs on Mac
Insert the CD into your Mac's drive. Make sure the disc label is facing up.
- Most laptop Macs have a disc slot, while desktop Macs will have a slide-out tray.
Click the iTunes button in the Dock if the program doesn't open automatically.
Click the disc icon located along the top row of buttons in iTunes.
Click the Play button to start playing the CD.
Click and drag the Volume slider to adjust the volume. This slider is at the top of the window, next to the playback controls.
- The volume slider in iTunes is completely independent of the system volume slider. If the system volume is all too low, adjusting the volume in iTunes doesn't work.
Turn on the disc after listening. There are several ways to remove a disc from a Mac computer:
- Press the Eject button on the keyboard.
- Press ⌘ Command+E.
- Click on the desktop, choose File → Eject.
- Drag the CD icon on the desktop and drop it into the Trash trash. This action is only available if the drive icon is on the desktop.
Update iTunes if the CD is automatically ejected. Some users of older versions of iTunes report that the audio CD is automatically ejected even though the others are still working. This issue is usually fixed after updating to the latest iTunes version. advertisement
Part 4 of 4: Adjust CD defaults on Mac
Click the Apple menu.
Click System Preferences (Customize system). If you don't see all the System Preferences options, click the Show All button at the top of the window.
Click CDs & DVDs in the second item of the System Preferences menu.
Click the menu When you insert a music CD (When inserting the CD).
Click the action you want. If you want the CD to be played right from iTunes, select "Open iTunes".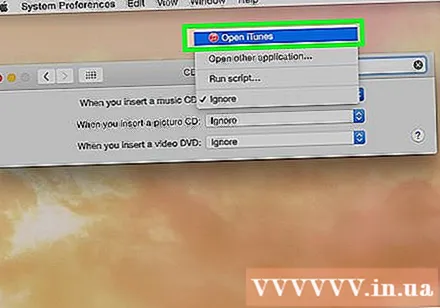
Open iTunes. If you set iTunes to open automatically when a CD is inserted, you can now install more specific action for iTunes to take.
Click the menu iTunes.
Click Preferences (Custom).
Click the menu When you insert a CD.
Click the action you want to play when the CD is inserted. You can choose to start playing music, import songs to your library, or show CD content.
Click OK. The CD when inserted in the computer will be played automatically on iTunes. advertisement
Advice
- If you want to play DVD videos, learn how to play DVDs for free on Windows computers.

 quickly")

