Author:
Randy Alexander
Date Of Creation:
26 April 2021
Update Date:
1 July 2024

Content
This article shows you how to change the format of an external hard drive (USB) on computers running Windows and Mac operating systems. Formatting a hard drive can alter the file system to create file compatibility with the computer's operating system, as well as fix invisible hard drives. Note, however, that the formatting process will erase the data on the hard drive.
Steps
Method 1 of 2: On Windows operating systems
. Click the Windows logo in the lower left corner of the screen, or press ⊞ Win on the keyboard.

. Click the folder icon in the lower left corner of the Start window.
Click This PC (This computer) on the left side of the File Explorer window.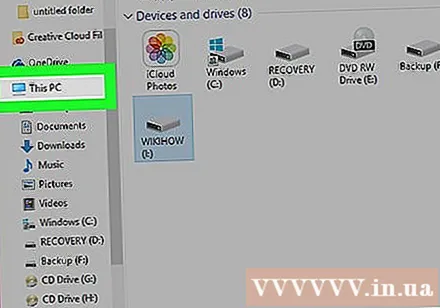
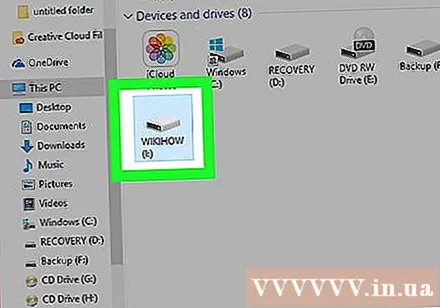
Click the name of your external hard drive under the "Devices and drives" heading in the middle of the This PC window. This is the hard drive selection action.
Click the card Manage (Manage). It's a menu in the top-left corner of the This PC window.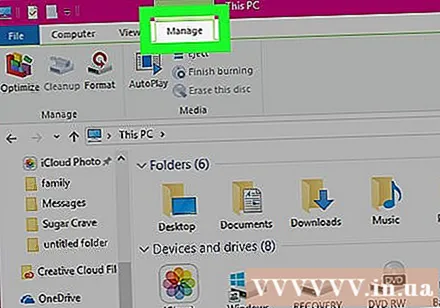
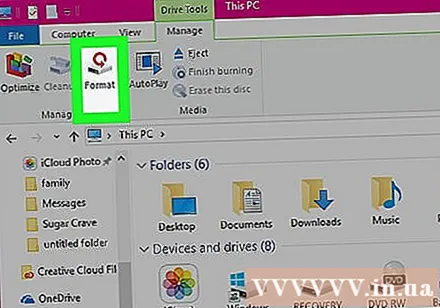
Click Format (Format) with the hard drive icon in the toolbar Manage near the top of the window. Click here to open the Format window for your external hard drive.
Click the "File System" box below the "File System" heading near the top of the page. This will open the dropdown menu like this: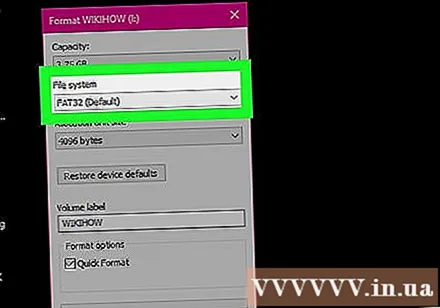
- NTFS - Suitable for hard drives dedicated to Windows.
- FAT32 Suitable for Windows and Mac, but has a memory limit of 32 gigabytes and a file limit of 4 gigabytes.
- exFAT (Recommended) Use this option for hard drives that you want to use on multiple devices (Mac, Windows, console, etc.). This type is similar to FAT32 but has no memory limit.
Choose the format. Click to select the format you want to use.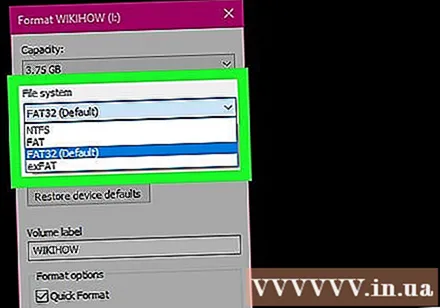
- If you have formatted the drive before, check the box Quick Format (Quick format).
Click Start (Start), then select OK. This will prompt Windows to proceed with formatting the hard drive.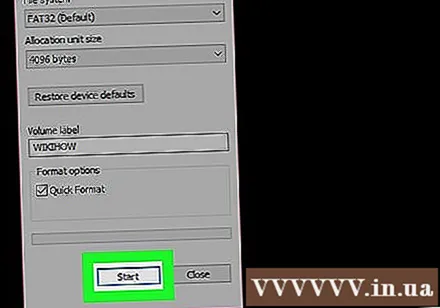
- Files of the external hard drive will be deleted during processing.
Click OK when requested. Now your external storage has been reformatted according to the selected file structure. advertisement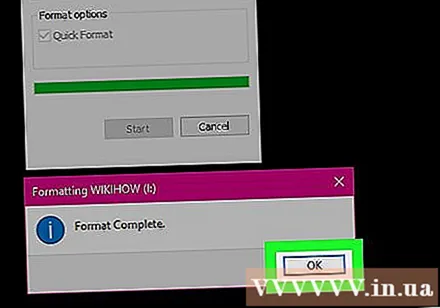
Method 2 of 2: On Mac operating systems
Attach the hard drive to the computer. Attach the hard drive USB cable to one of the thin rectangular ports on the computer.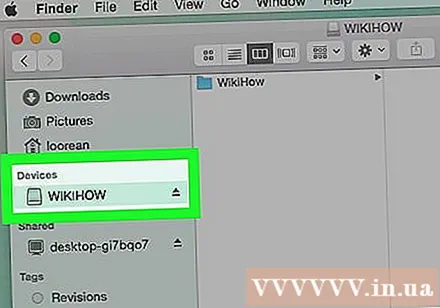
- If you're using an iMac, you'll see the USB ports on the side of the keyboard or on the back of the iMac display.
- Not all Macs have USB ports. If you have a newer Mac that doesn't have a USB port, you'll need to purchase a USB-C to USB adapter.
Open Finder with a blue face icon in the Dock.
- You can also click on the computer screen.
Click Go (Go) in the upper left corner of the screen.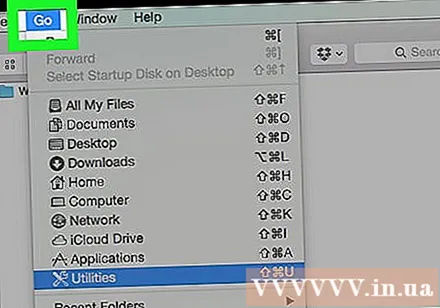
Click Utilities (Utilities) is near the bottom of the drop-down menu Go.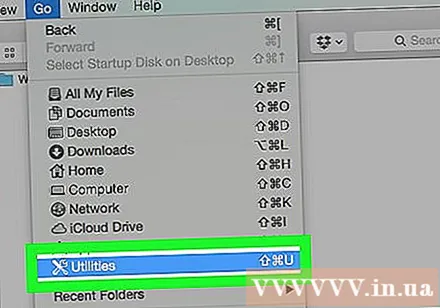
Double-click Disk Utility (Disk Utility) is in the middle of the Utilities page.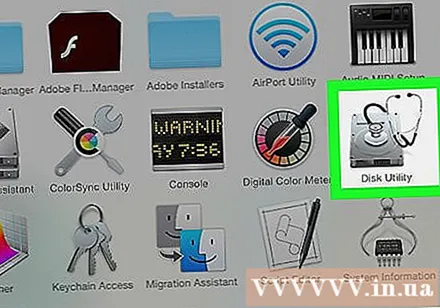
Click the name of the external hard drive on the left side of the Utilities window.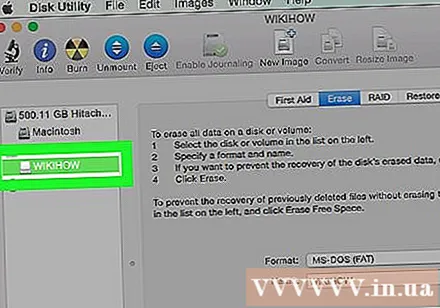
Click the card Erase (Delete) at the top of the Disk Utility window.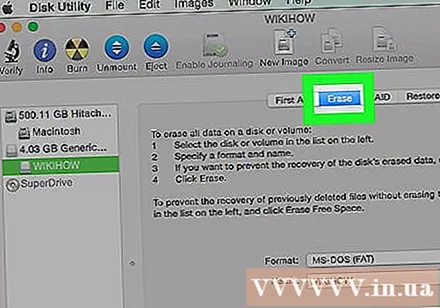
Click the "Format" drop-down box in the center of the page. The screen will display the following options: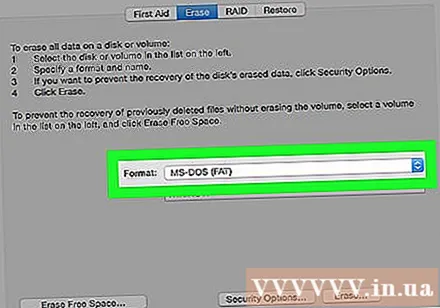
- Mac OS Extended (Journaled) - Mac default format, Mac only.
- Mac OS Extended (Journaled, Encrypted) - Encrypted version of the default Mac format.
- Mac OS Extended (Case-sensitive, Journaled) Mac version of the default format, which behaves differently for files with the same name but with case differences (such as "file.txt" and "File.txt") ).
- Mac OS Extended (Case-sensitive, Journaled, Encrypted) The combination of the above three format options for the Mac format.
- MS-DOS (FAT) Suitable for Windows and Mac computers, but has a file limit of 4 gigabytes.
- ExFAT (Recommended) - Suitable for Windows and Mac computers, with no memory limit.
Choose the format. Just click the format you want to use.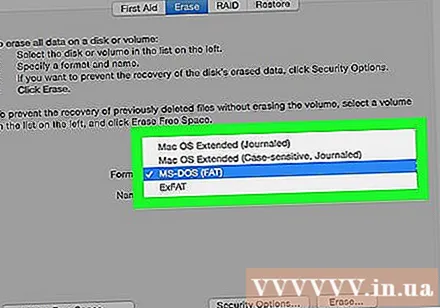
Click Erase (Delete), then click Next Erase when requested. This will allow your Mac to proceed with deleting and reformatting the external memory. When the process is complete, your hard drive will have a new format. advertisement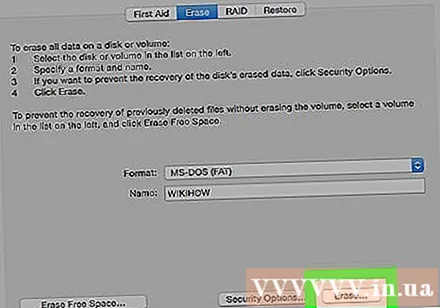
Advice
- When formatting an external hard drive for a game console, FAT32 or exFAT is the most suitable choice for file formats.
Warning
- Formatting does not destroy all data on the hard drive. The format process will help the hard drive save the new file. Usually the data will be written to disk or can be recovered using recovery software.
- Formatting will erase all data. Back up files that you need to save before formatting the hard drive.


