Author:
Monica Porter
Date Of Creation:
21 March 2021
Update Date:
1 July 2024
Content
- Compression-treated lumber contains chemicals that can kill the crops in the bin and contaminate the food with toxic chemicals such as arsenic if you grow the vegetables in a barrel. You can replace it with ACQ treated wood, a wood treatment process that does not use harmful chemicals.
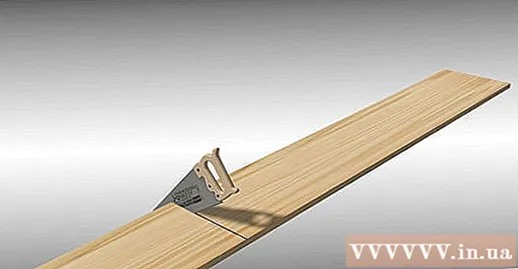
Cut the wooden slats into the correct size pieces. Use a tape measure to measure each side, marking out where you plan to cut with a pen or pencil. Use an electric saw or a regular hand saw to cut pieces of wood to the correct size (2 pieces 60 cm long and 2 pieces 120 cm long), trying to cut as straight as possible.
- If you do not have any saws or do not want to cut the wood yourself, you can ask the staff at the timber shop to cut the wood to the desired size. You may need to pay them a little for the saw, but some shops will cut the wood for the customer for free.
Part 2 of 3: Stick the pieces of wood together
Drill guide holes in two wooden slats. Guide holes are holes drilled into the wood to ensure the wood does not crack when screwing. You only need to drill these holes at the ends of the wooden bars (short bars). Drill 3 holes about 2 cm from the edge of the wooden bar. The hole in the middle should be in the middle of the width of the wooden stick.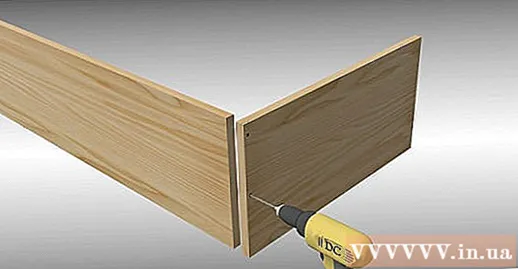

Use galvanized screws to attach the bars. It is better to use galvanized screws to build outdoor wooden crates, as the galvanized metal can withstand the weather and won't rust. Arrange the wooden slats so that the directional holes are at the outer corners. Use a drill and drill to make sure each screw goes through each hole and into the wood next to it.- You can also use a screwdriver instead of a drill and drill bit.
Measure the length and inner width to determine the dimensions of the bottom of the box. Use a saw to cut a piece of wood to make the bottom of the box to the measured size, then place the piece of wood inside the barrel. Use a drill and galvanized screw to attach the piece of wood at the bottom of the barrel to the sides of the barrel.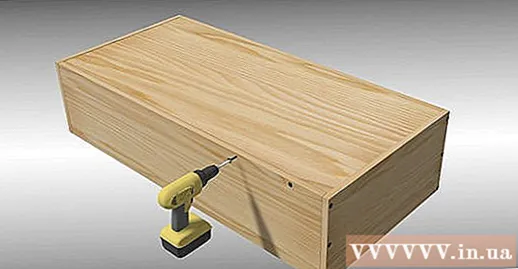
- Remember that this step is only necessary if you plan to place the planting bin on a hallway or similar surface.
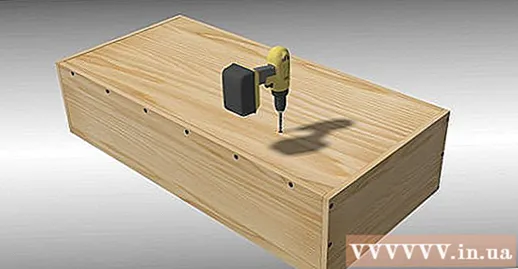
Drill drainage holes in the bottom of the tank. Turn the completed crate upside down and use a drill to drill 4 or 5 drainage holes on the bottom of the barrel. These holes are important, as most plants will become infected if they are waterlogged, meaning that the roots remain in the wet soil for too long.- If you're packing a bigger tree, consider drilling a few more drainage holes.
- Again, if you are going to place the planting bin on the ground, this step is not required. Simply open the carton to a flat surface and place it on the bottom of the carton.
Part 3 of 3: Finishing wooden crates
Place a plastic or vinyl sheet on the bottom of the planting bin. This liner will protect the wooden bottom of the planting bin. Cut the backing to the size of the piece of wood used for the bottom of the box. Lay the mat on the bottom of the box and use a few small nails to fix it.Be sure to punch drainage holes through the lining to match the holes on the bottom of the tank if the tank has a bottom.
Smooth out rough barrel edges. This step is to beautify the crate, but also not completely necessary. Use a sander or sandpaper to grind along the edges and corners. Grinding the sides of the wooden crate to remove potential debris.
Paint wooden crates with paint, primer or wood polish. Choose a paint color that matches your home or yard décor, or use wood paint to bring out the color of the wood. You can also leave the natural wood intact, as cedar wood is inherently beautiful.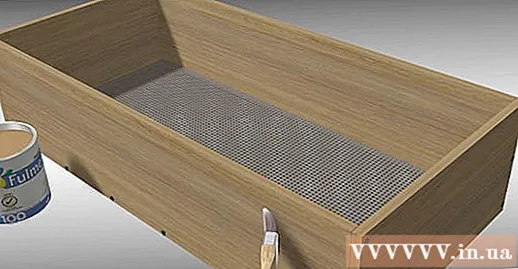
- Do not paint the inside of the wooden crate as chemicals can contaminate the soil and plants. Instead, you should use a plastic liner (perforated) to protect the wood.
Spread a thin layer of gravel on the bottom of the bin, then pour compost or planting soil into the bin. The gravel helps maintain drainage in the planting bin. The type of soil or compost you use will depend on the type of tree or flower you plan to grow in the crate.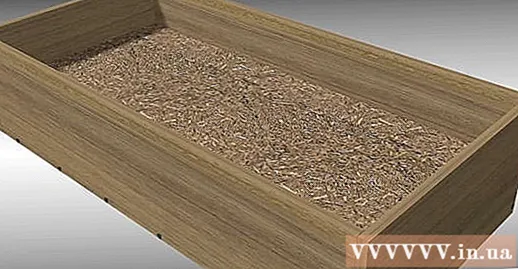
Plant flowers, plants or sow seeds of the plants you want to grow. Don't forget to water! For an idea of what flowers and plants to grow in a wooden barrel, you can read the articles on wikiHow.
Enjoy your new tree planting crate! advertisement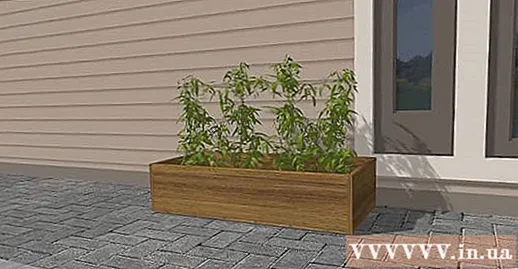
Advice
- You can use this guide and reduce the size to close your windowsill planters.
Warning
- As always, when working with tools, be sure to wear eye and hand protection.
What you need
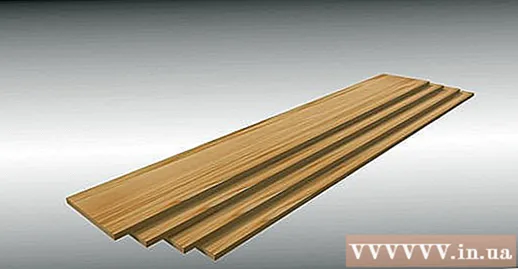
- 4 long pieces of wood. We use wooden slats 5 cm thick, 24 cm wide (2 pieces 120 cm long, 2 pieces 60 cm long)
- Another piece of wood is cut to the size of the bottom of the barrel
- Galvanized drill or screwdriver and screwdriver
- Plastic or vinyl pads
- Small nails and hammer
- Woodland
- Tree or seed


