Author:
Lewis Jackson
Date Of Creation:
5 May 2021
Update Date:
25 June 2024
Content
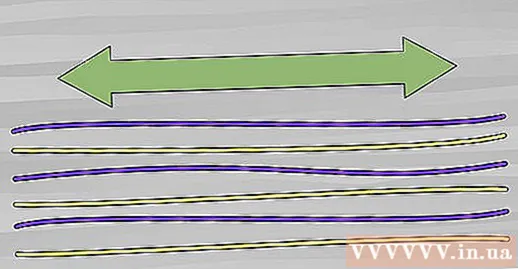

- First, you pass the first thread through the second thread. Be sure to put part of the first thread outwards to form a circle.
- Slide the first thread behind the second thread and then pull through the circle.
- Hold the second thread tightly while you pull the first thread. When you do this, you should see a knot move up above the second thread.You are now finished with the first knot. Not too bad, is it?

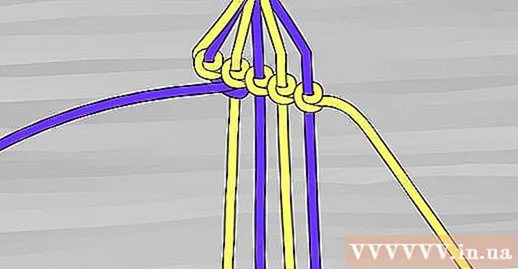
Create a similar knot with those two threads. After making the second knot with the first and second thread, you use the first thread to create two more knots on the third, then the fourth, and so on. Continue to do this until there are two knots on each thread.
- Remember to pull the thread until it feels tight. However, be careful not to pull too tight! If there are a few knots that are tighter than the rest, the bracelet will look lumpy and uneven instead of neat and flat.
- Continue knotting the first thread with the next thread, from left to right, until the first thread is tied and the first thread is moved to the rightmost position.
Part 2 of 3: Continuing the knot pattern
Perform the operation one more time with the leftmost thread. Congratulations on completing the knots in the first round! Let's continue to tie. The leftmost thread will be the first new thread. Each thread will end on the right when you have finished one loop, and you will start over with a new colored thread. Repeat the technique of knotting with the left outer thread, moving from left to right until the thread is outer right.
Continue until the bracelet is long enough and fits comfortably on the wrist. You have to spend a lot of time wearing a beautiful bracelet, you must try to fit it! Wrap your arms around your wrists. Make sure to provide enough space for you (or the recipient of the bracelet) to fit two fingers between the bracelet and the wrist.

Tie the other end of the bracelet into a knot. Make sure the knots do not take up the length of the bracelet.
Cut off excess thread. If there is still excess, you can remove it with scissors.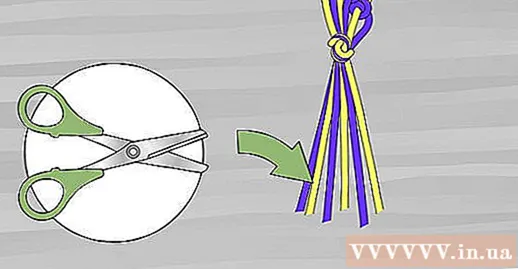
Bracelet tied. Now that you have the knots on the ends of the bracelet, next just tie the threads of the bracelet together and you're ready to go! If you want your bracelet to fit perfectly, ask a friend to help you tie the bracelet after wearing it. advertisement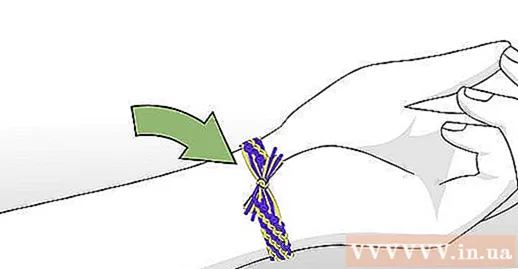
Part 3 of 3: Tet and attaching beads to bracelets
Tet is just a simple style. If you want the bracelet to stand out more, you can add a basic braid style. Braids can be tied on either end of the bracelet, so you'll need to do this before knotting the main design. Group the threads side by side in pairs or three so you have three sections just for braiding (left, center, right).
Squeeze the right thread over the middle. You take the thread on the right over the middle thread. This thread has now moved to the middle position. Next, you'll take the left thread over the middle thread so that the left thread moves to the middle position.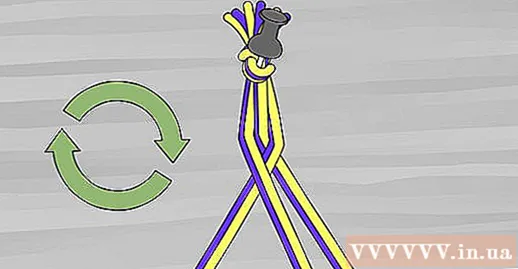
- Now you will repeat the operation! Continue this - right to middle, left to middle - until you get a braid length of the desired length, about 2.5 cm or less.
Tie the knot before starting the main vignette. After braiding just the basic style with the desired length, about 2.5cm or less, you tie a knot before you start creating motifs for your bracelets.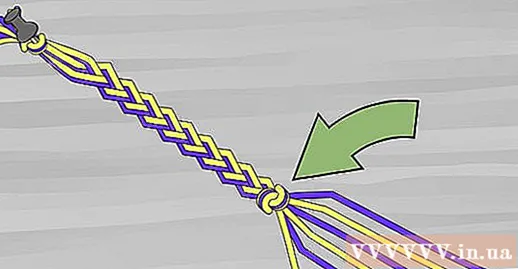
New Year's hand rest of the bracelet. After you have a pattern with the appropriate length, you braid a short piece to complete the bracelet.
Add beads or decorations at the end of the bracelet. If you feel the bracelet needs extra decoration, you can attach beads or decorations to the threads while braiding. Tie the knots to keep the decoration in place.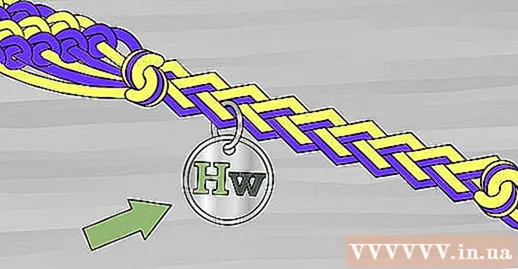
- It is done! You can give the bracelet to a best friend, try selling it to someone else or keep it for yourself if you do not want to leave the beautiful bracelet.
Advice
- In order for the threads to pull easily when making a bracelet and to prevent stretch breakage, you should first wax each thread. To apply wax, you can pull the thread back and forth on the old candle.
- Choose your colors carefully. You can use the recipient's favorite color of the bracelet or choose a color according to its meaning (such as red = love, yellow = joy, etc.).
- Tie the threads together to see if the colors work well together.
- Do not make knots too tight or too loose. If the knots are too tight, it may just break or the pattern will not be visible. Conversely, the loose knot will quickly come loose.
- Try to complete your bracelet in one go so you don't forget how much you did it. If you are afraid of forgetting the order of colors, write a note.
- If you make two knots for each thread, be sure to do the same for the remaining threads. Tie two knots on each thread to help smooth the arms.
- If the bracelet is twisted, you can either use a paper clip to flatten it. Move the paper clip while done. You can also use clipboard.
- If you create a knot backward, the angle of the pattern will reverse. You can use this technique to make a bracelet with an arrow or zigzag pattern.
- If you make a lot of bracelets, you can sell them to make more money.
Warning
- Very thin embroidery thread. Therefore, you should be careful not to tie knots in the wrong position. However, if that is the case then there is nothing to worry about, you can always remove the knot with tweezers or an ice needle, but this is a bit difficult and can sometimes cause the thread to pop or break. Knot on embroidery threads is often difficult to remove.
- Don't squeeze your bracelet too tightly on your wrist; You need to create some space for the blood to circulate!
- Try not to get your fingers caught in the knots or tangled the threads.
What you need
- Embroidery
- Drag
- Tape needle, clipboard or duct tape
- Particle and / or ornament (optional)


