Ways to Make Clay

Author: John Stephens
Date Of Creation: 21 January 2021
Update Date: 1 July 2024
Anonim
How to Make Clay at Home |Homemade Clay | Craft Clay
Video: How to Make Clay at Home |Homemade Clay | Craft Clay

Content

  • Add 2 cups (470 ml) of water and 2 tablespoons (30 ml) of vegetable oil. Measure 2 cups (470 ml) of water at room temperature, pour into a saucepan, and measure 2 tablespoons (30 ml) of vegetable oil. Stir the ingredients together with a wooden spoon.
    • Mix until dry ingredients blend into wet ingredients.
  • Heat the ingredients over medium heat and stir with a wooden spoon while cooking. Place the pot on the stove and turn the stove to medium heat. Keep stirring the ingredients together with a wooden spoon while cooking.

    Do not let the clay stick to the side of the pot to avoid burning. Stir continuously until the clay mixture is heated evenly.


  • Knead the clay at room temperature until soft and smooth. Press and press the clay with your hands to push the bubbles out, altering the texture and eliminating clumping. Continue working until you feel the soft, pliable clay.
    • You can also throw clay on the counter to remove any remaining air bubbles. This will keep your clay in moisture for longer.
  • Color the clay with 5-6 drops of food coloring if you like. Place the clay in a plastic zippered bag, and then add 5-6 drops of food coloring to the bag. Close the top of the bag and knead the clay between your hands until the clay is evenly colored.
    • If you want the clay to smell good, you can add a few drops of vanilla.

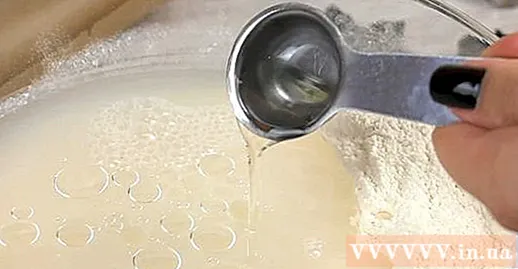
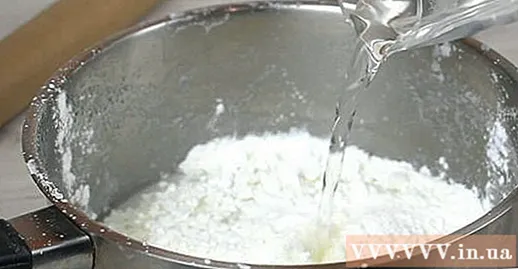
  • Mix 4 cups (480 grams) flour with 1.5 cups (420 grams) salt in a large bowl. Put both of the dry ingredients in a large mixing bowl, then use a plastic spoon or large wooden spoon to mix ingredients well.

    Make sure the flour and salt are fine mix well before adding water Because it will be difficult to mix the ingredients well as the dough gradually turns into clay.

  • Slowly add 1.5 cups (350 ml) of water while mixing. One by one add small amounts of water to the bowl and mix the flour after adding water. Try to mix well before adding water. When you pour all of the water into the bowl, the clay becomes solid as well.
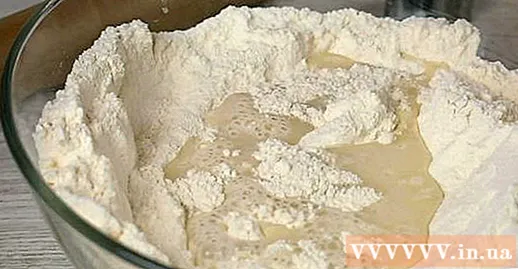
    • The dough mixture gets harder and harder each time you add water.

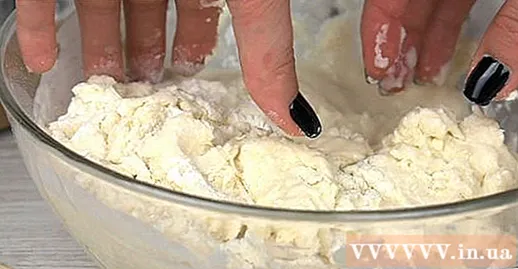
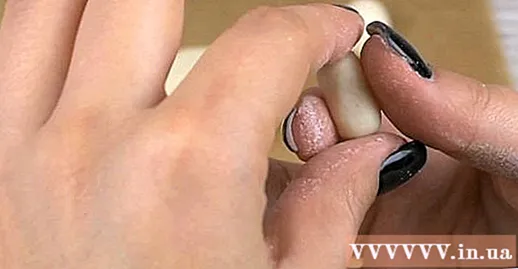
  • Knead until the clay becomes homogeneous. Remove the clay from the bowl and place it on a counter-like surface, then press and pull until the clay has an evenly smooth texture.
    • You can also throw clay on the counter surface to remove any remaining air bubbles. This is how to prolong the storage time of clay.
  • Play clay as you like. Now that the clay making is complete, you can shape the clay into some shape, create a decoration or simply play with the clay. Use clay the same way you would commercial clay.
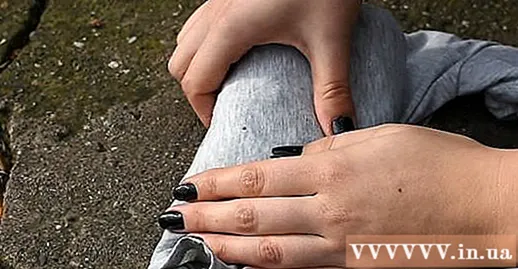
    • This clay is suitable for souvenirs. For example, you can press a child's hand or foot against the clay until it becomes marked, then wait for the clay to harden to create a gift.

    Advice: Use a cookie mold or a cup for shaping if you like. You will first thin the clay with a dough roll. Next, cut the clay into shape using a cookie mold or use a cup to create decorative circles. If you want to hang decorative clay shapes, use a straw or a toothpick to poke a hole near the top edge of each shape.

  • Boil ⅔ cup (160 ml) of water and 2 cups (550 grams) of salt for 4 minutes. Pour water into a small saucepan, then stir more salt to get a lumpy mixture. Place the pot on the stove and simmer over medium heat for 5 minutes. Stir the mixture while cooking to avoid scorching.
    • Use the pot lift or towel when moving the pot to prevent burns.

    Different ways: If you want to microwave the mixture, warm it up in 30 seconds increments until it feels hot to the touch. However, do not heat the mixture in the microwave for longer than 2 minutes.

  • Place the pot on a cool surface, then add 1 cup (120 grams) of cornstarch and 0.5 cup (120 ml) of cold water. You will take the pot off the stove and add more cornstarch and cold water. Stir the mixture well with a plastic or wooden spoon.
    • It will be difficult to stir as the mixture is getting thicker.
  • Knead the mixture until smooth. Place the clay on a flat surface, such as a counter, and then press and pull the clay until it becomes a fine, fine mass. The clay should now feel soft.

    While kneading clay, Better yet, throw clay on the countertop to remove air bubbles.

  • Find soils with a high clay content. You will search near the water source where the sand surrounding the clay has been washed away, or dig the soil until you see white, gray, or red clay. Dig the clay with your hand or bucket and place in a large bucket.
    • Maybe the clay still has some debris, but that's okay because you will be cleaning it up later.

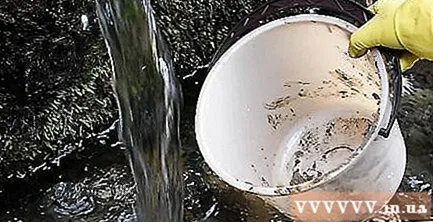
    Different ways: If you live with dry clay, simply shovel the clay and add it to the water. If the clay is still in shape, you can use it to make pottery!

  • Remove small sticks and debris from the soil. Inspect the clay by hand to remove rocks, twigs, leaves, and debris. Swing the clay back and forth to pick up all the debris and discard them.
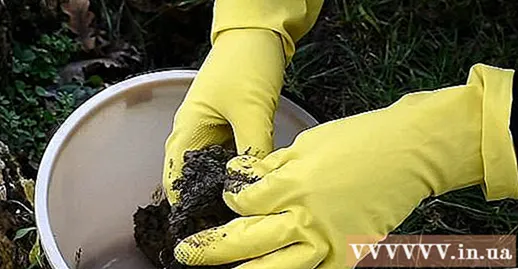
    • It's okay to leave out a few debris as you will use clay to wash the clay.
  • Fill up the clay with water. Use a hose or bucket to add water to the clay. Next, stir the water with your hands or a shovel. Stir until you have muddy water.
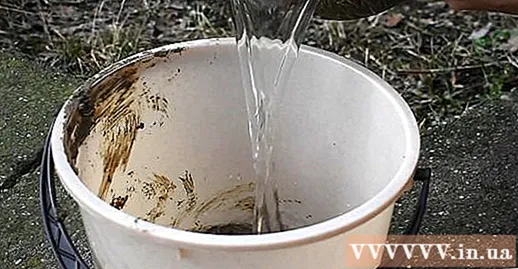
    • The water will begin to dissolve the clay, helping to remove any leftover debris.
  • Pour muddy water into another bucket, but keep the debris in the first bucket. Carefully tilt the bucket to pour the silt water into another clean bucket. You will pour the muddy water very slowly so that the debris does not follow. Stop when you see the debris at the bottom of the first bucket about to float away.
    • Use a sieve to make it easier to filter out debris.
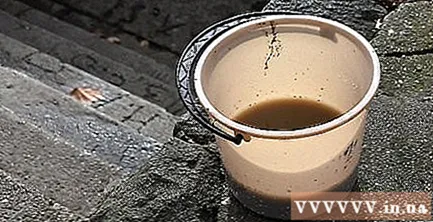
    • It's okay if there's still some clay in the first bucket. Likewise, it is perfectly normal to remain debris in the clay after one wash.
  • Repeat the procedure until there are no debris left in the muddy water. Continue adding water, then wait for the debris to settle and the clay is no longer mixed with anything else. You can put your hands in the clay water to check that the debris is gone.
    • You may need to wash the clay at least 2-3 times to clean it.
  • Discard the water above the clay. Once the clay has dried for at least 8 hours, check the thin layer of water on the surface. If there is still water, gently tilt the bucket to remove the water. At this point, all that remained was the coarse mixture of clay.
    • Your clay still has to be drier to use.
  • Put the raw clay mixture on the fabric to dry for about 2 days. Spread a large piece of fabric, such as an old t-shirt, then pour the clay mixture on it, taking care not to waste the clay. Quickly grab the cloth to keep the clay inside. Hang the package outdoors so that water can drain.
    • Some of the clay will still be quite loose, so be careful while pouring.
  • Dry the clay until it looks exactly the way you want it. Open the fabric layer and place the clay on the ground. Spread the clay with your hands over the fabric to allow the clay to dry evenly. Check the clay every 6-8 hours a day to see if the clay qualifies for pottery. It may take about a day for the clay to reach the right texture.
    • You can use clay as a ceramic as soon as you feel satisfied with the texture.
    advertisement
  • What you need

    Combine flour and salt

    • Big bowl
    • Plastic or wooden spoon
    • Closed container

    Mix cornstarch, salt and water

    • Pot
    • Plastic or wooden spoon
    • Baking tray
    • Closed container

    Use flour, salt and cream of tartar

    • Pot
    • Big bowl
    • Plastic or wooden spoon
    • Baking tray
    • Closed container

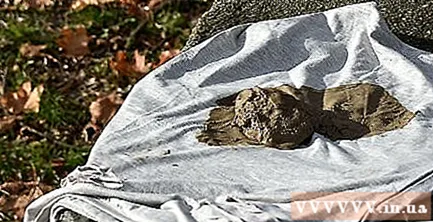
    Creates ceramic clay

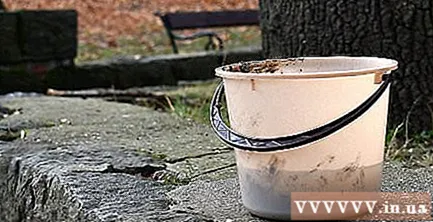
    • The soil has a high clay content
    • 2 buckets
    • Water hose or faucet
    • Fabric, such as old t-shirt
    • Timing clock
    • Shovel (optional)

    Advice

    • If the clay is too dry, add some water or cooking oil to add moisture.
    • Stir the mixture every 15-30 seconds so the clay doesn't burn.
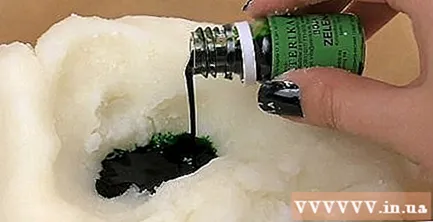
    • You can add food coloring or glitter to make the clay look better.
    • Put the clay in a closed container when you are not using it for longer storage. However, be aware that the clay will still deteriorate after a while.
    • After the clay dries, decorate it with colored paint or glitter glue.

    Warning

    • Do not leave the stove or oven while handling clay.
    • This clay will become moldy over time.